- Sign In Changes: You now need to sign in using the email address associated with your account, combined with your current password. Using your display name and password is no longer supported.
- If you are currently trying to register, are not receiving the validation email, and are using an Outlook, Hotmail or Yahoo domain email address, please change your email address to something other than those (or temporary email providers). These domains are known to have problems delivering emails from the community.

SpecialWarr
-
Posts
1,055 -
Joined
-
Last visited
-
Days Won
6
Content Type
Profiles
Forums
Calendar
Everything posted by SpecialWarr
-
93 Nissan Pathfinder: Manually finding TDC
SpecialWarr replied to MrEviLDeD's topic in 90-95 WD21 Pathfinders
The only other choice I can see is to artificially hold open the valves to remove the pressure buildup which is mostly just a pain, difficult, time-consuming and probably damage causing.... it's just way easier to brake the seal on the plugs! That being said: I understand that stripping out a plug hole is not cool and would prefer to fight the 200psi. One additional thing: make sure that IF you choose to leave the plugs that you use a ratchet to turn the crank. I know one guy who used a breaker bar and then got the end of that in the head by accident... it hurt.... a lot. To answer the question though: The number of lines on the pulley vary by year so the first line may be -5 or 0 or +5 degrees; there is no way to know _if_the correct and original pulley is one the motor BUT the timing is 12-18 degrees after top dead center. which could be the third, second or fourth line! I haven't done one on the Pathfinder BUT I would use the timing marks on the crank, in conjunction with the direction of the rotor AND an 8" vernier in the #1 spark plug hole. The question would remain that : is it the TDC on the compression stoke or not? The only way to know that is to rotate the crank BUT if _all_ of the plugs are in, you are going to be fighting 200psi every 60 degrees of rotation EXCEPT the #1. Not easy to work around or fun. -
Maintenance after long term storage
SpecialWarr replied to awyisss's topic in 90-95 WD21 Pathfinders
+1 on that.... You may want to also charge / swap the battery for a new one but remove, wire-brush and add grounds to everything in the engine bay before you go with the battery. The WD21 is weak in that area. Before you get too far add a ground strap to the MAF (centre wire?? someone want to check me on that! ) and run that to a location on the inner fender near the MAF; the original runs all the way to the ECU under the passenger seat and is prone to cracking with age. The fix from Nissan is a wire assembly with connectors that don't exist in the 1990. Makes a hell of a difference. Last on my list is a gasket kit ( complete upper ) would be excellent since you'll most likely need to clean out the throttle body, upper intake, that infernal air thingy (with the light blue electrical connector) that gets clogged. -
The 235/75 is just over 29.5" tall and raises the rpm on my Pathfinder to ~2500 at 100km/hr, the 31" (which I have) keep the rpm at ~2250 but are clearly heavy tires that you feel is a heavy tire compared to the 235/75.... The 215 is a 28" emergency spare size only and I would not buy that and run it as a daily tire at all four corners. The 265/70 is 32" tall tire and is heavier than the 31" but might rub a bit at full steering lock unless you have wheel spacers or deeper offset rims (from a Toyota? or something). The 255 I'm not sure but I suspect that it's a 31.5" tire. Stock tires on the XE were the 235/75R15 OR 31x10.5R15 as an upgrade ( I think) The SE came with 31" tires as stock as far as I know but can easily take the smaller tires.
-
There is a relay next to the battery or in front of the windshield washer tank (can't recall which one goes where) that may be at fault. I tap on mine with a screwdriver although that requires a second person trying to start the truck _while_ you do that. I would be on those before I took a 3 hour run at that damn starter. JMHO!!
-
A lot of people around here use the BFG brand of tires and that's a good choice if you don't have mud or deep snow. I need to get to the cottage so I went with the Goodyear Wrangler Territory (aggressive mud and snow tire). They are a bit loud on the highway when they are new but quiet down about 15% after they are broken in. They are great off road in the dirt, mud and snow but will understeer and plow if you turn full-lock and try to head in any direction other than straight ahead (tread design effect). Owned them for 2 years now and have many thousands of worry free miles on them. They do have a nice thick sidewall on them so I decided to remove my anti-sway bars since the ride was more harsh than I wanted. I did not really note much of a performance (sic) detriment to removing the anti-sway bars after installing those tires. The summer tires that I had were way too soft and allowed to truck to roll far too much to be comfortable without the anti-sway bars so I just sold them with the wheels and run the Goodyear tires all year.
-
I've done mine twice in 4 years. I usually start by removing the wiring clip, case ground and whatever the other wire is from the alternator from the top of the engine bay. Grab a 5mm hex wrench and remove the bash guard since you'll need to get the old alternator out, then I loosen and remove the upper pivot bolt and slide back under the truck with a 5mm hex and the 10mm ( and/or 12mm?) socket and ratchet and loosen off the tensioner stop-bolt on the back of the bracket about 1 turn (just enough to let the long bolt move). Then grab the 5mm hex and oil for the thread (since you'll be screwing that _into_ the stop block you do _not_ want that to break off like mine did) and wind the bolt clockwise about 4 full turns, this will release some tension off of the belt. Now you want to loosen off the lower bolt, then remove the bracket retainer bolt off of the back of the bracket. Get your free hand up and pull the belt off, then hold the 16 lbs of alternator while you unthread the lower bolt and bracket. It will want to fall into your head while you are down there so be ready for it! As to getting it back in, I start with the upper bolt resting on its outer holder /perch/ thingy and try to orient the alternator from underneath and use my free hand to push the bolt into the first parts of the pivot. If it seems to be staying there you can swing out and move it around from the top of the motor to get it into place, thread it most of the way in but don't tighten it yet. The rest is place the bracket, get the belt on, get the rear bracket bolt on, then the lower bolt, tension the belt, tighten the stop-block bolt and finally torque the lower and upper alternator mounting bolts, re-check the belt tension (1/2" of deflection mid-way with 20 lbs of force) and either adjust it OR if you are already awesome, put the bash guard on and connect the electrical connections.
-
Montreal, Canada. You wouldn't think it would be that challenging seeing as how we are about 100 miles from New York state, Vermont and half of that distance from the Province of Ontario All of which are great sources for "better" condition cars than what we have in this province. Nevertheless, bringing a car into this province from another province is a 3 to 4 week process of paperwork, mechanical safety inspections and repairs before you get to pay the DOT for the privilege of driving for one year. Once it's done, it's done but damn what a pain.
-
I would love one but I've seen secondhand the literal mountain of paperwork involved in getting one into this province.... One guy had a full banker's box with file folders full of papers, each folder was for the same car but a different country / importer / registration / government legislation and shipper. I nearly died on the spot; mind you his Nissan GTR is immaculate, had (if I recall) 13,000 and something kilometers and was AWD, twin turbo rolling on new tires. BUT I'm not sure that even for that would I go through what he went though to _get_ a car here, inspected, registered, safetyed and paid for.
-
And I have to say that without the find ladies and gentlemen who hang out on this forum, the cool guy in the R50 covered in mud who gave me the thumbs-up on the highway and RockAuto I would have given up long ago..... There's a beer at my place for anyone and everyone on here!! You all rock hard the Pathfinder cult!!
-
I think I would like to get a Patrol, but I'll be damned if I'm going to spend six months jumping through red tape, logistical hoops and deal with the DOT inspection.... but if anyone in Quebec has one for sale I'll get my hands on it while the smoke is still dissipating off of the keyboard!!
-
Well I guess that would work out to 3 years and a few months and 123K to 185K and ...like.... $6000 in parts and tires. Some needed, some for peace-of-mind and some were replaced needlessly because of oversight (to the tune of about $1700 of the $6000) on my part....twice.
-
Joey and I work together and we've been talking about heading out for a short spin through the woods / clay behind his place for a while.... _that_ plan finally came together this weekend after my short trip to the U-Pull-a-Part... I swung over to his place and we did a bit of this: https://www.facebook.com/joey.dinel/videos/10153831518576216/ I still never made it over to adamzan's place.... my bad (too much bad family stuff going on this year)...
-
Nice work! Mine was an absolute nightmare and I got to the point where I removed every wire under the dash, cut "whatever" was soldered to it that didn't look factory and pulled every wire, speaker and amp out of the truck just so it would stop eating the battery.... best move I ever did.
-
Optional Oem add-ons and upgrades
SpecialWarr replied to Cuong Nguyen's topic in 90-95 WD21 Pathfinders
Aaaand that's why I want to move there!! -
Optional Oem add-ons and upgrades
SpecialWarr replied to Cuong Nguyen's topic in 90-95 WD21 Pathfinders
You can usually get a vehicle with _either_ a block heater or a battery warmer. I can actually say that I've never seen anyone who ran both at the same time. My VW, the Volvo and the Corolla wagon all had battery covers that were insulated but none had a battery heater. Since I use full synthetic oil I have no need for either the battery heater or the block heater, I also live in a 3rd floor apartment in the city and have no way of getting anything plugged into anywhere that isn't going to be stolen overnight by those little bastards that steal and scribble on walls. -
Slowly repainting after rust repairs, frame repairs and body work that. I _might_ be done by the end of next summer!
-
This is what they look like new, on the right is the front shock, the clean bit is the strut / tension rod with new bushings, the long thing is the torsion bar. https://photos-1.dropbox.com/t/2/AADuB__QJ1Gzm5_hSdvYx8lmH8BXWIygDxzJUqMGJEmnyw/12/212783261/jpeg/256x256/1/_/1/2/20140804_160807.jpg/ELyRrqABGPUTIAIoAg/t7S-rt0CgJB6eGDnk87FV16TiS9ZrwaxLX31uDU9brQ?size_mode=3&size=2048x1536 This is what yours probably look like: https://photos-5.dropbox.com/t/2/AAA_vqip1plqvDq4aHnXUac4-lBN2jeFUM_WvME7FM86gg/12/212783261/jpeg/256x256/1/_/1/2/20140805_104135.jpg/ELyRrqABGPUTIAIoAg/GzCS3ObXpHmVZTAeSdoyGkeLk1OgUjEU_yHa3MjFjBE?size_mode=3&size=2048x1536
-
Optional Oem add-ons and upgrades
SpecialWarr replied to Cuong Nguyen's topic in 90-95 WD21 Pathfinders
I would be down with a real cargo mat that was thick, firm and held in place WITH access to the tie-downs if it went from the rear hatch all the way to the top of the rear seats, but, alas, it was not to be. It would have made sliding in my welder, cutoff saw and engine hoist far easier. -
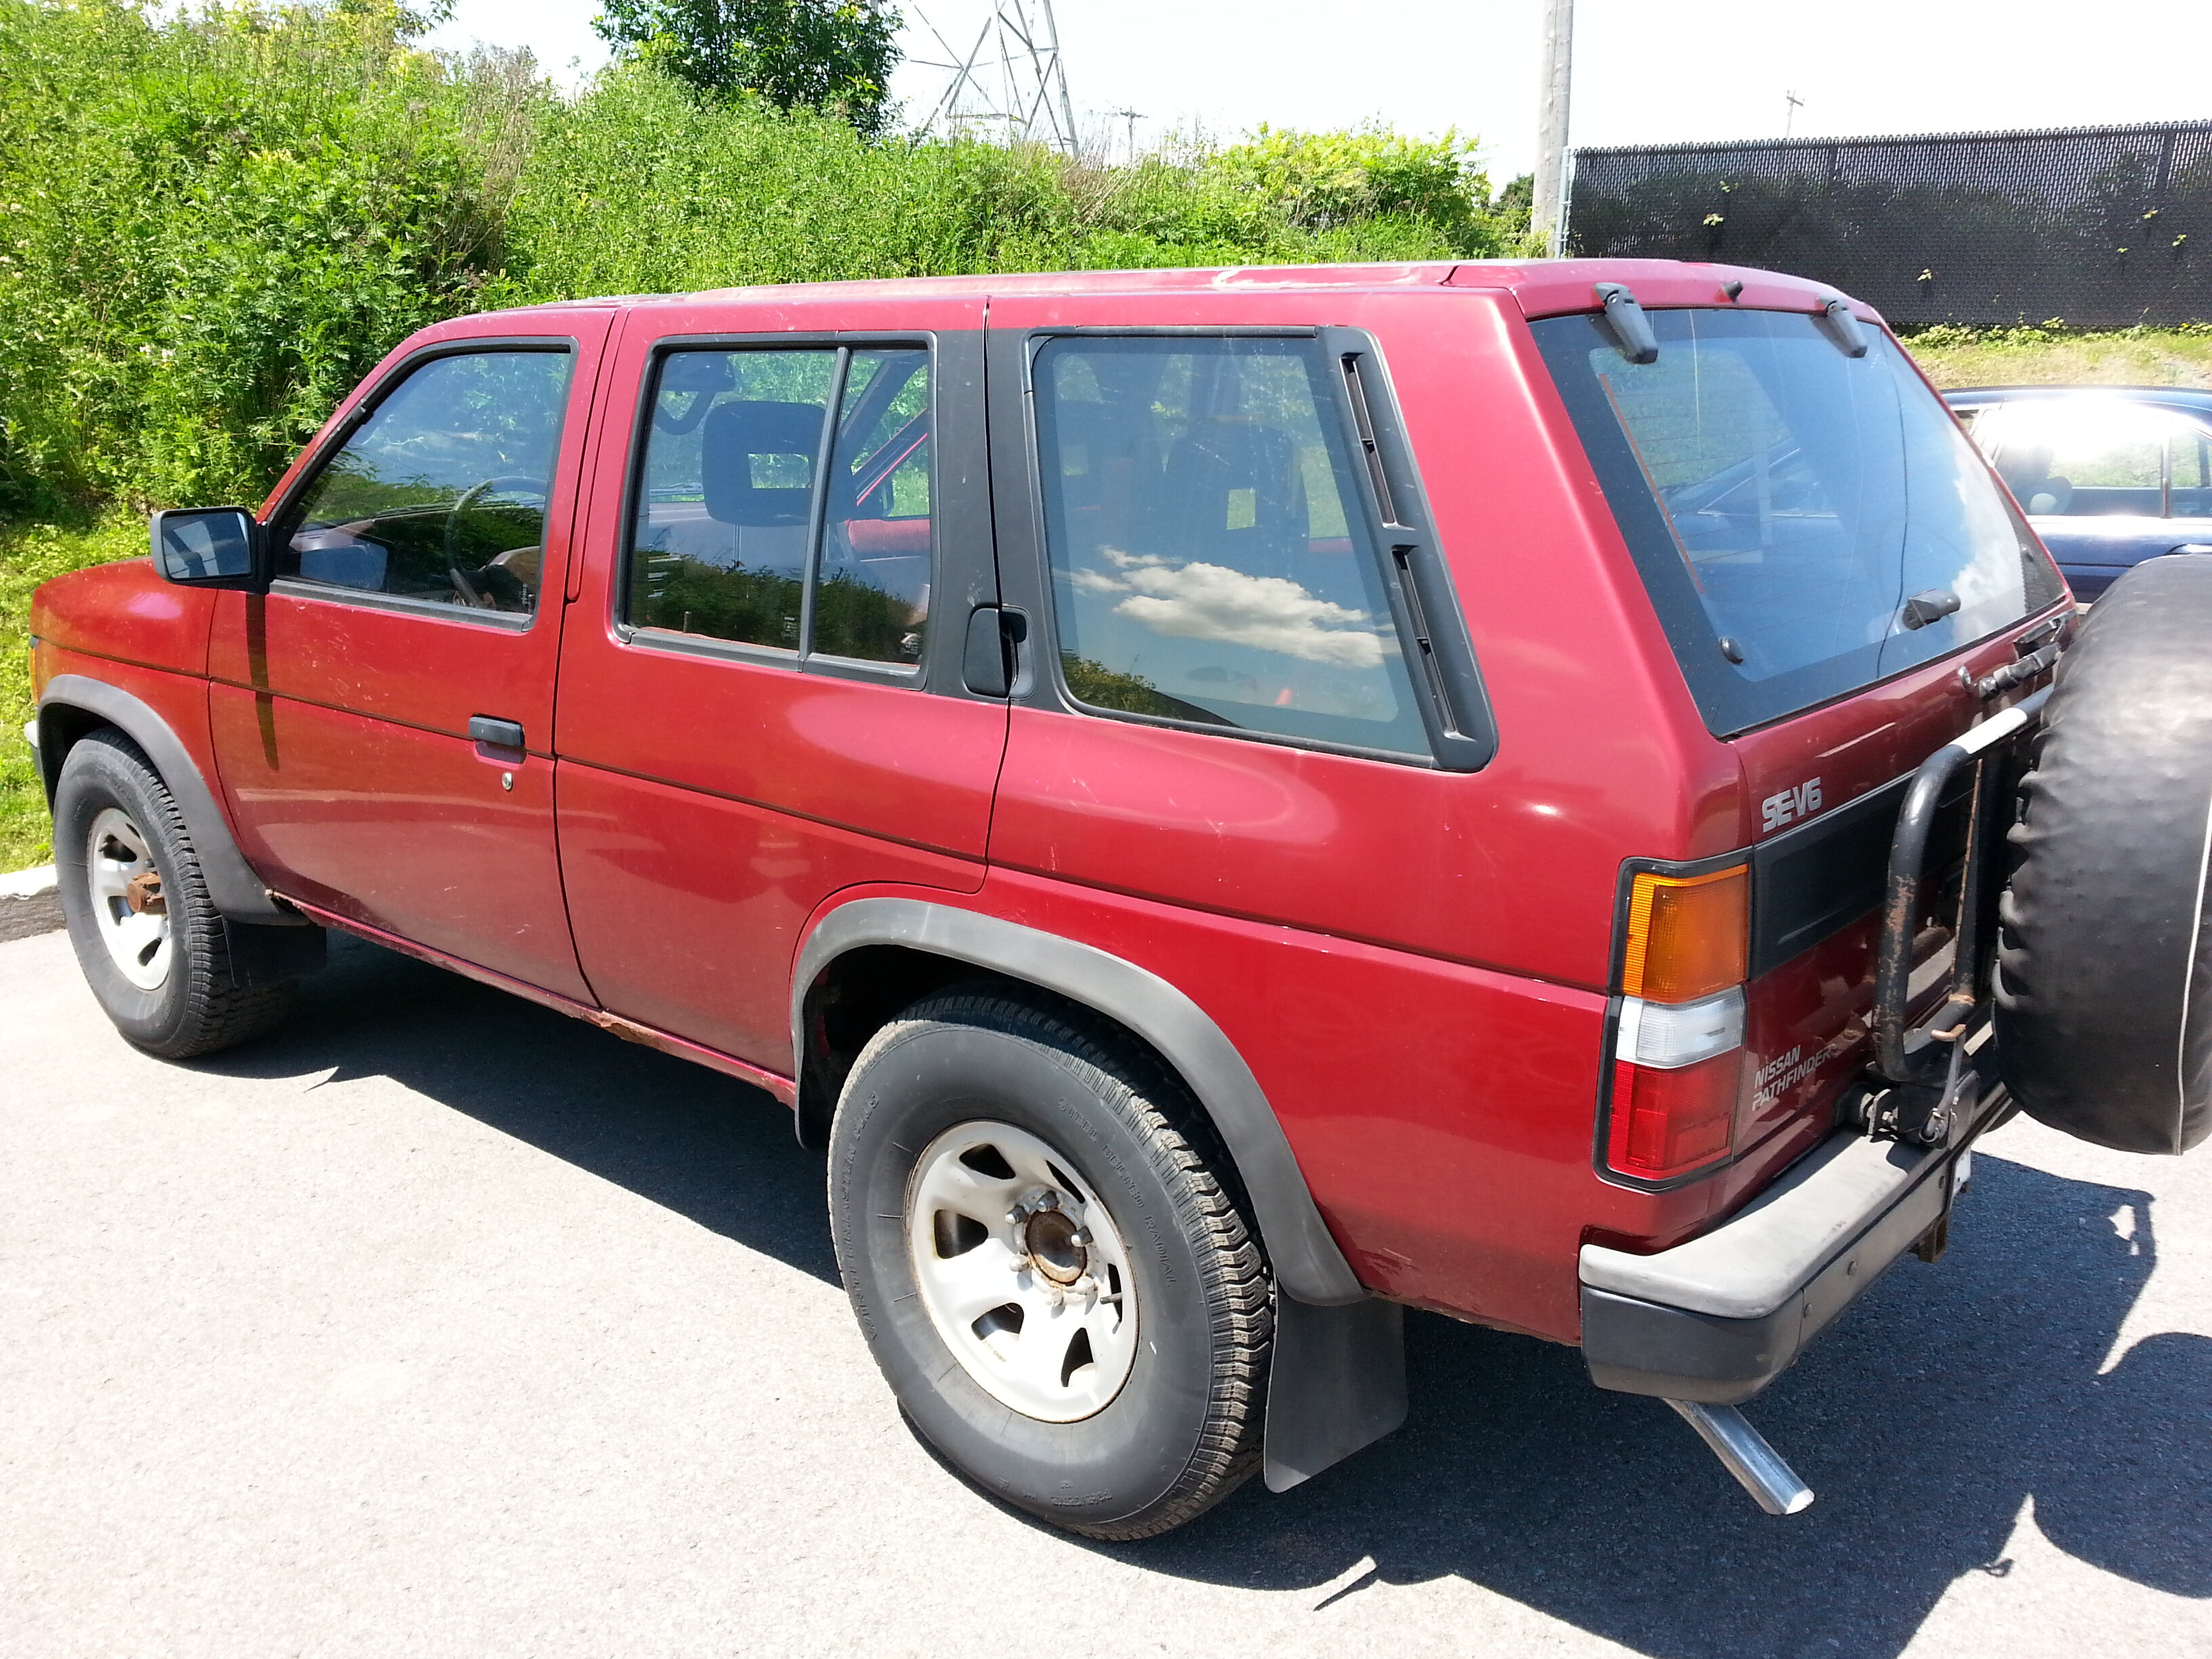
Uhhh... multi - tone now.... Pontiac Cutlass burgundy on top, gloss fire red on the bottom/ around the rear wheel wells and on the rocker panels, matte black bed-liner on the hood and primer black on the front quatre panels...... and gonna stay that way until next summer.
-
Take a look around through the forum, all of your answers are there since many have done this and have every possible answer!
-
New Guy Seeks Your Wisdom (Same Old!)
SpecialWarr replied to Fast_eddy's topic in 90-95 WD21 Pathfinders
And sayyyyyy how MUCH would you want for that Pathfinder?? -
1995 Nissan Pathfinder 4wd never ending tapping noise.
SpecialWarr replied to Merzed62's topic in 90-95 WD21 Pathfinders
Wait... I thought "lifter tap" was caused by _worn_ lifters?? How does cleaning them out with a bit of ATF help? -
Replaced the drivers' side disc brake pads in the rear, due to the stuck glide pins.... which ate the pad and mangled the inside of the new rotor. I swapped pads after an attempt at grinding down the rotor this summer but that only pushed back the pad change date to this weekend. Which is what I did, since I already lubed the glide pins once I beat them off of the carrier with a large hammer... unpleasant Saturday really. I also noticed some water in the passenger side footwell this morning, which means that the sunroof is still leaking and has maybe lead to the frame around the windshield to rust enough to leak, because of the stupid drain tubes being plugged again. Maybe if I just ? it won't be a problem??
-
I don't think using a banjo bolt ( your's with the hole through it) would have been my fourth choice..... maybe fifth or so but I would not have left that there for any length of time as a "repair"... But then I'm like most of the rest of us on here ( I assume like yourself 'mam) do it once, do it right the first time. Stuck out in the desert I would just go and pull a bolt off of a bracket or something as option #1, out of a fan blade retainer as option #2 and a seat bolt as option #3!!!
-
Those buttons are located about half-way down the back of the seat around the middle, they blend in quite well in my red interior since they are a dark grey. I pulled one out and there is a whole lotta thread on there so I suspect that they are, but I find the top of the seat too soft for my liking. My nephew's seat fit in well but it was new-ish and that's what us three boys used for our little trip into town. I left the install to my brother-in-law since he has much more experience! I cannot help you with your second question though!
