Mrelcocko
-
Posts
1,068 -
Joined
-
Last visited
-
Days Won
61
Content Type
Profiles
Forums
Calendar
Everything posted by Mrelcocko
-
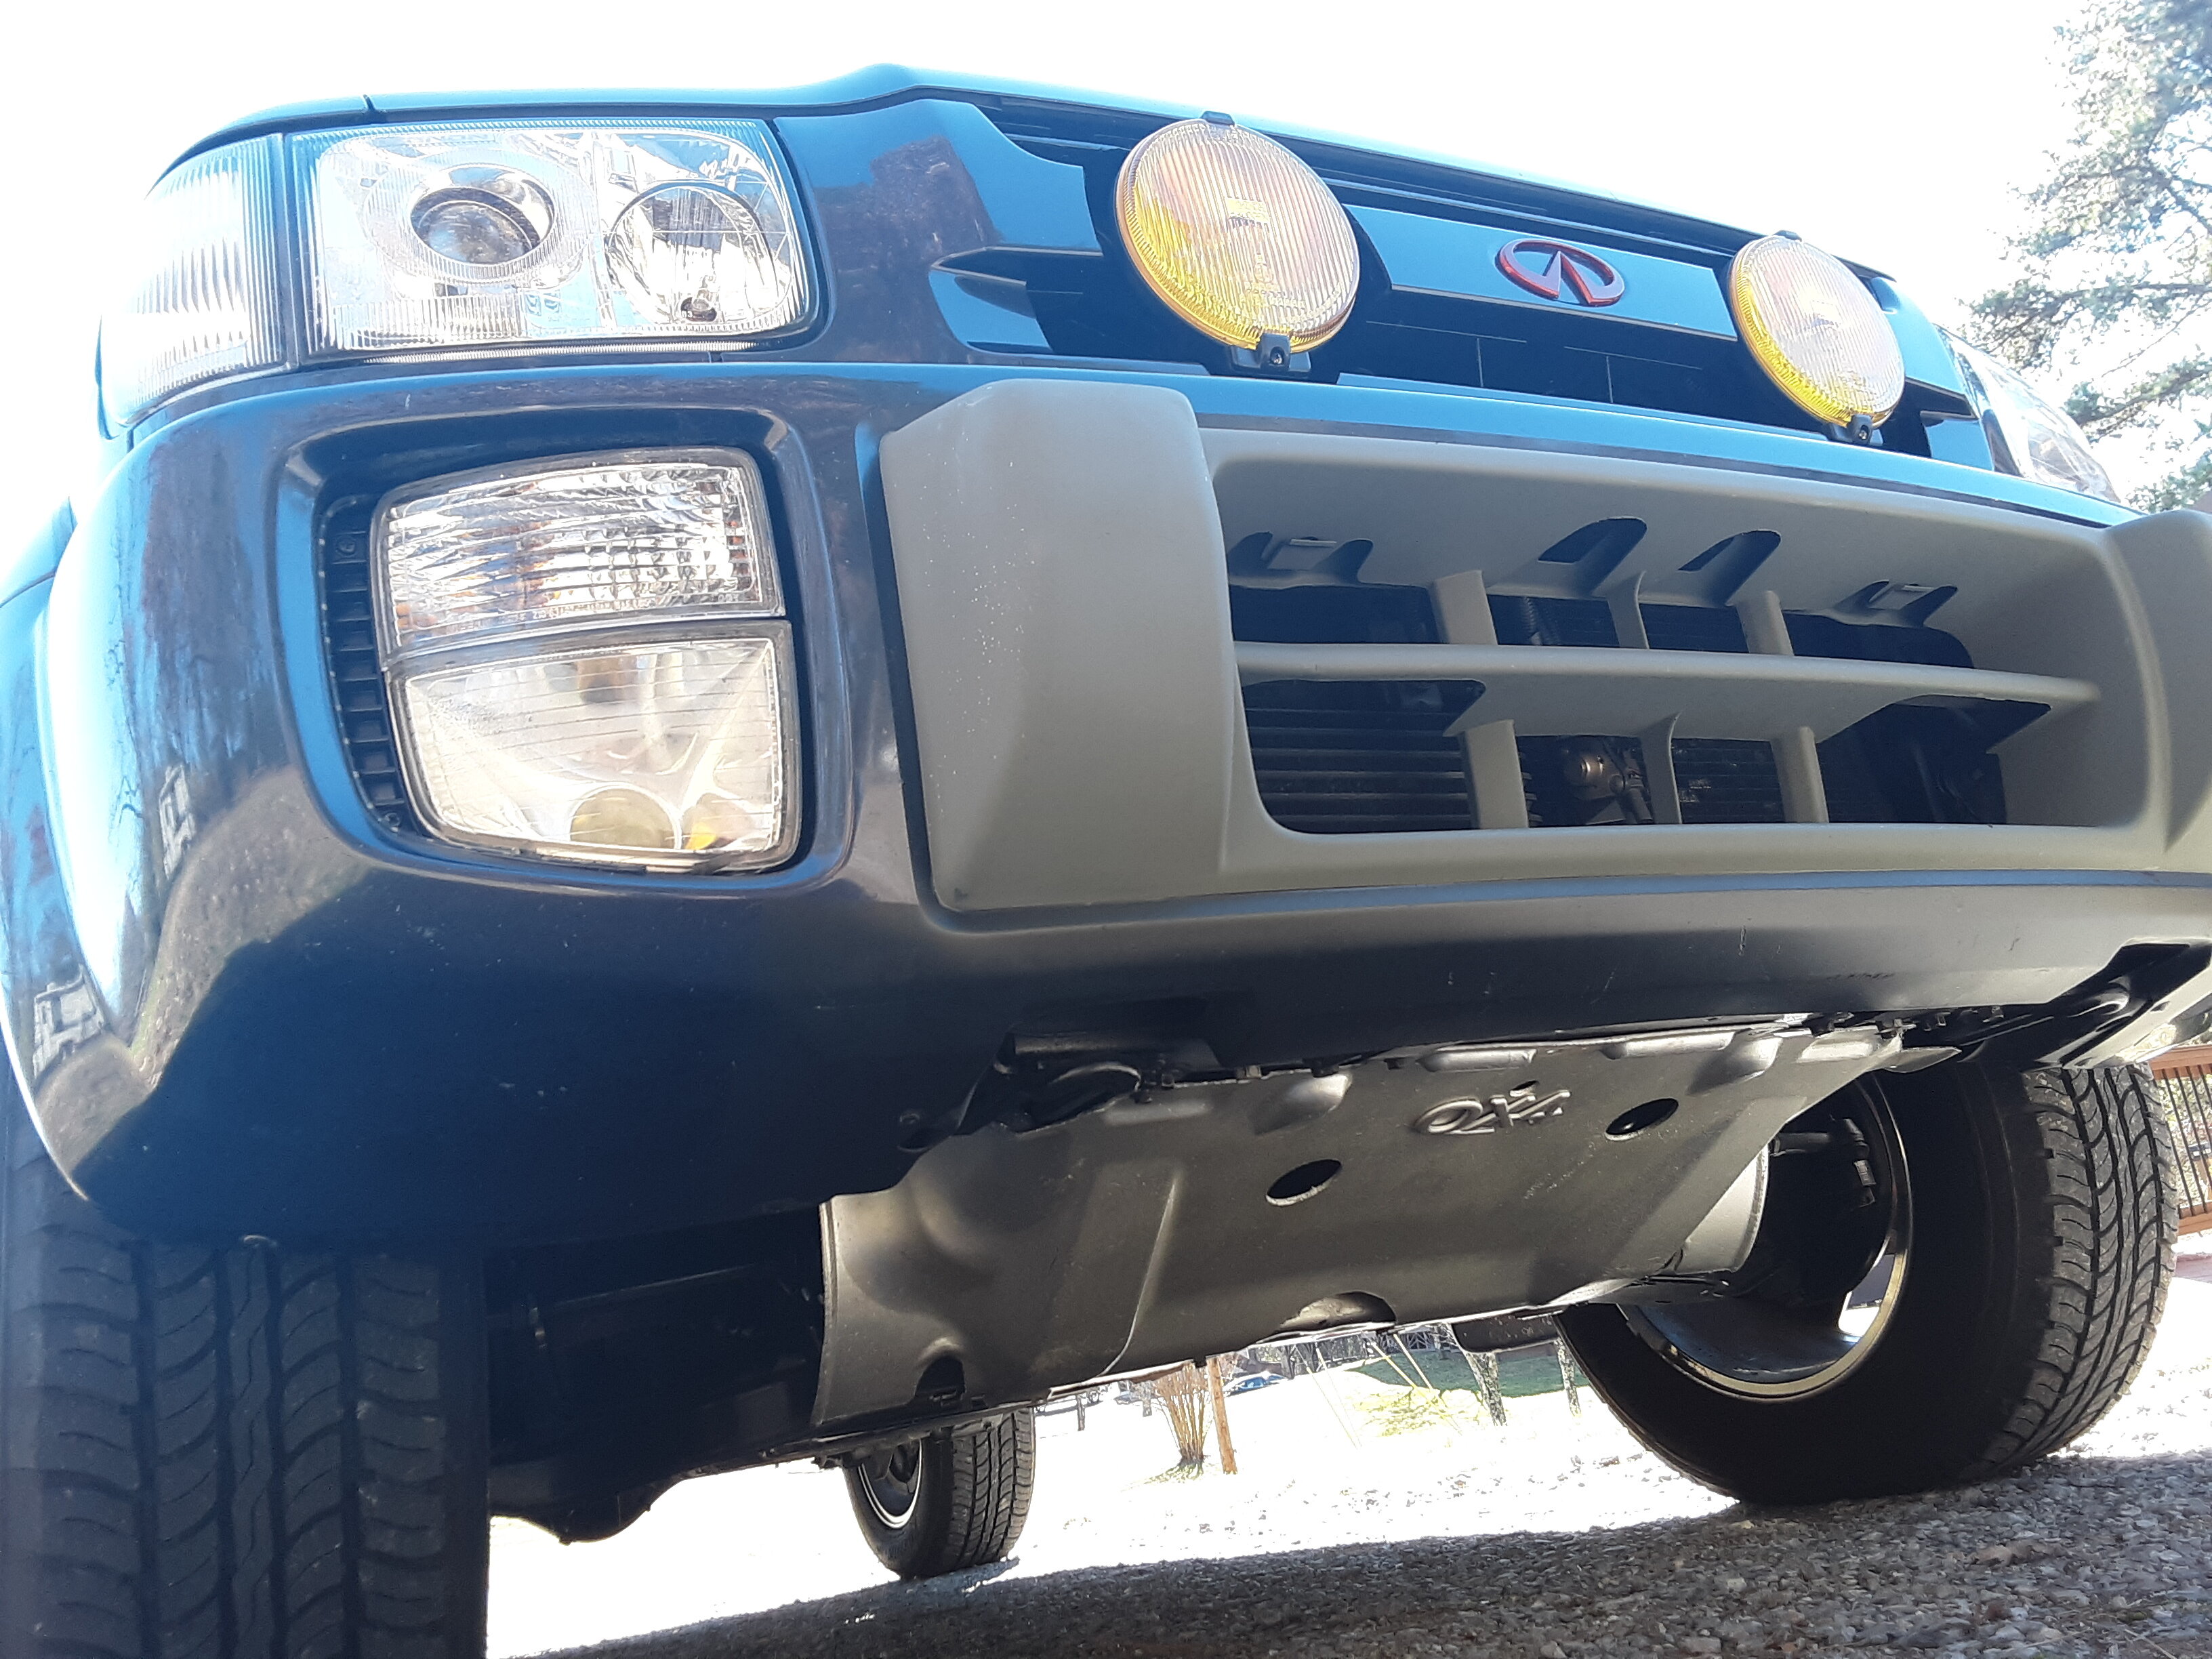
Truck, landscape and hood ornament kicks brother. Sent from my SM-S737TL using Tapatalk
-
The seats in my 97 QX4 leather of course are not in the best of shape. The driver seat 45% is by far the worst, passenger 75% back seats 85%. Had some extra cloth seats that I got out of a 2001 Pathfinder taking up space so I refurbished them and I'm going to put them in my QX4. I will be getting rid of the heated seats. As some of you know the heated seats in these old R50s don't work quite well I don't use them much anyway. Sent from my SM-S737TL using Tapatalk
-
I'd love to get just one of those flakes. Sent from my SM-S737TL using Tapatalk
-
Already thought that very same thing. I've got a matching water temp gauge that came with the 3 pack. I bought this amp meter year ago and thought I'd use it. Oh well here comes the temp gauge. Lol Sent from my SM-S737TL using Tapatalk
-
Congrats Sent from my SM-S737TL using Tapatalk
-
I'm definitely not going go use it. I appreciate all the answers guys. I was very hesitant about it anyway with what I'd had read before all the replies. Seems dangerous to me. Sent from my SM-S737TL using Tapatalk
-
Hey guys need some help on this. I've done got my oil and volt gauge connected easy cheesy, but the ammeter is a different animal. Does anyone know the safest and the how to on connecting this gauge? The gauge reading goes to 60+ and 60-. On the dial. Any help would be greatly appreciated. Sent from my SM-S737TL using Tapatalk
-
Installing a bigger gauge package and getting rid of the smaller ones. I've already had to do a little bit of cutting on my bracket that goes to the radio but I think I'm going to make it work. Sent from my SM-S737TL using Tapatalk
-

(FACTORY)Wiring Diagram XENON HID R50
Mrelcocko replied to Mrelcocko's topic in 96-2004 R50 Pathfinders
As far as the high beam from the way it looks you have the connector for it. Same as before. It will have a positive and a negative also. The diagram really helps out a lot because what you end up having to do after you get the diodes in place you will have to take the positive from the low beam xenon and the positive from the high beam halogen and connect that to the factory plug coming from the headlight stalk. The ballast gets its power from the relay that's where the relay comes into play as does the halogen high beam. If you want to use both your high and low beams you must use 4 diodes if not you will wear your ballast out quickly. The 2 connectors you see are for the relays to plug into. The diodes are just like the diagram.I've also added the wiring diagram translated it for you and highlighted all the important parts the bottom left of the diagram where it says M D & P I know that has something to do with the switch on the column but I think it's just there to let you know what those mean in the diagram. The diagram shows the diodes going into relay slot number 2 just like in the pics Sent from my SM-S737TL using Tapatalk -
I agree man you don't ever know. I don't want to be the one that stands aside while my vehicle burns up. Things happen especially when do the do the work yourself. I'm not saying I don't know how to do the electrical work but I have done all the electrical work as far as all the add-ons and stuff and I am human so it's possible that I can screw something up. I want to make sure that if something like that ever was to happen I've got something to take care of it. Sent from my SM-S737TL using Tapatalk
-
Installed a fire extinguisher and cleaned out my drain holes. The passenger front was really really bad I started getting some leakage above the passenger side door on the headliner. Problem solved. Sent from my SM-S737TL using Tapatalk
-
(FACTORY)Wiring Diagram XENON HID R50
Mrelcocko replied to Mrelcocko's topic in 96-2004 R50 Pathfinders
The power for the hid is a positive and a negative I would just cut the connector off of it and then get two butt connectors and some wire to hook that up to power and ground. I wouldn't worry about not having the connector to fit in to the one on the back of the light Sent from my SM-S737TL using Tapatalk -
(FACTORY)Wiring Diagram XENON HID R50
Mrelcocko replied to Mrelcocko's topic in 96-2004 R50 Pathfinders
Fortunately the switch came with both sets of mine. When you say plus do you mean "power" for the headlights or switch or both? Sent from my SM-S737TL using Tapatalk -
When I done my rust repair I had no idea about buffing the clearcoat when finished. It look like crap and my Dad told me I needed to buff it and it should bring the clearcoat out. It done wonders. Like night and day. Sent from my SM-S737TL using Tapatalk
-
Thank you sir. Getting there is half the fun. The other half is the anticipation of getting there. Lol probably didn't make any sense lol Sent from my SM-S737TL using Tapatalk
-
Attention to detail. Sent from my SM-S737TL using Tapatalk
-
Love that color. Sent from my SM-S737TL using Tapatalk
-
(FACTORY)Wiring Diagram XENON HID R50
Mrelcocko replied to Mrelcocko's topic in 96-2004 R50 Pathfinders
I finally connected up the aiming motors to the HID's on my fixer upper 96 Pathy. Made my wiring harnesses and went to town. I'm that guy that takes forever, but when completed it's done near perfect and the right way. OCD just a little. Ha Ha. Following the wiring diagram to a T with little to no problems. The key here is making sure your connections are In it for the long haul and your wiring is in the back seat buckled up. I always take a little more time making my harnesses and triple checking to make sure all the connections are ran and done right the first time. I've in the past learned it goes together a hell of a lot easier than coming apart simply by triple checking your wiring you can avoid the cussing segment.. Lol. I've included some pictures of the install. Please feel free to ask any questions you have. This is my second factory HID install and I'm here to help. SUPPLY LIST- purchase a set of Factory HID's with aiming switch. Bussman Eaton easy I.D fuse panel, 2 - 30amp Nissan relays or equivalent, (red,black,yellow)14awg rolls of wire, butt, ring, Male and female connectors. Heat shrink rap, 3m rubber splicing tape, 3m super 33 black electrical tape, wire solder, blow torch, wire loom and wire ties/holders. I wanted to use a fuse box making things look 100 times cleaner eliminating a cluster f#$k of wires connected to the + side of the batt. Hope this helps Sent from my SM-S737TL using Tapatalk -
(FACTORY)Wiring Diagram XENON HID R50
Mrelcocko replied to Mrelcocko's topic in 96-2004 R50 Pathfinders
Ok guys and yet another alert update. Scratch the previous post because I apparently had my head up my ass. I had the relays hooked up wrong that's what was causing my battery drain they were staying powered even when the switch was off I figured this out when I started installing the ones on my pathfinder if you follow the diagram exactly like it says you won't have any problems you will not need a battery saver unit or nothing like that. Sent from my SM-S737TL using Tapatalk -
Sweet R50 along with beautiful landscapes of this place we call home. Sent from my SM-S737TL using Tapatalk
-
Appreciate mate. Sent from my SM-S737TL using Tapatalk
-
Working on wiring the aiming motors up. Done making wiring harness now wiring switch into the newly made harness and adding power. Having the diagram sure helps without a doubt. #r50obsessed Sent from my SM-S737TL using Tapatalk
-
Thanks for the kudos bro, means a lot. I do take Pride to the max. I love these vehicles. Q original paint. The Pathy still has some clearcoat issues on the front fenders if you look real close. The rear driver quarter panel and hood clearcoat was pretty much nonexistent. I replaced the hood with one from a junk yard same color and fixed some rust around the fender flare driver rear and repainted and clear coated that from a paint can believe it or not. All doors,roof and pass side rear quarter are original paint. I'd never done any body work but watched plenty of videos and read literature and somewhat figured it out lol. Buffing is a major key on how the painted areas turned out. I didn't know that until my old man said that looks like @!*% son did you buff it? I said no didn't know I needed to. Lol...I had a company here close to home that mixed my paint and put it in a aerosol can. Bought some clear coat from same company. Sent from my SM-S737TL using Tapatalk
-
Sweet pics! Sent from my SM-S737TL using Tapatalk
-
Hey bro hope all is well and just wanted to say thanks for all that you do for us here on NPORA
