
- Sign In Changes: You now need to sign in using the email address associated with your account, combined with your current password. Using your display name and password is no longer supported.
- If you are currently trying to register, are not receiving the validation email, and are using an Outlook, Hotmail or Yahoo domain email address, please change your email address to something other than those (or temporary email providers). These domains are known to have problems delivering emails from the community.
Leaderboard


Popular Content
Showing content with the highest reputation on 09/13/2018 in all areas
-
Dang, sorry to hear that. I dont have schematics. What you see on the image you posted is close. Since you already have a set id suggest doing what Onespiritbrain said. Can you weld or have a friend that can? If so you can salvage your material and save money but cutting the flanges flange free and setting it up yourself. The orientation of the bottom flange does not matter as the top hat spins 360° but the angle of the tube and the orientation of the angle are the key. If your tube is anything other than straight up and down its wrong. The whole point of the SFD is to "translate" the suspension downward. Just like the subframe blocks are only providing vertical lift, the strut spacers need to do the same. So you need to cut the tube at the proper angle and orient that angle so that the tube ends up matching the subframe blocks.6 points
-
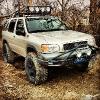
Well, it looks like I pushed my rear axle back too far. After some driving and testing and flex testing the suspension out in the field so to speak, I now know this for a fact. The spring perches on the unibody are too far forwards compared to the axle to allow the coil spring to compress properly and safely. Under more than half flex the coil springs start to bind up on the mounts themselves and shift around and compress weirdly. Approaching obstacles like steep ditches and the like head on is fine, but trying to crawl though things at an angle gets sketchy. When I parked on top of a ditch and hopped out to look at what was going on a couple of days ago I was truly scared I was going to explode a coil spring. So, I think I'm going to have to move the unibody spring mounts backwards. I toyed with the idea of converting to coilovers, but I've ruled that out due to cost. I could also have the driveshaft shortened, but I really don't want to pay to have my driveshaft modified again. I have seen that people are happy with the land rover coils so far, so I am considering doing that conversion at the same time just to get rid of my chopped jeep springs but we'll see about that. Hopefully I can get on this soonish depending on work and weather. In much more interesting news, I picked up 2 Chevy 10 bolt axles out of an old suburban a few weeks ago for a steal. They need some TLC for sure, and the front axle will need to have the diff flipped to the drivers side etc etc... Not saying it will happen soon at all but I think I've started collecting parts for an SAS. I probably will not use the rear axle but I couldn't take one without the other, and you never know. And Swamp Thing broke... it needs a bunch of welding repairs but the mud season is done so that's low priority atm.3 points
-
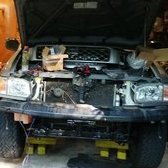
I've always wanted under hood lights. 20 years ago I thought about wiring up my own led string under the hood, but I shy'd away because of a lack of experience with soldering, circuits, etc. Now you can simply buy a strip that's already built and ready to go, so I decided I had no excuse not to try. There are sooo many choices on eBay and Amazon, it's a little overwhelming. I decided to go for one of the more pricey versions hoping it would be worth it and besides it came with the wire and pin switch. Here is what I got: https://www.ebay.com/itm/Underhood-LED-Light-Kit-w-Hood-Switch-Size-and-Color-Options-Available/291157773341?ssPageName=STRK%3AMEBIDX%3AIT&var=590308031148&_trksid=p2057872.m2749.l2649 The ad claimed they lights were water and ice proof, sealed in a silicone coating. Ends sealed with marine grade heat shrink. 3M adhesive backing. I bought the 24" version of high intensity white. It has a 10' 20awg black wire and a small hood pin switch. The only thing I needed was more zip ties and a washer. Here is a before pic of the engine bay, in my garage, with the light on. I decided to mount it in front of the weatherstripping because it shined in my eyes less, although you'd really be looking down most of the time so who cares. It might have been protected more behind the weather stripping, but I went for it anyway. I drilled a small hole in the underside of the hood and fished the wire back to the rear corner. I pulled the wire through a little fast and it got in a little bit of a bind, but worked out ok. Next I used an existing hole to mount the hood pin by the battery since the positive would be headed that way anyway. I didn't have a power distribution block and I figured something this small didn't need a fuse. I ended up running the positive wire to the fuse box behind the battery. The negative side went to the pin switch. Easiest wire job ever. From there it was just a matter of zip tying up the wire. For less than $20 it is an easy and awesome mod. And the final result is:2 points
-
Someone once told me to tack the spacer together and see if you have it aligned correctly, and if not then take it back apart and tack it again until you have it just right.2 points
-
They are isolated I have them triggered when the car is on to open up. I also added a switch just in case the main went dead. They are supported by a metal plate on the bottom. I don't want to talk about how they are secured at the moment haha. It's on the todo list to secure it properly, but it's been on that list for a couple years.2 points
-
Looks good! LED underhood lighting is one of the most helpful mods I've done to mine. I do recommend putting a fuse on that circuit, especially with the wires going through a hole in the sheet metal like that. A grommet or even just some tape around the wires where they go through the hole isn't a bad idea either. The idea is not so much that the LEDs could draw too much power but that the wiring could rub through or get pinched somewhere and short to ground. Even a crappy in-line fuse should be sufficient for a low-draw system like hood lights.1 point
-
Had the same issue on my 96, I cleaned both surfaces with an alcohol pad, then spread a thin coat of super black rtv, just thick enough to hold itself together long enough to get it all into position, then closed the door gently, let it sit overnight & was good to go.1 point
-
Yesterday I fixed my cruise. Today I installed under hood lights. Life is good!1 point
-
Where did you get the spacers? I don't have exact schematics but the strut shouldn't be anywhere near that brake line manifold. A quick way to tell if you have a poorly made strut spacer is to check for parallelism and perpendicularity. Basically the tube that gives the lift should not have any angle to it whatsoever when mounted to the truck. It should be visually straight up and down if looking from the passenger side towards the drivers side and looking from the front of the truck towards the back. You can also check this with a basic phone app bubble level.1 point
-
I wish I had it screenshotted still, if you message TowndawgR50 he'll have the answers. That diagram is wrong if I remember correctly.1 point
-
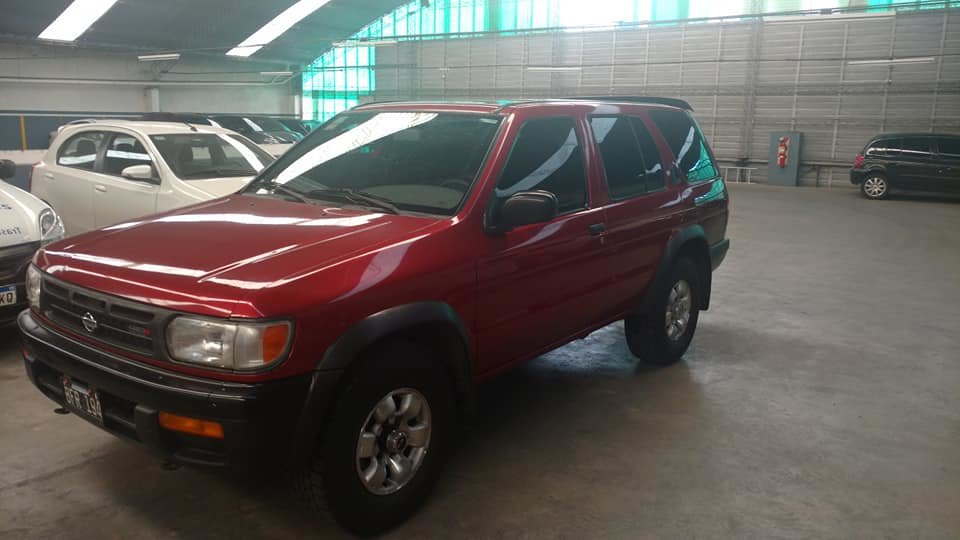
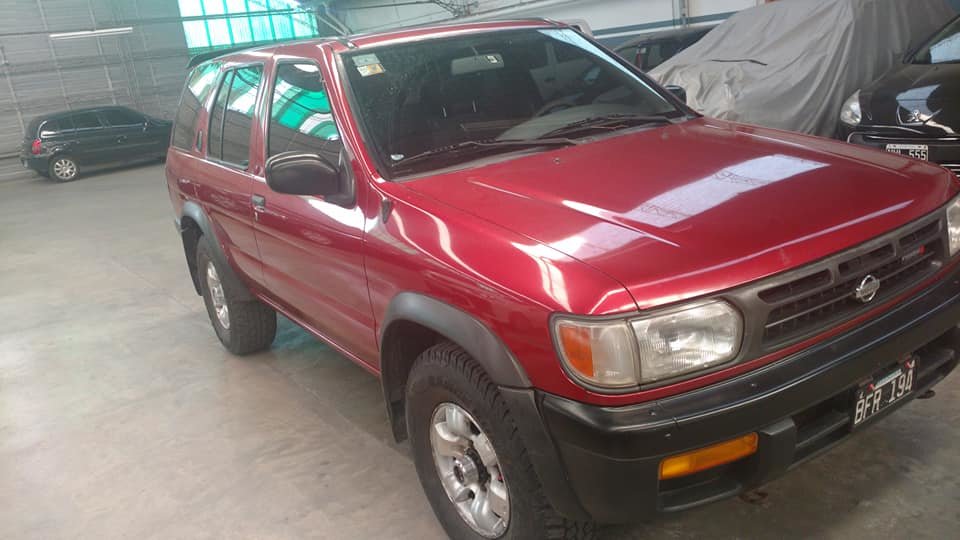
today they gave me my truck, from the paint shop, which had a couple of blows by the hail, next step wheel spacers and lift
 1 point
 -
For brackets, I'm also looking into making a small metal brake or finger press brake for my floor press to make some bends. Hood hinge mounts are something on my list of things to make. Yeah, the spots vs flood vs clear vs color also boil down to usage...a "what do you need to see, and how soon?" assessment comes to mind. If you're speeding through desert trails at dusk, spots. Crawling, floods. Forested fire roads, maybe spots for straight-ahead, and floods for forest line/periphery. Some brands also support clip-on color lenses. The wiring is actually pretty simple. Although the wiring kits simplify the installation, they're not usually the path I take because they're too universal...you usually have to plan for the inline fuse to be accessible, a certain location to mount the relay, hiding excess cable length (or worse, insufficient cable length). But, the electrical connection itself is very simple. The best advice I can give with it comes to electrical connections is to consider ALL of the future (and even current) devices in the truck, then build a solution that makes connecting and adding circuits easier, safer, and cleaner. I personally can't stand rats nests of wiring, which is essentially what you get when you add something here, then something there, then something something something. Particularly in the case of adding external lighting, planning ahead is a must if you need to drill into any part of the vehicle. For a single light bar, you might be able to snake a cable along the windshield under the seal, but if you're adding multiple lights, drilling a hole in the roof might be the best/only approach...plan accordingly! Blue Sea makes some nice fused distribution blocks, great for relay and non-relay applications, but there are some simpler/cheaper fuse blocks out there. If you plan to add multiple LED lighting circuits, take a look at some multi-relay circuit boards meant for Arduino/RPi stuff (some support 12V/10A applications, . Nice, clean, and cheap (not that standalone relays aren't dirt cheap). Even if you only plan to add one lightbar, make your own relay distribution hub to support extra relays. Keep in mind that some low-wattage lights can be supported by relay-less circuits, so long as the switch supports the amperage (watts/voltage=amps), which can simplify circuits even further. Bottom line is that it's easier and better to run a single power lead from the battery to a distribution point, than it is to run a bunch of wire directly off the battery.1 point
-
2 things worth noting: *Complaints about significant wind noise on roof light bars. *Blinding light from reflection off the hood. Alternatives to consider: Light bar integrated into forward grill (eliminates wind noise & reflection issue) Ditch lights (give better lateral light for looking for camp sites, forest roads, etc. & easy to mount from hood hinges with minimal fabrication)1 point
-
Don't trust the waterproof ratings on some of the cheaper stuff. I put a pair of Kawell LED lights (not proper bars) on mine as backup lights, and the ad said they were waterproof, but they weren't sealed for crap. The fittings for the wires were loose, and I discovered after sealing those up that the lenses weren't sealed either. I ended up tearing the leaky one apart and putting them both back together with a bunch of silicone. They're bright as hell but it's a good thing they're mounted down where you can't see them, because they look like they lost a fight with a tube of Ultra Black. Oh, and if you're even considering using the bar on the road, hook the switch into one of your high beam leads instead of constant + so that the bar turns off when you dim your lights. I've driven past one bro truck with the light bar on and that was enough.1 point
-
Fairly subjective, you might get a wide variety of answers in terms of making a selection. A lot boils down to budget and general usage. I'll never stomach spending the money for some brand name ones...they won't make or break my adventures. I really like the aesthetics of curved light bars that span the top of the windshield. There was one install pic somewhere on NPORA that looked great. But, they're impractical for my application: I rarely offroad at night, and in the situations where I have, I wouldn't be able to use them because I'd just be blinding the guy in front of me. A smaller light bar in a low position will serve my needs. If electrical isn't your thing, look for wiring kits...they'll usually include the switch, relay, loomed wiring, and crimped terminals. Some will include a water-tight harness, or otherwise be plug-and-play (particularly if the light and wiring are of the same brand). Harnesses that come with Carling switches (those rectangular ones) are a close fit to the rectangular knockouts on the dash, but some modification (by knife or file) might be needed, and you might have some close clearances if using the openings to the left of the steering wheel under the vent...the dash can interfere with the paddle switch operation (at least on the later models they can). The round switches install well with a Forstner bit, which leave a better cut than standard or paddle bits in my opinion. I usually drill the hole right into the knockout piece, knowing that I can replace it easily if my setup changes...if taking this route, put some disconnects on the switch wiring to simplify installation/removal. As for mounting...this is probably the trickiest part since it's all custom. If the light bar brackets are included (some aren't) using your roof rack rails might be pretty trivial...some slot or square nuts in the channel (probably have the OE ones already in there and unused...I think they take an M6x1?), matching bolts, and some pieces of plate steel or aluminum cut to size/shape would give you some offset mounting options, since the end of the rail is still several inches from the windshield line. If you're willing to drill into the roof and have access to a rivet nut setter, that's another option, as is self-tapping screws into the A-pillar (though probably not the approach I'd take...just be sure to seal any holes with silicone and rubber gaskets to prevent water ingress). If you want some custom brackets made, I could cut something out on the plasma table, perhaps even get some bends in it. We'd need to talk about some dimensions, of course.1 point
-
Not without spacers, no. The issue is when you go larger than 31" the tire contacts the strut. You have to move the tire/wheel outward to give the clearance necessary for larger tires. After that you can cut to your heart's desire.1 point
-
Love them old Ford's! Looks like a late-60's or very early-70's!! Unfortunately I only see 2 or 3, very occasionally, around here. Sorry Nissan nuts, I am an old Ford boy at heart. The 2 trucks I truly regret selling are my 78 F250 hi-boy (35x12.50's with stock suspension and no cutting) and my prized 79 Bronco (big block conversion, big axles, big lift & 42's). God I miss the good ol days, but they all brought me to now, wouldn't trade my kids for any of it. Great memories though! P.S. - post a few more of Swamp Thing! It'll be ok! I promise!!1 point


.thumb.jpg.3351162271e2c1bf86fe7c0c7e657df0.jpg)

