Backpacker
-
Posts
208 -
Joined
-
Last visited
-
Days Won
3
Content Type
Profiles
Forums
Calendar
Posts posted by Backpacker
-
-
No question is a dumb question!
Sent from my iPhone using Tapatalk
-
What year Pathfinder? I'm only familiar with the wd21's IFS. If your talking about just your shock absorbers (or dampeners) then it shouldn't matter either way. If it's a MacPherson strut then they usually have a right and left. If you haven't noticed a difference in ride or tire wear I wouldn't worry about it. Take it with a grain of salt until someone else chimes in.
Sent from my iPhone using Tapatalk
-
Driver side right or looking at the truck from the front?
Sent from my iPhone using Tapatalk
-
 1
1
-
-
Mounted my walkies to the a-pillar. I always forget I have them now I won't.

Sent from my iPhone using Tapatalk
-
3
-
-
You rear axle will do the same thing.
Sent from my iPhone using Tapatalk
-
1
-
-
Don't know much about the 4wd system. I replaced the passenger side axle. After replacing I turned the pass side tire and the drivers side turns also. Is this normal or did I install the axle wrong??
Sent from my SM-G530T using Tapatalk
That's normal. They will turn opposite directions for an open differential, or turn the same direction with a limited slip or locked differential.
Sent from my iPhone using Tapatalk
-
1
-
-
Finally put the old school Thule roof bars up my grandma gave me. $30 in hardware; 8 rubber coated jacknut type deals and 8 1/2-20 bolts. I was worried 2 per side wouldnt be enough but damn is it stout! Once I have time to make a roof basket I'll re use the mount points and design around them. Now it will be way easier to throw the yaks up top.

Sent from my iPhone using Tapatalk
-
That looks way cooler imo. I saw a few sets at the junkyard yesterday, I might have to go get them and do this.Spent the majority of yesterday blacking the lego's on my 92. Pleasantly surprised with how good they ended up looking!
Sent from my iPhone using Tapatalk
-
Yeah it looks like I can do some cutting to make them fit. I think the end product would be worth it.Yeah, there's not much room behind those plastic bits, and IIRC the metal back there is formed to where you'd be doing a fair bit of surgery to open them up. That said, if you can find/make a panel that size, it could be an interesting setup. Turn them on, then open/close the hood to spot planes!
Sent from my iPhone using Tapatalk
-
For the 1989 model year. Has anyone followed the FSM instructions for servicing the air conditioning? It says to fill form high side, vacuum it out then fill again from high side them fill from low side after that. All this with the engine off. I thought you should only fill from the low side with the compressor running?
Sent from my iPhone using Tapatalk
-
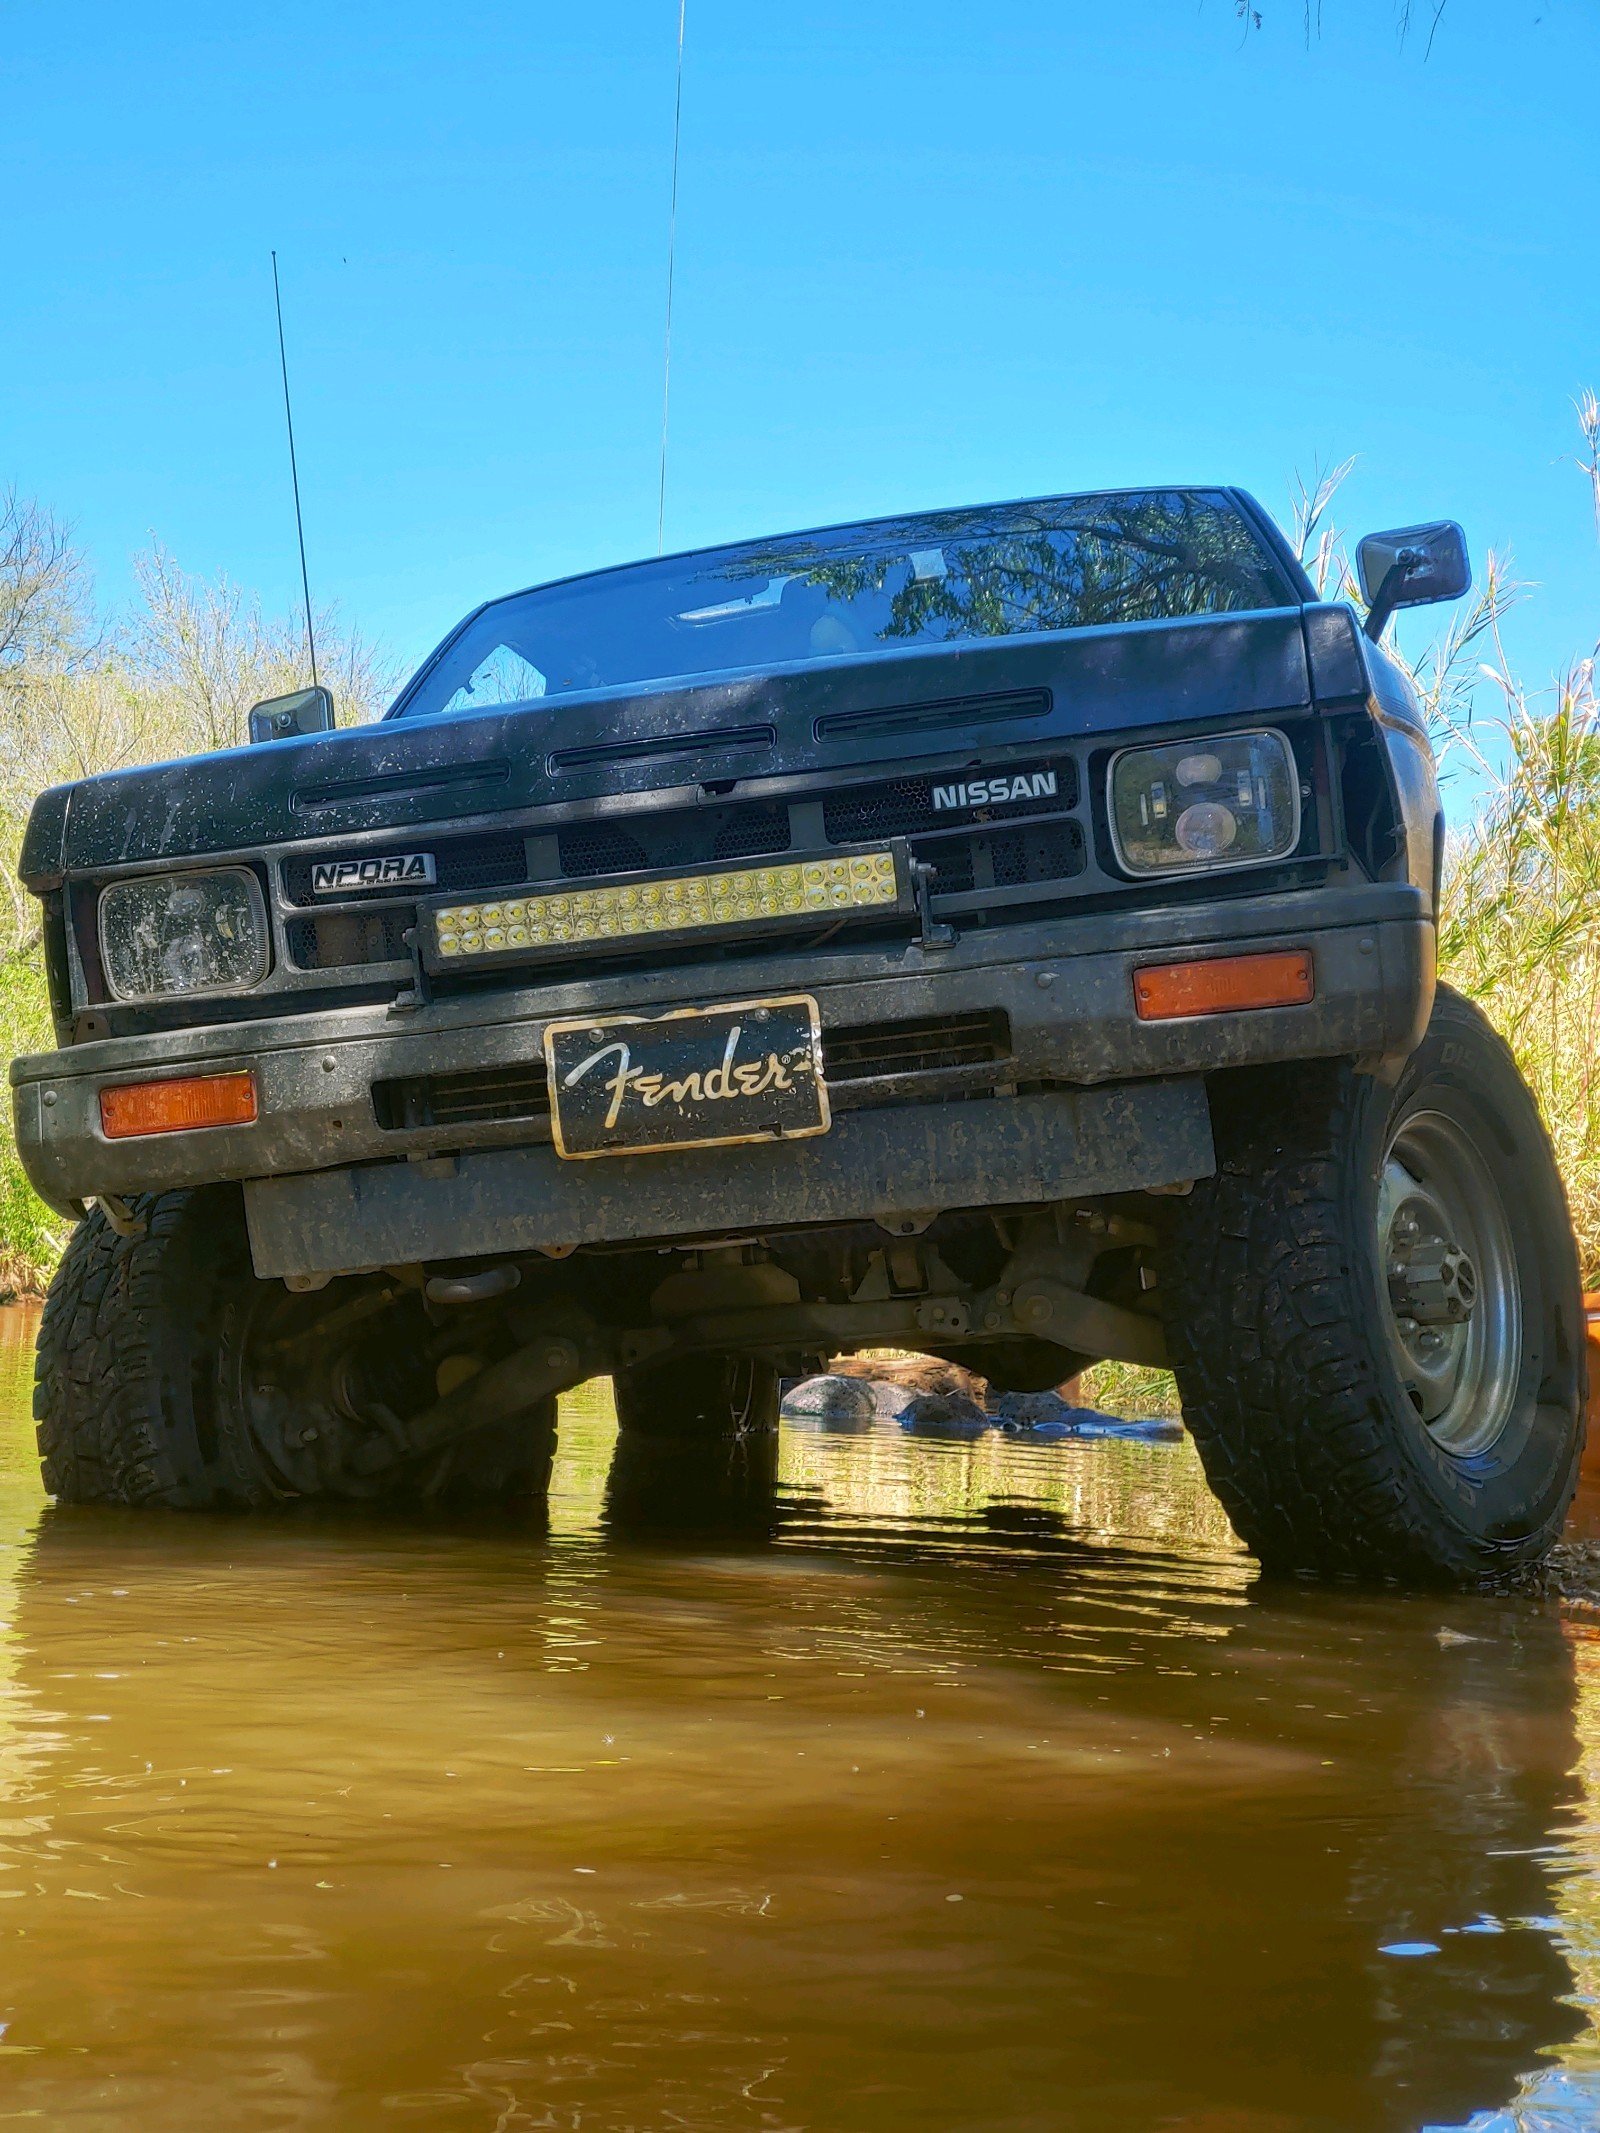
Discovered my lightbar is in fact not busted! The previous owner mounted the relay to the side of the fender pretty exposed, and it got wet one too many times. I put the new relay in the open spot in the relay box, so hopefully it stays dry from now on. It feels good to be bright again.
Sent from my iPhone using Tapatalk
-
1
-
-
What year? Sounds like it could be a fuel problem. When you turn the key to the ON position, do you hear the fuel pump prime up? It'll sound like a faint whine, you have to really listen for it to notice.
Sent from my iPhone using Tapatalk
-
That makes it 100 times better hahaWell THAT didn't work so well-lol. Was going to add: use pics in conjuction w/your cardboard and notes on the cardboard too. Use a zap strap run through 2 holes in the c/board to hold any nuts you come across.
Sent from my iPhone using Tapatalk
-
Cardboard. Using a sharpie draw whatever mating surface/part on the cardboard and poke holes where each respective bolt goes, then just put the bolts in the holes. Makes it super easy to know exactly where each one goes back. Couple this with some extra large zip locks so you don't loose the bolts if it's a longer project.I don't really have a solution to keep all the bolts organized outside of sandwich bags, which I will probably end up doing unless there is a better cheap idea.
Michael
Sent from my iPhone using Tapatalk
Sent from my iPhone using Tapatalk
-
1
-
-
I would think dry is fine. Only reason I ever put rtv on gaskets is for extra leak protection from fluids. I guess air is a fluid, but I don't think it would need it.
Sent from my iPhone using Tapatalk
-
1
-
-
I'm going to replace all bushings when I do this, probably to poly.This is the proper repair. Common problem, relatively easy fix if you're handy. No need to remove the LCA. Just the 2 bolts that hold the rod, and the big nut on the end of the rod (it's a 24mm or 15/16" wrench you'll need).
I found poly bushings really firmed up the ride, if you don't like it too rough, stick with oem rubber ones.
Sent from my iPhone using Tapatalk
-
I read in another forum you can just remove the compression rod from the control arm to do it. It's rust free so I think I can go that route.I beleive it's possible to do this without removing the control arm but I was replacing bushings when I did mine so I had a lot more room. Depending on your skills and the amount of damage done you could probably just fab a new cup and weld it on in a few places
Sent from my SCH-I545 using Tapatalk
Sent from my iPhone using Tapatalk
-
Thanks RC.I enlarged and cleaned up the hole and welded in some hardened washers (may or may not have been the correct kind) but they happened to be the perfect thickness doubled up. Then dusted the fromt of the mount with a grinder and then welded on the bearing race. If you go into my posts there should be pics of it in place. I beleive the part number is L68111 for the bearing races.
Sent from my SCH-I545 using Tapatalk
I'll be addressing this in a few weeks when my semester is up and I have some free time.
Sent from my iPhone using Tapatalk
-
Look on the back side of the compression rod for what the cup looks like, they're not all that thick. Usually they crack and then break away from the welds and fall off after rusting apart.
I've used bearing races ground down to replace the cups and that's what I plan on doing with my 87 if the cup can't be salvaged since it's still there.
Sent from my SCH-I545 using Tapatalk
Great idea! I still have the old races lying around from when I did bearings on my ranger a while back.
Sent from my iPhone using Tapatalk
-
Also, if the hole is pretty messed up, which as of now looks like it probably will be, if I brace over it with some steel do you think it will mess with my alignment? Seems like it would be easier and faster than cutting the whole square plate off and putting a new one on to keep the mounts geometry the same. I can do that if required though.You're missing the little cup that is welded to the frame mount. It keeps the bushing centered. Check to make sure the hole isn't all worn and chewed up also.
Sent from my SCH-I545 using Tapatalk
Sent from my iPhone using Tapatalk
-
Well that's a bummer. Everything looks oem and not modified at all, I wonder what happened to it. Think I could make one myself and weld it on? I know how to turn parts, not the best welder but I have acces the newest Miller welders on the market at my school and have experience with stick, mig and tig.You're missing the little cup that is welded to the frame mount. It keeps the bushing centered. Check to make sure the hole isn't all worn and chewed up also.
Sent from my SCH-I545 using Tapatalk
Sent from my iPhone using Tapatalk
-
Think this is the cause of my series of pop noises when I accelerate through a turn? I know it's not cvs and everything else is tight. It's hard to see without pulling the lower control arm completely off, but it looks like it's starting to tear through the metal on the welded mount.


Sent from my iPhone using Tapatalk
-
Yeah I know I can measure. But figured I try and see if anyone had any idea about the weird markings for these wheels. They're not like any I've seen before.Google how to measure wheel offset. It's pretty easy, just need a tape.
Sent from my iPhone using Tapatalk
-
J15 x 6JJ DOT TOPY 1619 87 S3.8 NISSAN
All I can tell is they're 6" wide and 15" diameter. I'm trying to figure out the offset and pcd so I can try and trade on my local 4x4 forum for some 31"s.
Is the S3.8 positive 3.8" offset? Seems like that could be correct for how far they sit in the wheel well.
Sent from my iPhone using Tapatalk
Anybody use their pathfinder at work?
in General Forums
Posted
Sent from my iPhone using Tapatalk