- Sign In Changes: You now need to sign in using the email address associated with your account, combined with your current password. Using your display name and password is no longer supported.
- If you are currently trying to register, are not receiving the validation email, and are using an Outlook, Hotmail or Yahoo domain email address, please change your email address to something other than those (or temporary email providers). These domains are known to have problems delivering emails from the community.

PathyGig12
-
Posts
413 -
Joined
-
Last visited
-
Days Won
30
Content Type
Profiles
Forums
Calendar
Everything posted by PathyGig12
-
Bilsteins just went on. She rides much better now and I’m very surprised how noticeable the difference is
-
Awesome trick! I’ll have to try it sometime.
-
You’re confusion is totally understandable, that’s also what I thought originally. But some other members on here have confirmed that the manual hubs do not actually stop the CVs or the front shaft from spinning because there is still some residual drag in the transfer case that keeps them moving, which can’t be fixed. Kind of defeats the purpose of unlocking the hubs for the post-facelift pathys, but it is still nice to have them for other reasons. I’ve actually had a camera under the truck for a while now and you can watch the front shaft continue spinning as you drive with the hubs “freewheeling” Edit to say: this is only true for pathfinders with the AUTO mode transfer case as far as I know.
-
Update: I finally got around to taking off the front shaft. I had a shop do it because it was way too difficult to remove myself. My wrench kept slipping off and I couldn’t figure out any other way of accessing the bolt heads with the lack of clearance around them. Sure enough, as soon as it was removed, the vibration was completely gone on the highway. So this tells me definitively that the shaft was involved, either off balance or bad U-joints. The only thing else it could be is diff bushings, but I’ll know soon enough once I have the new U joints put on and get the shaft balanced. Hoping to do that before the vegas trip, so I’ll update with the results. I’m going to have an excellent driveline shop do the work so that it gets done perfectly the first time, and if the vibration still exists, the diff bushings would be the only other possibility.
-
Lol definitely not. It was Mobil 1 ATF of some sort, but not sure which
-
Yeah this sounds exactly like the issue I had before I changed my trailing arms. I just did the lowers and it got rid of the sway, but it’s a good idea to do the uppers as well. They control the twisting of the axle under load/braking and if the lowers are crapping out then it’s likely the uppers are pretty close behind. Only reason I did the lowers alone was because the uppers were already done a couple years prior
-
Cool thanks John. Can’t remember what I used for the transfer
-
I’ve been considering doing a drain and fill for the tranny fluid since it’s been at least 5 years, but I’m having a tough time figuring out which fluid to use. I know Matic D is recommended, but it’s super expensive and I’d like to find an alternative. Walmart had the valvoline Maxlife multivehicle ATF in the red gallon bottle and on the back it specifically says that it’s compatible with Matic D, so I picked one up. But the more I look into it, it seems that people are saying it needs to be a DexIII/merc instead of the one I got which is technically DexIV Will it work or nah?
-
Nissan Patrol overhead switch panel
PathyGig12 replied to hawairish's topic in 96-2004 R50 Pathfinders
Shoot I wish I was that organized with my wiring! Right now I’m just happy if it’s good enough to not worry about an electrical fire breaking out -
Three stage roller bearing slides, just some basic 24” ones from Amazon. Not heavy duty or anything, but still rated for 100lbs each pair.
-
I pulled the cover off but wasn’t feeling motivated enough to make cutouts in the base of my drawer frame to allow access. It’s not a whole lot of space down there and I can’t imagine really needing it for anything. Access would be difficult anyway since the drawer boxes are in the way
-
Nissan Patrol overhead switch panel
PathyGig12 replied to hawairish's topic in 96-2004 R50 Pathfinders
I’m honestly not even sure my air bags work anymore, haven’t had anyone look at them since I got the truck 6 years ago. oh well In regards to getting wiring up to the overhead panel, I’ve had to rewire mine 3 or 4 times since I first put them up there and each time was an absolute pain. I got to the point where I didn’t even bother doing it properly because I kept changing my lighting or redoing which switch went to which light, so my wiring was just tucked above the secondary sun visors, rationalizing that Id do it properly someday. Ive got them under the headliner and A pillars now, the only ones exposed are the few that run to the monitor on the dash. Haven’t found a good solution for that section yet With that many switches it just becomes a pain because of how many wires Are involved. Keeping it all organized is the hardest part. When I go to install the new panel I’m going to have to tie together the related ones and keep things from jumbling together because last time I managed to lose track and spent a couple hours trying different combos -
Yeah this was the best way I could find to make full use of the space but not have to cut out the plastic hatch panel
-
There are slides on the drawers, just can’t see them! Ha, I was wondering who would notice first. They’re actually under mounted. After messing around with the standard set up I just couldn’t get them to roll smoothly because of all the geometry involved, so I basically took the slides and mounted them to base with thick beefy angle brackets and then put a 2x4 on the bottom of each of the drawers to screw the slides into so they still function identically to side mounted slides but the spacing between them is only 4 inches and they make a sandwich with the 2x4. I was initially concerned with the stability but so far so good. There is a tiny bit of flex clockwise/counter clockwise but as long as I don’t put all of the weight on one corner of the drawer (which would be dumb anyway), everything works great. And of course the added benefit of doing it this way is that I have a couple inches of room under each drawer to stash longer items like breaker bars, prybars, etc. I also went with 2’ long drawers instead of the full 30” so that I could still stash water, jack stand, recovery equipment, air compressor, and the spare CV behind the back seats. I need to hardwire and mount the compressor eventually but for now it’s sitting in the cargo area. I haven’t decided yet whether I want a small air tank to go along with it, in which case I would put it where the spare used to go, and then mount the compressor close by for simplicity’s sake. Anyway, I still need to either carpet or paint the the drawer boxes. So far I’ve only got the carpet on the front face and bottom of each drawer Here’s a quick pick of the mounting set up. I need to chop the slide bolts down a bit or get some shorter ones, I was playing around with fitment to see if the idea was feasible and I only had that length on hand so I just went with it and before I knew it the drawers were done lol
-
You might be wondering why I took pics of a dirty truck at a car wash lol. I was about to spray it down but then I remembered we have more snow coming later in the week so I just did some internal cleaning instead and realized I had some decent lighting for pics so I grabbed a couple. Drawers are mostly done. I redid the boxes and slides so they function perfectly now. I just need to finish carpeting the interiors. They’re not millimeter perfect, but I’m quite happy with the result. I’m curious if anyone will catch what’s strange about them... The rack is done as well but I’m still playing with the routing of the wires. I’m considering getting/making an awning for the left side so I’ll be grateful for the height of the rack. I put the two 7” pods on the corners but when I put the main bar between them it was whistling above 20mph so I have to leave it off until I can figure out where it’s coming from. The light output between the three was astonishing though! I also managed to close the hatch glass finally but it’s no longer functional so I’ll need to replace the hatch eventually. I removed the panel and found that it was bent at the spot with the most reinforcement so it’s not salvageable. You’d need a big sledge to bend it back but the effects of the various bends are not easy to track down so it would never be perfect again. Always two steps forward and one back with this truck! Oh and we’re doing a vegas trip in a couple weeks so I convinced the girlfriend to let me detour through Moab and hit a trail or two. Pretty excited, I’ll make sure to get lots of pics.
-
Nissan Patrol overhead switch panel
PathyGig12 replied to hawairish's topic in 96-2004 R50 Pathfinders
I went back to check the eBay listing and I think it was the G spec that I got. Oh well, rattle cans to the rescue lol -
Nissan Patrol overhead switch panel
PathyGig12 replied to hawairish's topic in 96-2004 R50 Pathfinders
This is an awesome find. I ordered one as well, not sure what trim color it matches but honestly I couldn’t care less because a quick shot of paint will make it whatever I want. I just want something to replace my current set up because it’s too cramped behind the panel with all of the wiring and even though its functional, it does look out of place -
The rack looks fantastic man! A lot more refined than mine I love the idea of using aluminum extrusion and I agree its the best stuff for this application, I just couldn’t get past the price tag. Also, you mention it’s around 70 lbs, thats pretty surprising for aluminum but I guess with all of those crossbars it makes sense. I think mine is sitting around 50 or so I haven’t weighed it but I can lift it pretty easily with one hand so it can’t be much more than that. How many attachment points did you go with? I like the idea of a deflector, I might have to figure out how to add one eventually. The front is still flat for now so I’d have to chop a diagonal and then get some 1/8 plate steel to weld on. That’s a lot of work just for some wind deflection.... maybe if I have some time down the road. I do like how the sides of your rack are more low profile, I went with a height of 6” on mine to maximize support of the sides for bulky items but it may have been a little too much. The lights arrived so I’ll put them on later tonight and post up some pics soon
-
snapped a couple quick shots
-
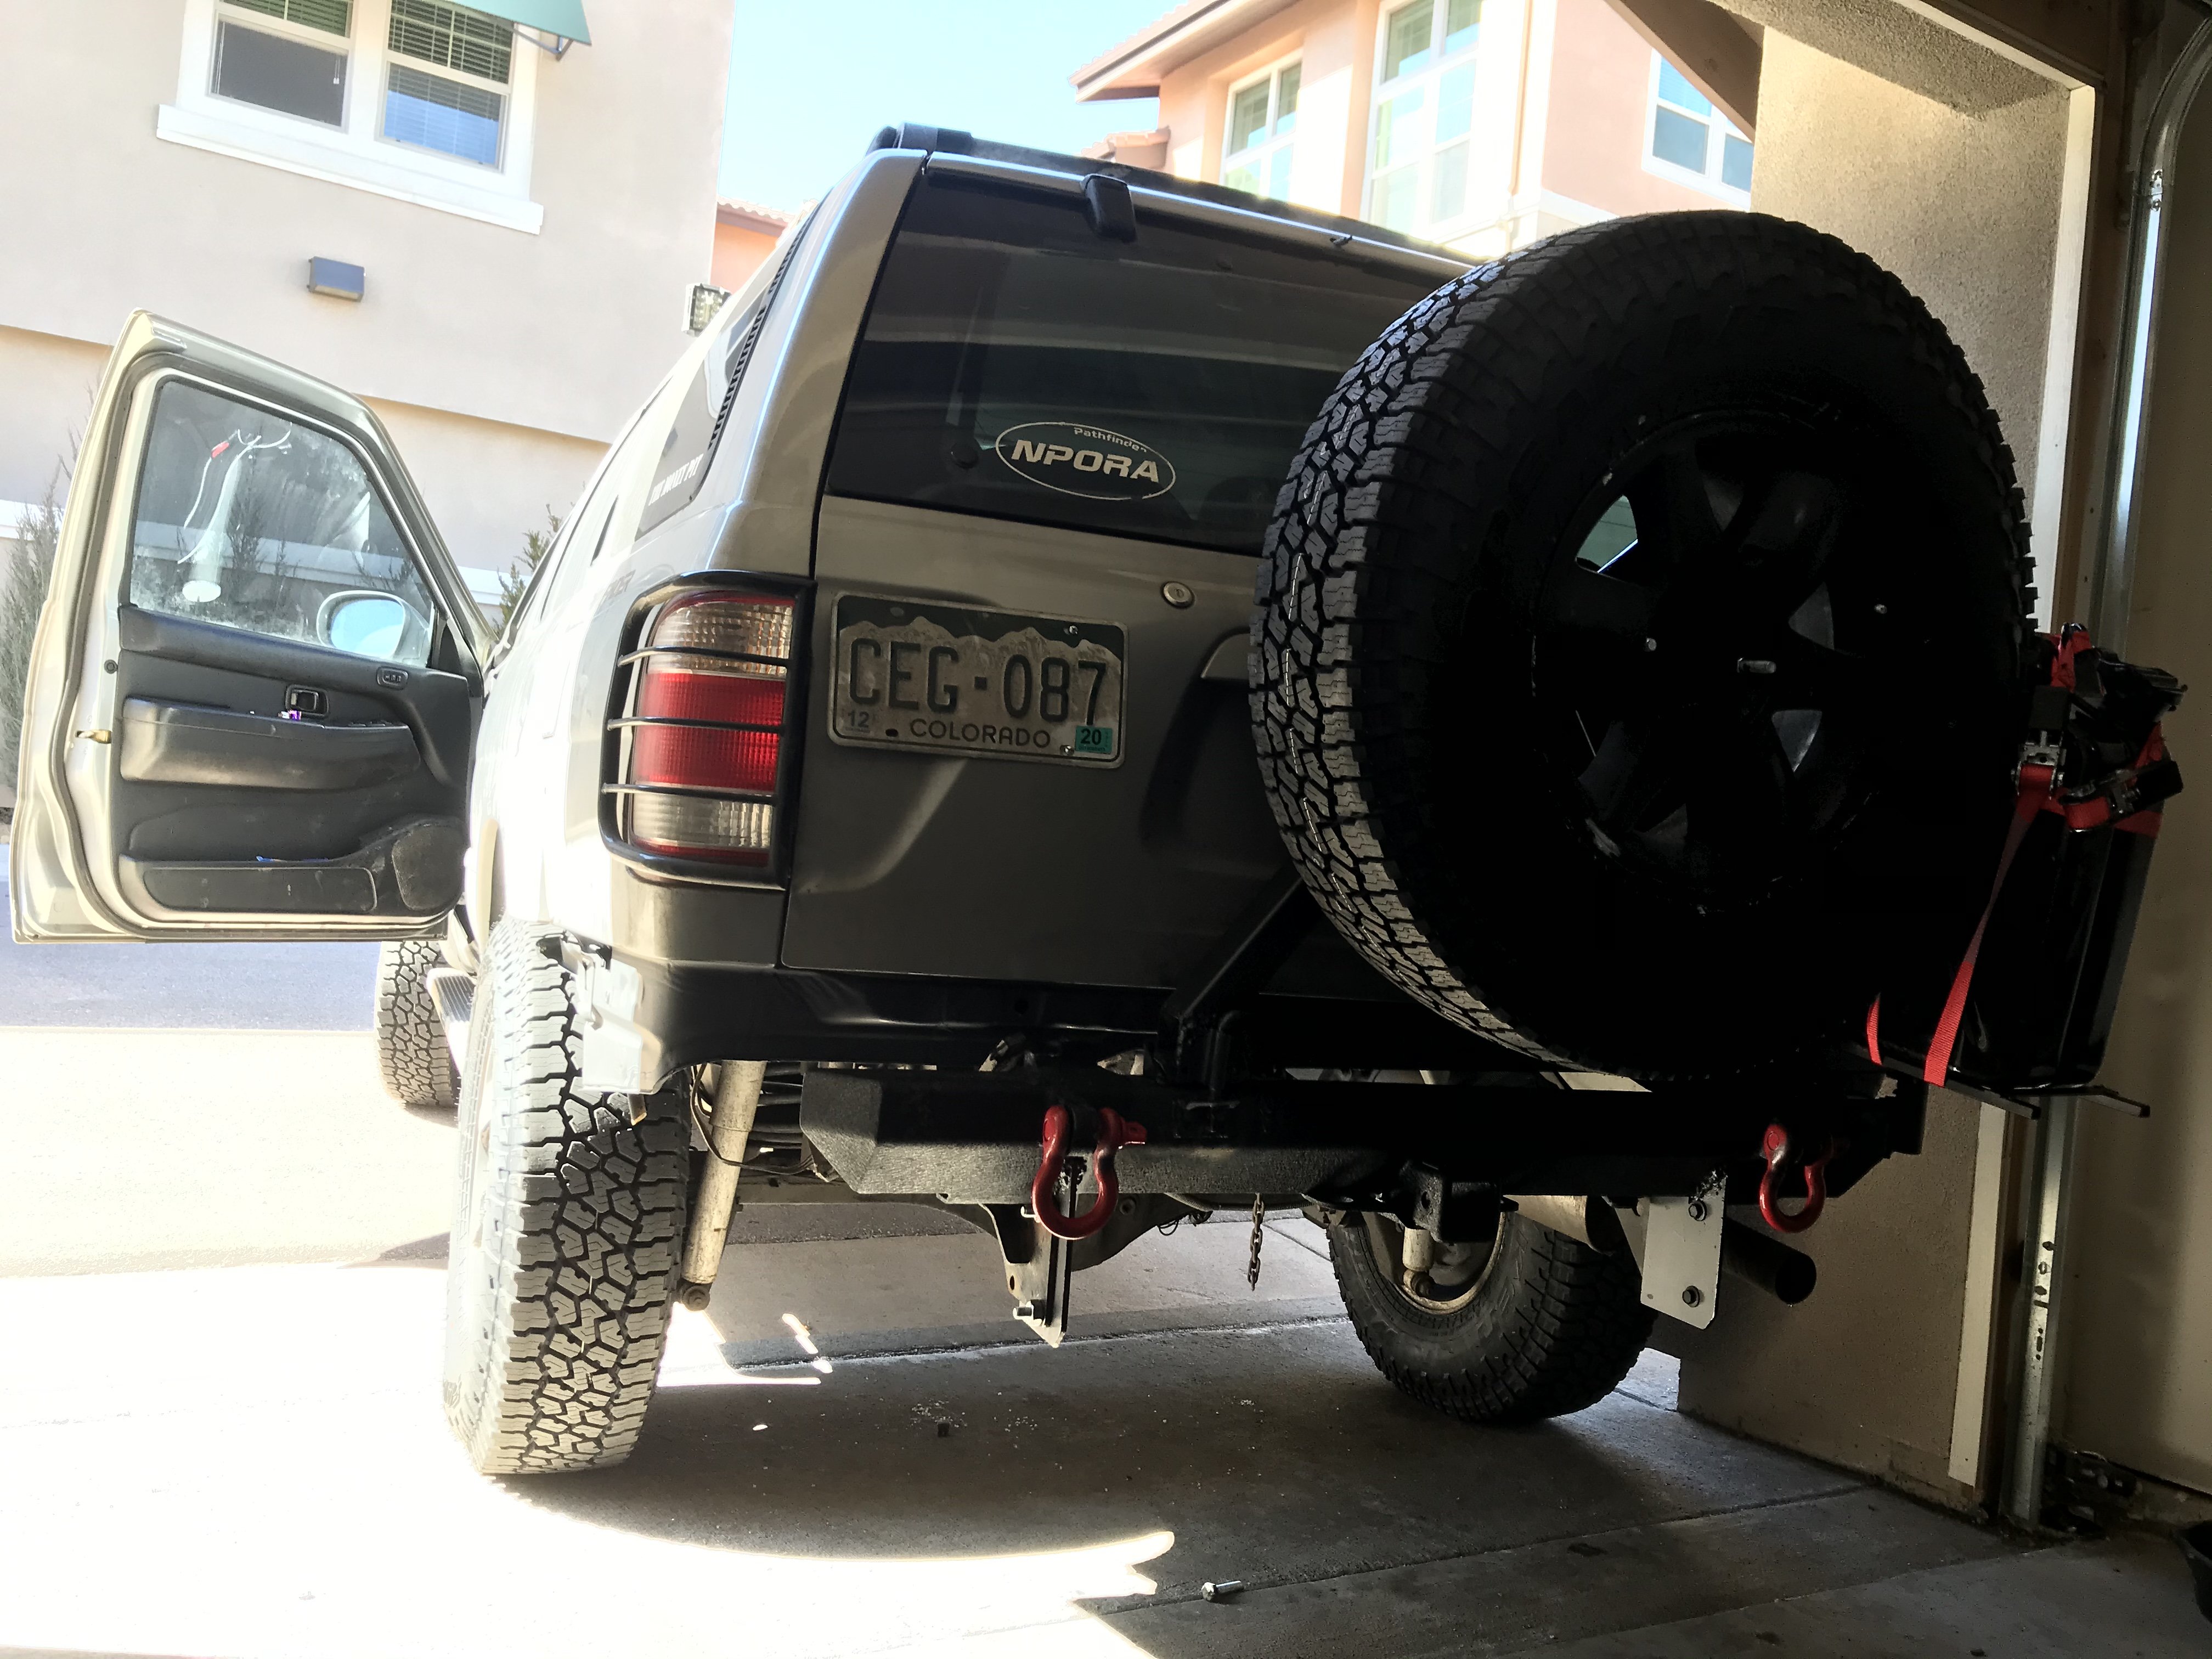
Oh and here’s a fun update. Last week my girlfriend back into a pole somehow and cracked the welds on my tire carrier where the A-frame meets the lateral base of the swing gate..... The pole had plenty of leverage from the tire I guess, and it was enough to crack the welds and tip the whole thing into the back hatch, denting up the section just below the glass. The hatch still works fine but the glass no longer latches properly after I managed to get it open, so I’m on the hunt for a new hatch at a junkyard. I was considering removing the inside panel and banging things back out but the damage is pretty extensive and it also messed up the mount for the rear wiper. Wiring up the new hatch when I track one down should be fun. So far I’ve only had time to redo the welds and added some reinforcement plate to strengthen the connection. The hatch will have to wait until I have some extra cash and time
-
Ha, you’re right the rack is definitely pretty “safari” inspired. I was almost tempted to use old school round lights for the front but decided against it. I ordered a set of 7” bars that will go on either end, and together they put out 24k lumens, which beats my original bar by a good 5K. Haven’t decided yet whether I want to keep the main bar between the two newer ones or just leave it off, but I’ll make the final call based on looks. Either way I’ll have tons of light output. Anyway, I’m sticking to the policy, no pics until it’s done! Like everything else on the truck it’s not perfect but I like it a lot so far. I like the larger footprint in terms of both looks and functionality, even though its pretty utilitarian in design and not the flashiest. One of my goals for the truck is to have the ability to grab the essentials and get out of the city if @!*% gets bad, which is serious possibility lately between the pandemic and political craziness. I needed the extra room on the roof for a few gas cans, my luggage roof bag, and the second spare tire. The back seat needs to be free for the pets and my trunk is full of tools and spare parts. Given the fact that the pathy is not huge like an 80 series, its short on space to begin with, so I felt pretty limited with the old roof set up. The drawer boxes themselves will need to be rebuilt but the main frame of the system will stay the way it is so it’s not really a full redesign. There’s no point in continuing to tweak the existing boxes since they are going to be so full of holes soon that they’ll be questionable in terms of strength. I want this setup to be cleanly built and super durable so it lasts the life of the truck. Better to start from scratch and make them fit right this time around.
-
Too late now, already disassembled it further. On Tuesday Im gonna redo the boxes and remount them, they were a little wonky anyway so it’s probably best. At least this forces me to slow down and make sure it’s all perfect
-
Bit of a set back yesterday. Was putting the finishing touches on the drawers and unmounted them out to do the last bit of painting for the parts that didn’t need carpet, but when I put them back in they no longer rode smoothly on the slides. Well @!*% I reused the same screw holes and everything stayed structurally the same, so I can’t think of anything that could be messing them up. Super bummed right now. Need to leave them for a few days and plan a new approach. After a couple hours of fiddling I was quite close to grabbing the sledge hammer
-
Double post

