- Sign In Changes: You now need to sign in using the email address associated with your account, combined with your current password. Using your display name and password is no longer supported.
- If you are currently trying to register, are not receiving the validation email, and are using an Outlook, Hotmail or Yahoo domain email address, please change your email address to something other than those (or temporary email providers). These domains are known to have problems delivering emails from the community.

PathyGig12
-
Posts
413 -
Joined
-
Last visited
-
Days Won
30
Content Type
Profiles
Forums
Calendar
Everything posted by PathyGig12
-
I don’t find myself arguing with anyone at the moment. I’m honestly a bit confused why this is so controversial. I was simply giving my experience with boot wear and warning those who didn’t know about the behavior of the auto mode Tcase with manual hubs. In fact, since I found this out I have been in agreement with you that the manual hubs are mostly a waste of money with this set up. I haven't gotten any better mileage either, and I don’t wheel recklessly enough to need to change half shafts on the trail. It’s interesting that you mention that the boot wear is due to the excessive stretching of the boots from the amount of lift alone, and not related at all to the rotation of the axles. So what you’re saying is if I took a brand new CV and left it on my desk with the angle stretched to maximum, the boots should be expected to spontaneously tear after a few months of sitting like that? I’m no expert but something elastic doesn’t typically break from being held at a constant, normally it’s from being stretched and compressed repeatedly, which is what happens with the boots while the CVs are spinning at extreme angles. Again, I don’t have any research to back this up, it just makes the most sense in my mind from a physics standpoint. I’ll make sure to keep an eye on my boots while the front shaft is removed to see if they still split when completely stationary, but I have my doubts. It’s possible it’ll happen eventually due to environmental factors like the rubber drying out, being affected by road grime and salt, but that sort of thing will likely take a lot longer to happen
-
Exactly
-
Yes I know that the AC springs are maxing the suspension and that this is the cause of the boot failure. My point is that people who use the AC springs up front need to be aware of the fact that the auto mode TCase still spins the front even with manual hubs. This info is important so that people don’t expect the hubs to save them from boot wear. We are in total agreement that with any other springs the boot wear would be a lot less, but with the AC springs specifically, the only way to stop the excessive boot wear is to either change springs or make sure the front isn’t spinning most of the time. And this isn’t being accomplished by manual hubs when you have the auto mode Tcase. That’s my entire point. When I said that I was “pissed” about the TCase still spinning, it was due to the fact that this information was not common knowledge when I went to buy the hubs. Everyone was listing heavily reduced boot wear as a benefit of the hubs, which turned out to not be completely true for this set up. That’s why I was annoyed and why I want to continue letting others know. Many of us cannot afford to do a SFD, or it is too intense of an operation for our skill level. People naturally still want maximum lift, and often choose to run the AC coils for this reason, so it’s a piece of info that I believe is important for them to consider. As far as my personal boot wear experience being abnormal, I don’t believe anything else is wrong with the truck. Like you said, it’s from the AC springs and nothing else. Since I don’t want to change to different springs, I’m leaving the front shaft off for most of my driving. Very easy to put it back on for wheeling trips.
-
I disagree. I’ve been through three sets of CVs since I put on the manual hubs and the boots always split within a couple of months. On one set of Cardone CVs, the boots gave out after just 3 weeks. Changing the shafts themselves has been easier for me than doing just the boots, so I have yet to give that a go and can’t comment on the difficulty of doing so. Even if the shafts are spinning at a slower rate they are still spinning constantly, which certainly wears the boots faster than not spinning at all. The exact rate of wear is going to depend on the angles of the joints and the material of the boots. I don’t see how my personal experience with manual hubs and boot wear qualifies as “misinformation”, so I’ll continue spreading it so that others have as much info as possible. That’s the point of this forum, isn’t it? We already have few enough active members sharing their pathfinder experiences, I think every bit of info we can get out there is going to be helpful for others who are looking to build up their R50s
-
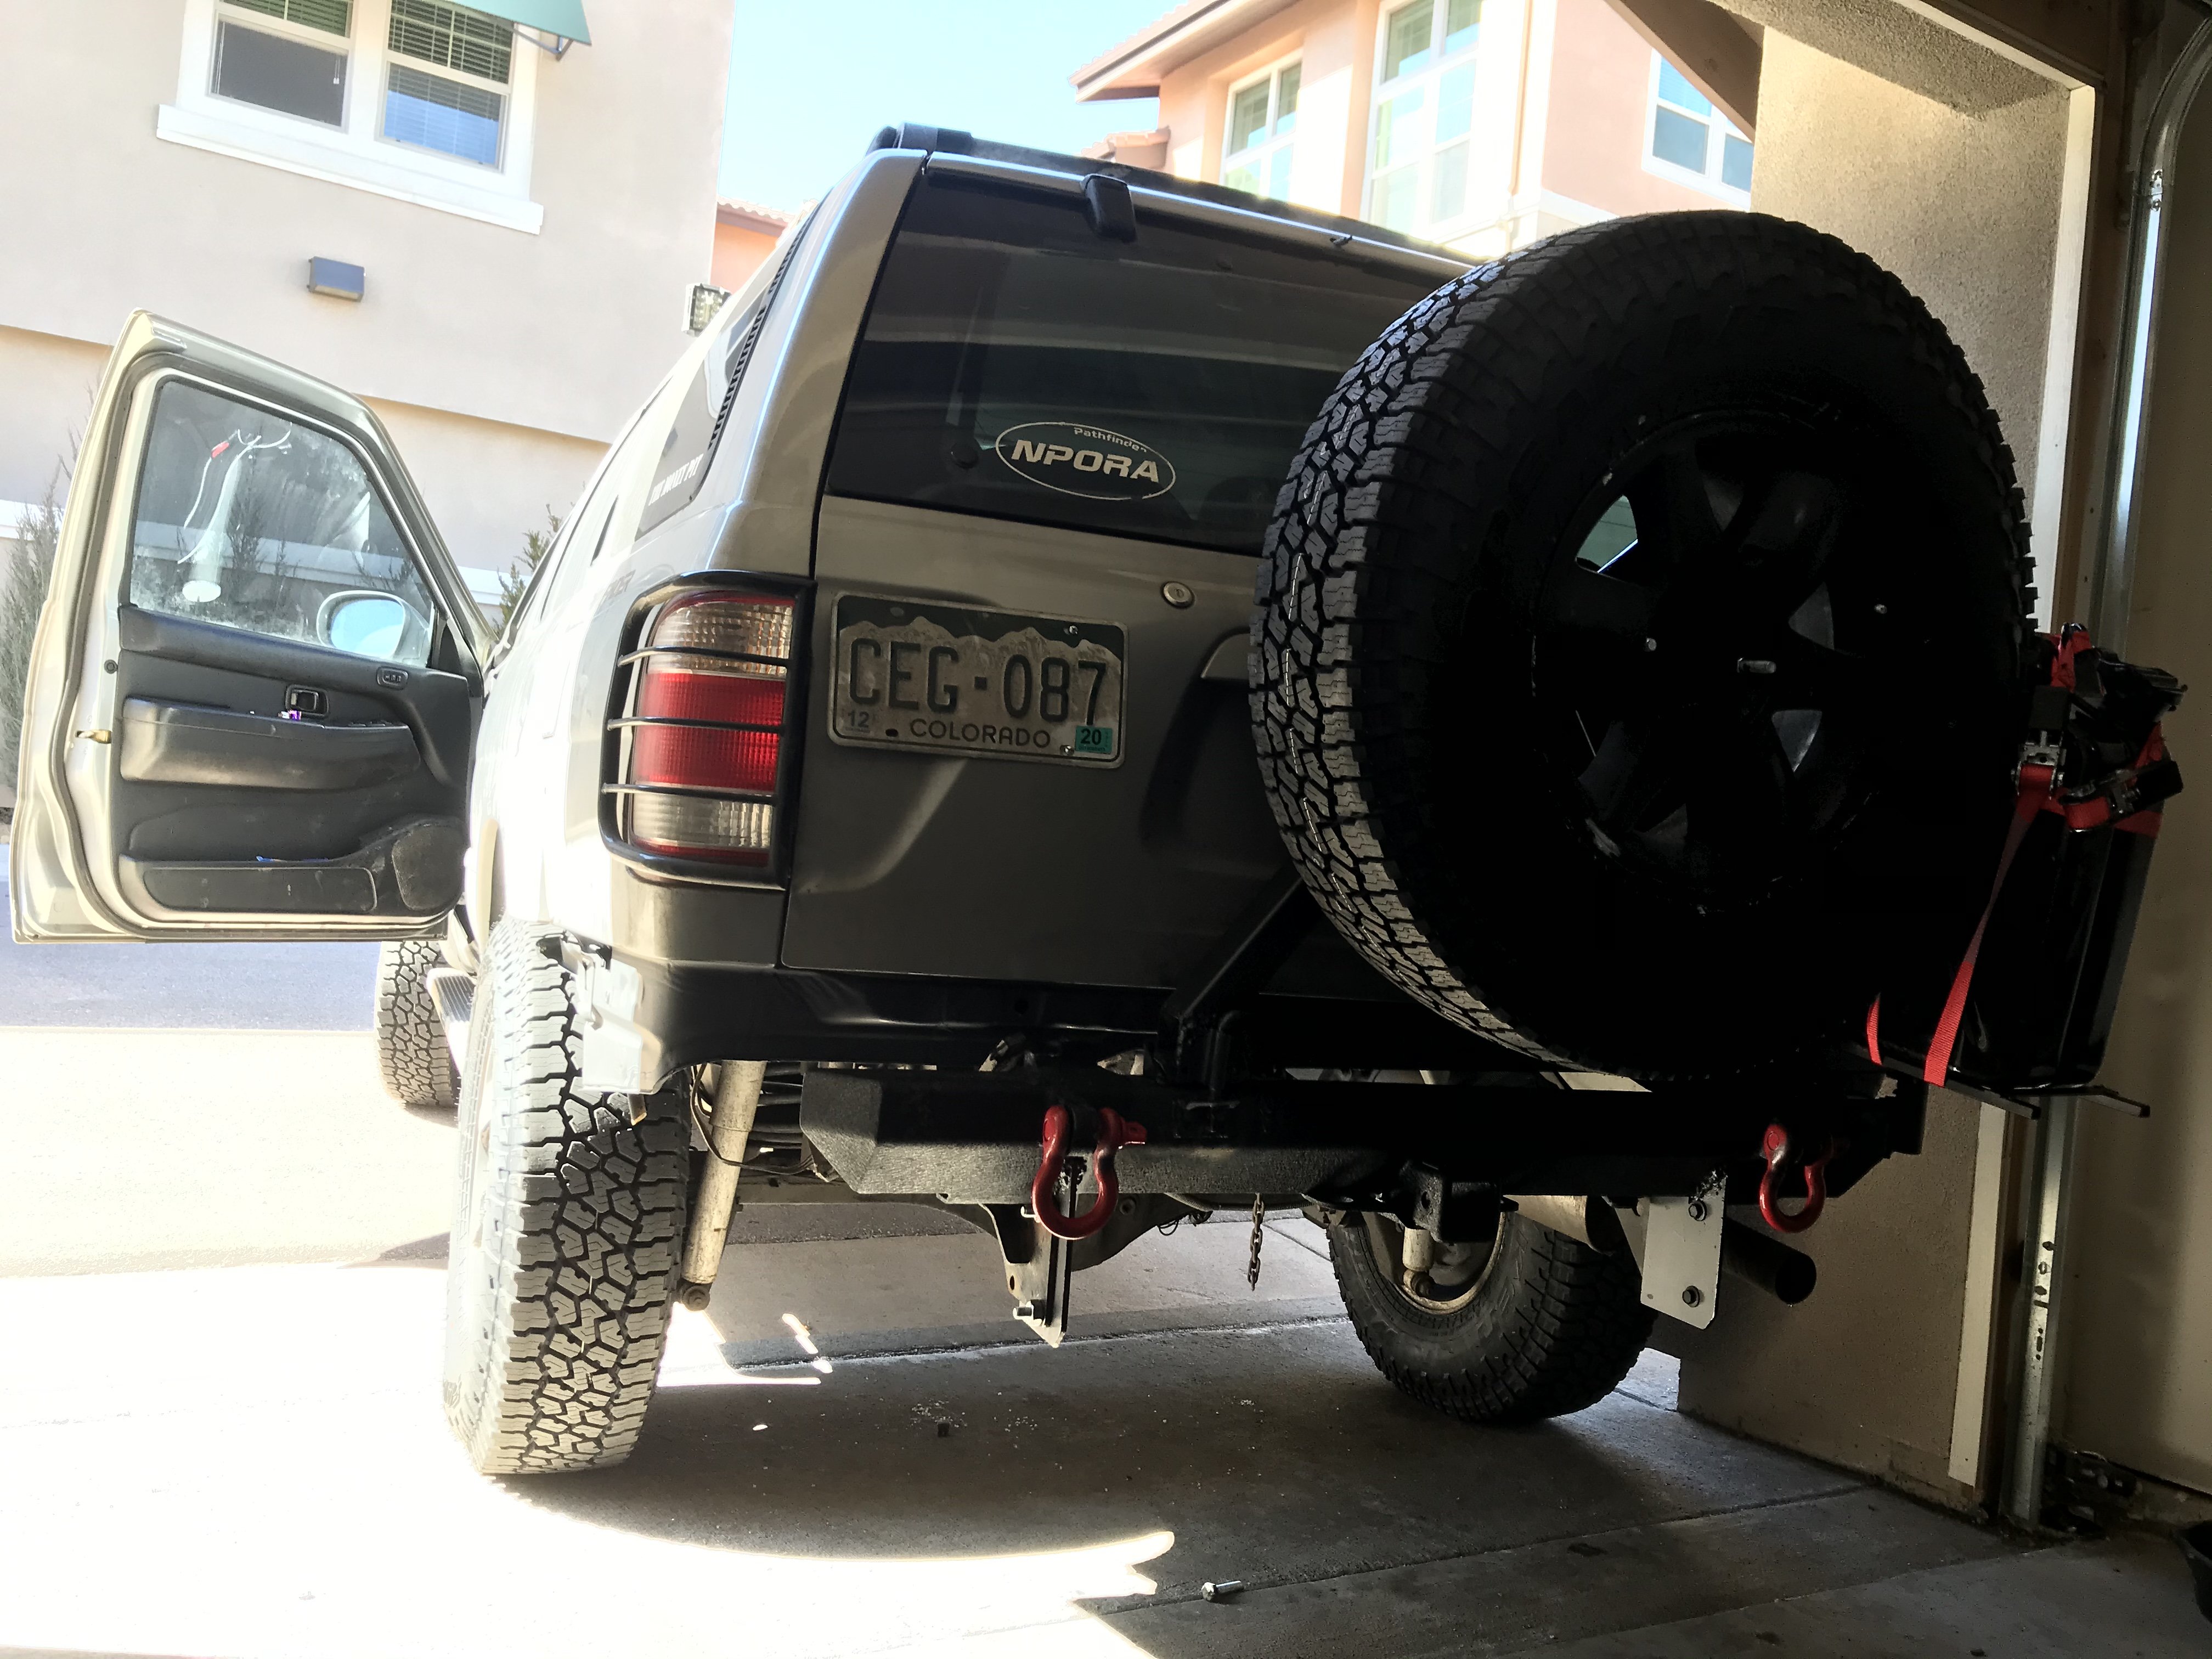
Not necessarily. For those with the auto mode dial on the dash, the CVs will continue to spin from residual drag in the case and the boot wear will be the same even with the manual hubs. But if you have the part time transfer case with the short stick for 4WD, the manual hubs will stop the CVs from spinning. This pissed me off when I found out so I’ve been trying to spread the word everywhere I can. My passenger side CV boots are torn but I have the OEM shafts with the best range of motion so I want to keep them as long as possible. When I do the rebooting I’m going to place an order with Rockford to make sure I get the high quality thermoplastic ones, and then I plan to leave the hubs unlocked and have my front drive shaft in the cargo compartment, only putting it back on for wheeling/snow driving to save the boots. I don’t mind tightening 8 bolts a handful of times a year to save myself from constantly buying new CVs. The thermoplastic boots will last much longer but they will still eventually split if I leave the front drive shaft installed
-
fresh off the boat
-
Back in town and I’ve got some good stuff lined up for this week. Ordered a set of front lower control arms, I’m going to see if changing them makes a difference because if you remember a while back I had that clunking from the loose ball joint studs so I think they elongated the holes over the few months of driving like that. Even though I tightened them, you can still feel it from time to time over really rough roads, so I want to swap them out just to be extra safe. It’ll also rule out bends in the arms causing the negative camber. But honestly I’ve yet to notice the camber issue since that one day when I was parked facing down on a steep hill. Could have just been the weight sitting all on the front? I’ll keep an eye on it. The switch panel is also sitting in the mailbox and I’m excited to check it out. It’ll take a couple hours to swap in and rewire, plus I still need to get new rocker switches to fit it, and paint it to match the trim. The last thing I’ve got on order is a new radiator fan to replace my badly cracked original. Needs to get done before it falls apart. While I was in Vegas I swapped the tranny fluid for the Maxlife, and so far so good. Nothing too noticeable but it shifts smoothly as always. The old fluid was somewhat brown, but not entirely trashed. I might do a second dump and fill later this month to get the rest out, but it’s ok for now. We ran it for a few seconds while draining and also poured a bit of the new stuff through, so I think we got around 60% of the old stuff out
-
Well shoot, I blame this forum. I read it from multiple people in many threads. Granted, mine were working just fine the way I had them, but I went ahead and swapped them around just because it would mess with my head now that you pointed out the upside down stickers lol I read into it a little more and it seems there’s a lot of opinions on this topic. Some people maintain that boots up keeps them out of the mud and water better, but others say boots down allows them to drain better, while some also say to take the boots off so they don’t trap dirt. Some also claim that the boots down orientation leaves the shock body vulnerable to damage from other suspension components while flexing, but the other side of the argument is that the body down orientation puts them at a greater puncture risk. I read that body down they might wear faster, or that there might be a dead spot in the first part of travel, or that it might be softer for some reason. So who knows honestly? Anyway, in addition to flipping them I went and drilled the upper mounts out and bolted with 14mm bolts so that they fit the rubber bushings nice and tight. I managed to get the drill in there without the 90* adapter with some maneuvering and a sharp step bit. I’m satisfied now. My switch panel also arrived from Australia on Sunday so I’ll be able to do the install when I get back to denver.
-
-
Awesome, I appreciate the clarification. Not sure where I heard of failures, I must be thinking of something else
-
I’ve always been interested in a SFD kit but wanted to see how others trucks were holding up to hard use after the install. Do we have any long term info on strength and how the subframe and engine spacers are affected by hard body flexing and other stresses? I remember hearing something about a failure even with a missing link installed and wanted to wait to see if that was an actual issue or not. I don’t need the extra lift necessarily, but I want to do it to reduce the CV angles and save my boots. They keep splitting after only a couple months
-
I understand that I “should”, but my point is that I’m not actually able to. I’ve tried many ways of adjusting them
-
As far as I’m aware, “Incorrect” isn't applicable for monotubes, they work both ways. Someone correct me if I’m wrong but that’s my understanding of the bilsteins I liked the shiny on the bottom so I went with that
-
Correct
-
Today I drove it and checked again. Looks like it’s mostly back to normal but the tire rumble is still there and I also get a subtle creaking sound at low speed when starting and stopping. I tried bouncing the front end and didn’t notice any movement
-
Today I drove it and checked again. Looks like it’s mostly back to normal but the tire rumble is still there and I also get a subtle creaking sound at low speed when starting and stopping. I tried bouncing the front end and didn’t notice any movement
-
Yes I have two bolts per side, and the tabs are pointed in the correct directions for the top and bottom at achieve maximum negative camber. I still couldn’t make the camber negative from adjusting them alone.
-
Well that’s interesting. On my set up I wasn’t physically able to get a negative camber from adjusting the bolts, the most I could do was make them just about neutral. So I can’t see how anything could have shifted with the bolts to cause the negative camber?
-
Did you figure out what caused it? Sure I can probably use the bolts to correct it, but is it going to be a problem in other ways if something turns out to be bent? The only good thing about this is itll probably even out some of the wear from the months of positive camber I had
-
Hmm, I was looking at the front wheels when we arrived in vegas and it looks like there might be an issue with negative camber now... I need to drive it a bit more and see it on flat ground because it’s parked pointed downhill right now, but I’m a bit worried I bent the struts or LCAs slightly. I was also noticing some tire rumbling while driving slow, which could be the inside edges
-
We’ve got both pets in the truck for this trip and the cat wasn’t happy let me tell you. At least the dog was able to run along side lol
-
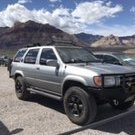
Moab pics. Action shots courtesy of my lady who was too scared to ride shotgun for most of it. We just did the first half of Fins N Things, then had to bail because we were running late. Pathy had no issues whatsoever, and shrugged off the extra weight up top. The bilstein and 9449 combo is fantastic
-
Cool, I’ll look into then. The other option is to unbolt the mount from the frame itself and then put it in a vice to drill it. That would save me some money on the adapter, but there’s also an evap line in the way of one of the bolts that’ll make it a bit less straightforward
-
Yeah making sleeves is most likely the route I’ll have to go. I’ve never heard of a 90* drill adapter, that’s super interesting
-
So initially I was going to drill the upper mount to accommodate a 1/2 bolt, which is what people normally do with these. But it turns out my drill bits are crap and couldn’t even make a scratch, and the angle also makes hard to get at the holes directly anyway. So what I ended up doing was reusing the original bolt and playing around with washers as shims inside the mount since the rubber bushing extends well past the metal ring of the shock, meaning that it could be sandwiched and held in place reasonably well. The fact that the bushing is rubber also means that there’s very little chance of damage if it happens to shift slightly up or down, unlike my previous shocks which had no rubber inside the mounting holes. The first attempt at reusing the OE bolt resulted in some minor thuds because I had a washer inside only one side of the mount, so I revisited it and managed to squeeze another one on the other side of the mount so that it’s holding the bushing super tight when everything is cinched down. No more noise over bumps, and I’ve tested it at high speed and low speed. My long term plan is to find a suitable sleeve for the inside of the rubber bushing and press it in there. I’ll look around and see what I can come up with. I think the OE bolt is either a 10mm or 12mm. So a sleeve with a 1mm wall thickness and the correct inner diameter should do it. My current set up will work just fine in the mean time, it’ll just put a tiny bit more stress on the edges of the bushings. I’ll hopefully have them sleeved inside of a week so no worries there