- Sign In Changes: You now need to sign in using the email address associated with your account, combined with your current password. Using your display name and password is no longer supported.
- If you are currently trying to register, are not receiving the validation email, and are using an Outlook, Hotmail or Yahoo domain email address, please change your email address to something other than those (or temporary email providers). These domains are known to have problems delivering emails from the community.

onespiritbrain
-
Posts
1,490 -
Joined
-
Last visited
-
Days Won
50
Content Type
Profiles
Forums
Calendar
Everything posted by onespiritbrain
-
That sucks Sent from my iPhone using Tapatalk
-
Too late. I bet it wouldn't hurt to go over it with 1000. Surely anything is better than the gunk which was built up there before.. The rear main seal has been replaced before. I removed a National seal and I don't think that's what came on the vehicle originally. The RTV that was all over the place is from the oil pan. It doesn't have a molded/cut gasket. The oil pump gasket is stuck on the engine like epoxy. About as hard as epoxy also.. Not sure why I needed to take all this stuff apart to change out the front and rear main seals... better to do this stuff while the engine is out I guess. I am going to spend 30min or so cleaning up tomorrow night.. it has turned in to a mess! Sent from my iPhone using Tapatalk
-
[emoji33] I wonder is it a good idea to sand down the shaft when replacing the rear main seal...? It looks quite dirty and grungy. Can't imagine there will be an awesome seal with the shaft like that.. Sent from my iPhone using Tapatalk
-
Dude my feet were getting cooked even with the carpet. Granted there was a hole that went almost all the way to the metal.. I will have to figure something out on that. I may try to take my floor mats and attach some insulation of some sort to them. I'd also like to wrap the exhaust in that area or something. The heat shielding is just falling apart under there.. I've been thinking of what to do about it for a while now due to the rattling. Sent from my iPhone using Tapatalk
-
Yesterday I got very little done. I think mostly because I am unsure where to begin so I find other tasks that need to be done... still haven't pulled the carpet though.. Anyway with the motors mounted I began taking the harmonic balancers off first. I had a hard time removing the yard engines hb and this is why.. Luckily it punched out easily. I've read about people having to go through a lot of trouble because of woodruff keys breaking.. I wanted to show you guys just how bad the water/mud was that helped me kill my engine. You can see how deep it was at the speaker! Horrible! So the carpet is toast. I think I'm going to go with a well rated sprayable bed liner instead of new/no carpet... Sent from my iPhone using Tapatalk
-
I am going to do some thorough undercarriage cleaning. I don't know if I'll get to any rubberized coating.. we basically have no salt down here in Georgia. I need to borrow a pressure washer.. So I finally got the old engine out today. It proved quite difficult.. I had to drop the vehicle almost all the way down onto the rotors to clear the radiator support. Also I had to disconnect the compressor plumbing.... no more A/C. I couldn't find anything in the rear I felt safe mounting the chain to so I used a strap which worked well. Honestly in some situations I think straps would be better than chain for coarse adjustments. I decided against wrestling these things around on the ground so I went ahead and bought a couple engine stands from harbor freight. Tomorrow I will begin breaking the engines down and putting the best parts of each engine on the new engine. Sent from my iPhone using Tapatalk
-
If you had someone else to balance the diff while you lower it then you could do that without the strap. I picked it up pretty easy after it was down. Probably only 60-75#, I think.. The driver side gusset really was clamping this in there. Came out right away after I got it off. Hmmmmmm... that's not good. Almost ready! Sent from my iPhone using Tapatalk
-
Never mind... that was ridiculous. [emoji23] Seriously, what in the world?!? THIS.... FIT THRU THIS?!? Well that's finally over with. Now I have trq converter bolts and motor mounts left! She's coming out tomorrow. One more question, where are some good spots to bolt the load leveler on the back of the engine? I don't see anything except like valve cover screws.. here's some pics. I guess I may end up trying to use a strap and d-links or something.. Sent from my iPhone using Tapatalk
-
I'm trying to get the wiring harness through the fire wall hole but I don't see how it is going to fit... has anyone figured out how? Sent from my iPhone using Tapatalk
-
Well I hoped I would be a little further along tonight but I am satisfied enough to call it a night.. I only spend about two hours a night to work on this. Anyways I got everything up top done except the alternator, which could be argued that it's a bottom item, either way it's still hooked up. The starter is out and the bell housing bolts are all out! thank You Jesus! Original! 170K miles I realize there are supposed to be more bolts in the bell housing than that but when I swapped my trans I upgraded to using less bolts [emoji23] I wasted some time trying to figure out how I was going to reach the trq converter bolts and got a crows foot stuck in there. I forgot that it's impossible without removing that guard.. I then realized the guard was being squished in there by the driver side gusset and I'm tired of messing around trying to reach those gusset to engine bolts so I'm taking the diff out. I think it's going to be beneficial later on since the oil sump hangs so far below it anyway, might make it hard to pull out.. Messy... [emoji51] Sent from my iPhone using Tapatalk
-
It's going good so far guys. I've got most of everything disconnected from the top. Thursday I will go over the top thoroughly and then I'll move on to bottom. I dread the cps and bell housing bolts and I am hoping to unbolt the engine mounts without taking the diff out. It looks like I miiiiight be able to snake the engine out around the compressor and it's plumbing! It will work IF the engine doesn't need to come forward very far. Looks like it should be able to almost come straight up.... pre-cats.... those pre-cats might mess it all up. Oh well, it was worth trying if it doesn't work out. Have to tell everyone.. God saved me from being fired at work today! It is awesome having Him beside me. Sent from my iPhone using Tapatalk
-
Thank you! Yes [emoji35] Sent from my iPhone using Tapatalk
-
She needs work.. but I am excited! I am very disappointed about the wiring harness...... what can I do though. I am seriously thinking about buying a couple engine stands. She's been in the rain for a couple years. Looks like my old motors did, rusty. The fluid is in decent health. The important holes are all covered. Lol they were like, "nah brah, just leave those on there" Leaking valve cover.. new gaskets! That is some sort of white rtv silicone, I think.. does anyone know if that is there from factory? I'll be able to get a better look when I get ready to do the rear main seal. .....................I want to cuss.. why.. just why??!? That's going to need a tap. Good thing I bought a set! Intake will have to be cleaned. I think my muddy water ingested intake might be cleaner.. hah! I've got my work cut out for me. Sent from my iPhone using Tapatalk
-
I'm so sorry, but your timing belt broke. Sent from my iPhone using Tapatalk
-
So I see why Harbor Freight is cheaper.. the workmanship is pretty poor, as you can see in a couple of those pics.. took a while to put together too. A solid hour. I think she'll do just fine though! Sturdy enough for sure. I am going to try to pick my new engine up tomorrow! Whew, I really need to get my carpet out.. it is wretched! Sent from my iPhone using Tapatalk
-
Take the oil fill cap off and using a flash light look in the valve cover at the cam shaft. While looking at the cam shaft have someone crank the engine. Is the camshaft spinning? Sent from my iPhone using Tapatalk
-
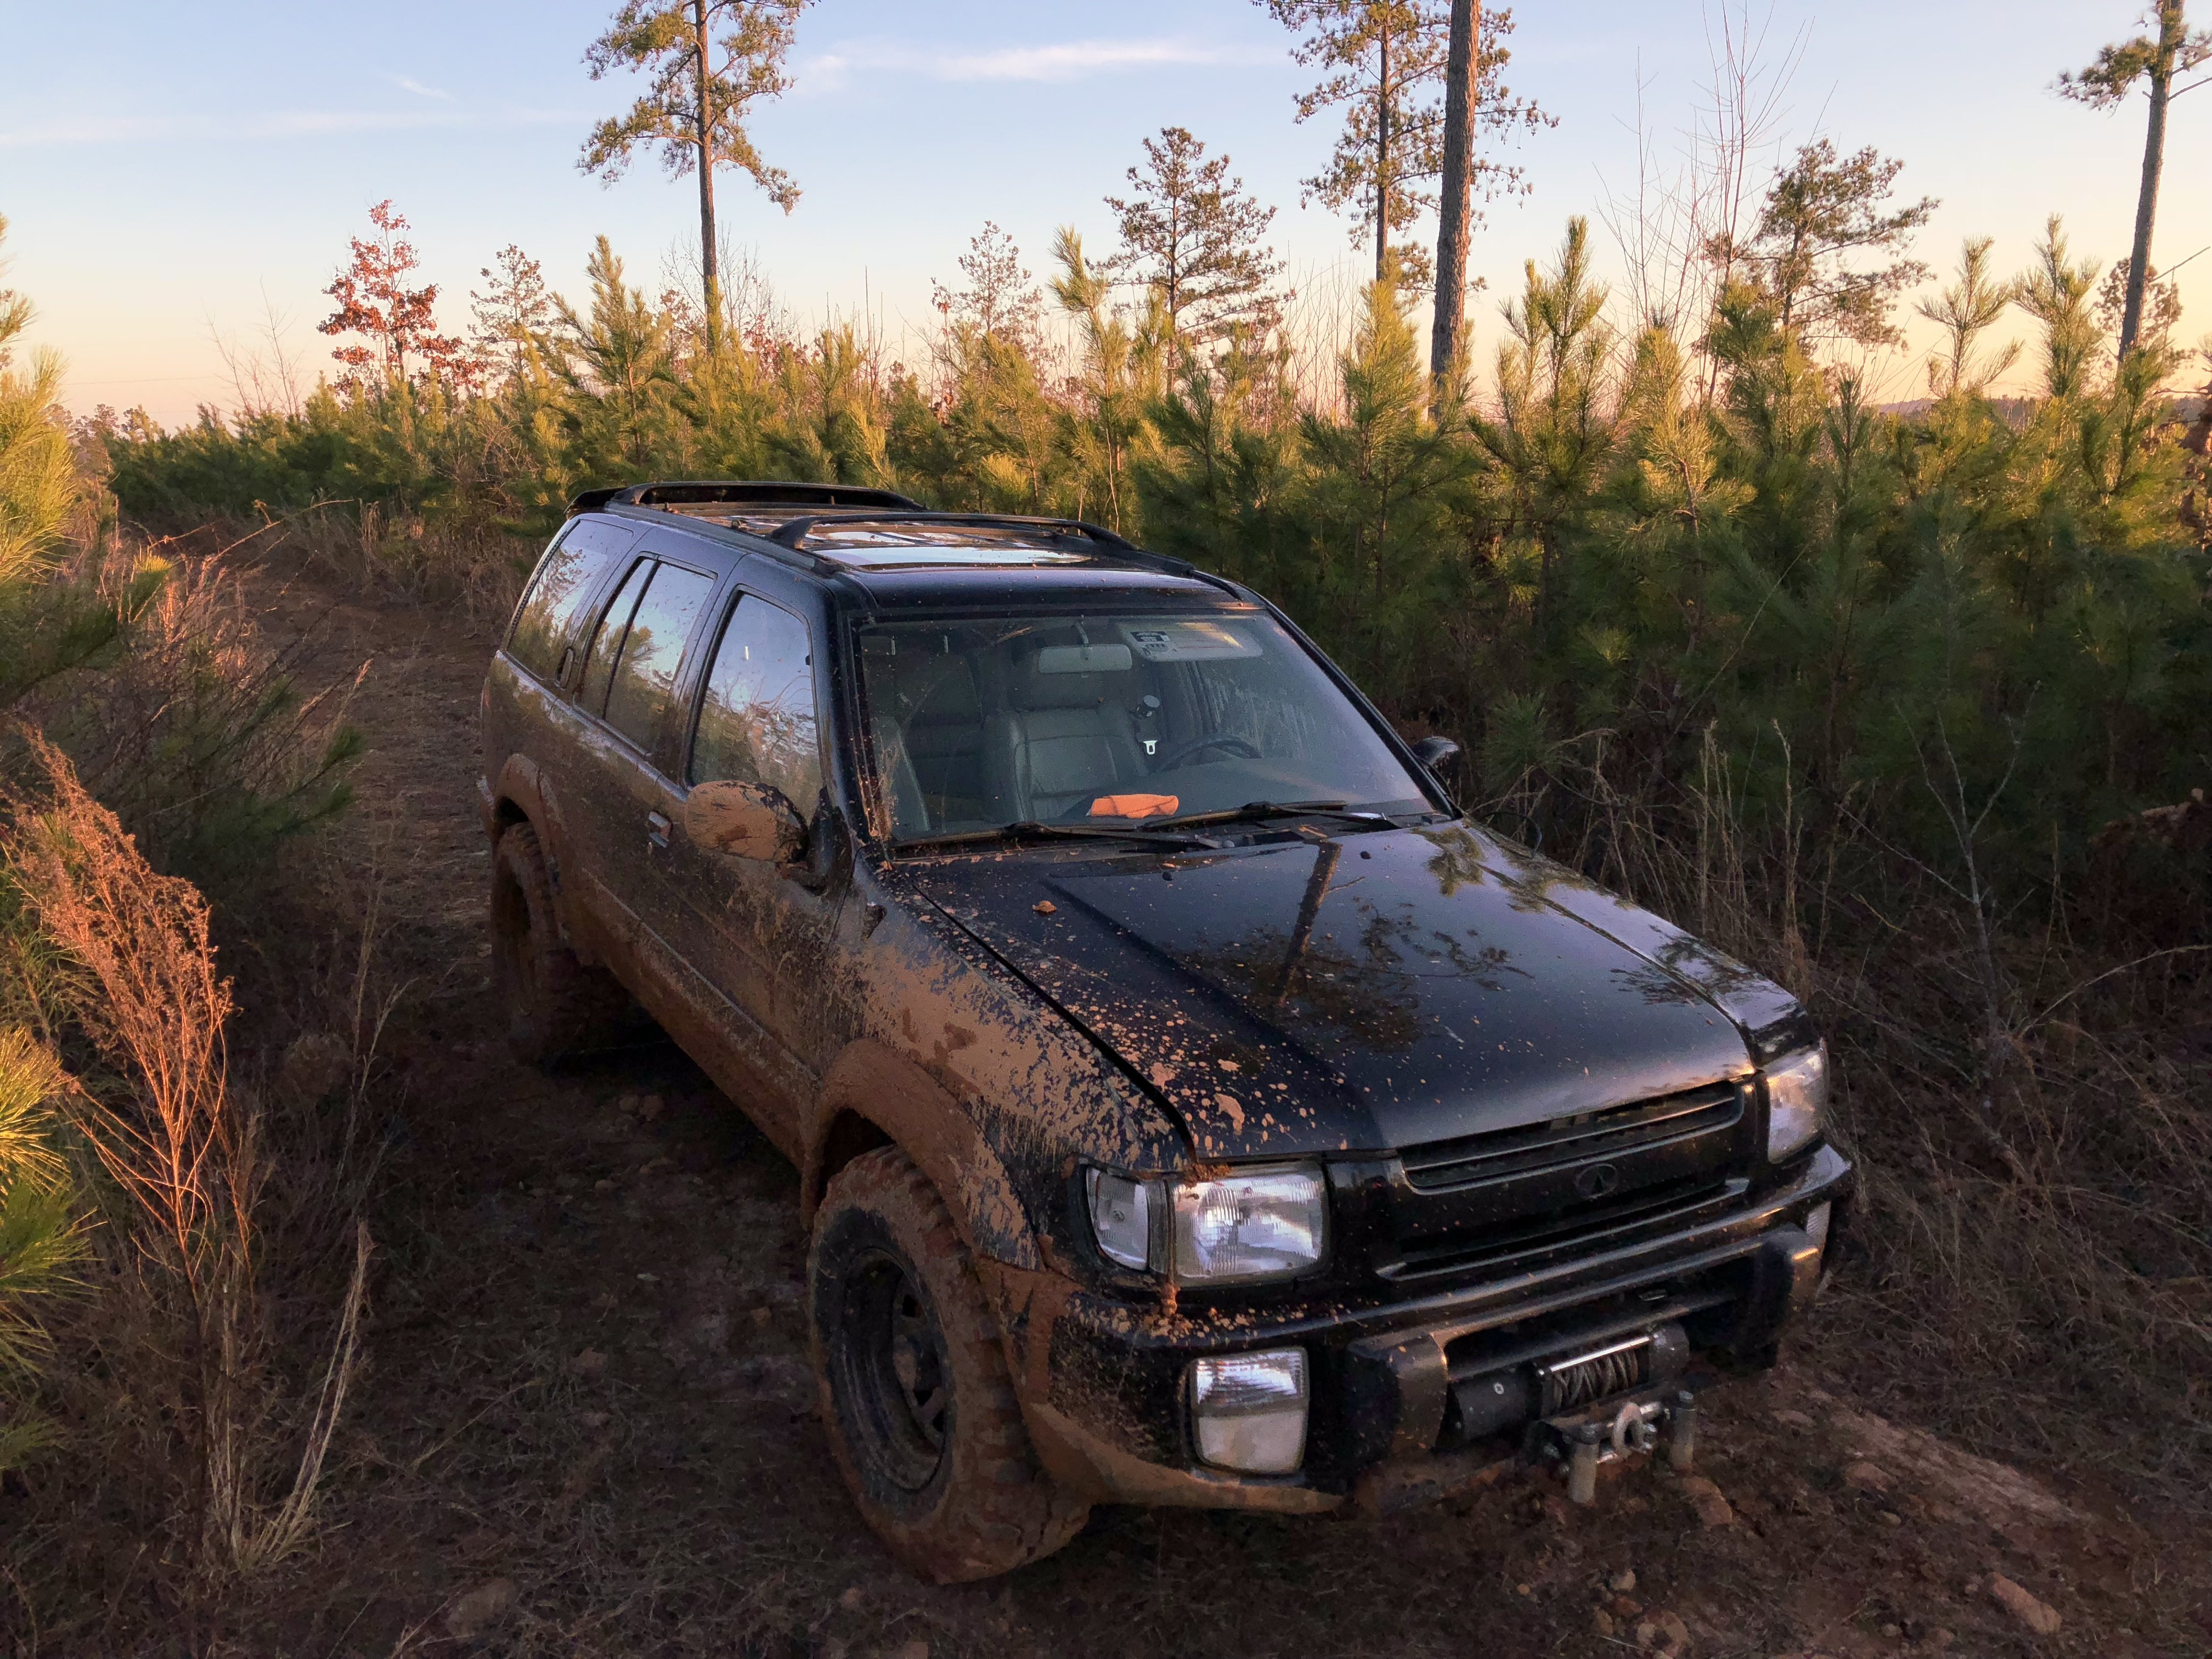
I ran my QX4 through very deep mud/water and completely destroyed the engine. This thread will not be a "how to" but will be a place for pictures of the swap and also a place where I will gather advice for others who may be embarking on the same journey. I will try to be diligent with pictures and video but everyone knows how it goes when it gets tough; pictures take the back burner. I am hoping to be able to leave my A/C system intact, basically laying everything over and out of the way. I don't want to have to try to recharge the A/C system and it works so so good. I am hoping to disconnect the exhaust AFTER the precats since I am going to have a hard time getting to the precats off the exhaust manifolds. I am hoping to be able to drop the engine and trans down a bit so I can reach the top to bell housing bolts. Anyone have experience with dropping the crossmember down a bit to allow easier access to those bolts? I found my new engine today for $583 and it has 138k miles. I go next Saturday, or maybe one day throughout this coming week if I can take off work early, to pick up the engine. It looks like it's in pretty good condition. I looked into the valve covers and there was no rust or sludge so I feel like the engine was taken care of. Also there is a 30 day warranty which covers excessive oil consumption, knocking, smoking, and/or any detrimental engine issues that may cause the engine to stop working. I have to tear out my carpet(STINKS) and get the blown engine out before next Saturday. I'll also have to go buy a cherry picker and some 4x4 posts to cut up. I don't really have a solution to keep all the bolts organized outside of sandwich bags, which I will probably end up doing unless there is a better cheap idea. Michael Sent from my iPhone using Tapatalk
-
Thanks man +1 from now on... actually if I can help it, I'll never go into a mud/water hole again. My snorkel will be there in the case that I have no choice. Sent from my iPhone using Tapatalk
-
Man your rig looks awesome Sent from my iPhone using Tapatalk
-
Wow man, you barely escaped the fate my poor jr50 has suffered! The drainage function being clogged with mud is a great point to show that these vehicles in their stock form are not really "trail ready". I'm glad you didn't kill yours! Sent from my iPhone using Tapatalk
-
Absolutely dude. A winch without a second battery, even if it's just sitting in the back unhooked, is a bad idea. Of the two times I have used my winch, 1 I needed my vehicle to be off.. if that ratio continues then a second battery isn't just a good idea, it is required. If your about to flip over and you stop to winch back to safety the. You are likely going to need your vehicle off as not to damage it. Sent from my iPhone using Tapatalk
-
That's awesome dude. I am glad you have taken measures against water ingress! I don't know exactly how much water/mud makes its way into the engine bay and what is safe for short ram style intakes during a hard hit into a bog but I can tell you my entire engine has been soaked with red mud from a very shallow mud puddle. Granted I do not have my splash guards on so entry into the engine bay is unrestricted. So be careful because I think that box mechanism in the bumper prevents water ingress into the engine by letting water drain while still sucking in air. Without it I believe water ingress might be even more likely. Sent from my iPhone using Tapatalk
-
I'll go ahead and be honest... this whole thing was operator error. The second I saw how deep I was I should shut the engine off. I feared killing my battery so I tried to keep the engine running while winching out and that is what murdered my engine; me. I will say, I had my family with me and my poor jr50 got us back to safety before she went on home to 4x4 heaven. I am terribly saddened by the death of my jr50 but soon she will rise again! Sent from my iPhone using Tapatalk
-
10-4 brother. Pray for me, I haven't checked them out yet. I just did the transmission a year ago and I'm really going to be heart broken if it is damaged also. Sent from my iPhone using Tapatalk
-
I'm sorry.. I'm just upset because I love my jr50 and now she is severely damaged. Trail readiness should be a 4x4's first upgrades IMO. What I mean by trail readiness is protection of the vehicles ability to operate in the conditions found in normal trail riding. Snorkel, breather extensions, skid plates, and such.. a winch should be next, then on to a lift, aggressive tires, body armor, etc.. because unless you are going to wait until the end of a build, a strong focus on trail readiness should come first. Sent from my iPhone using Tapatalk