- Sign In Changes: You now need to sign in using the email address associated with your account, combined with your current password. Using your display name and password is no longer supported.
- If you are currently trying to register, are not receiving the validation email, and are using an Outlook, Hotmail or Yahoo domain email address, please change your email address to something other than those (or temporary email providers). These domains are known to have problems delivering emails from the community.
Jax99
-
Posts
91 -
Joined
-
Last visited
-
Days Won
8
Content Type
Profiles
Forums
Calendar
Everything posted by Jax99
-
With a powerhouse of those two working together and the amount of knowledge they both have, I’m sure they’ll r&d something in the best of both worlds between quality and design. Eager to see what they have in the works too! Sent from my iPhone using Tapatalk
-
Damn already have a bumper but love this... super low profile. Sent from my iPhone using Tapatalk
-
Been browsing the forums for awhile and haven’t found much info on the topic but was planning on installing a compustar 4900s remote start system. Anyone have any clue if I’ll need a bypass module ? Sent from my iPhone using Tapatalk
-
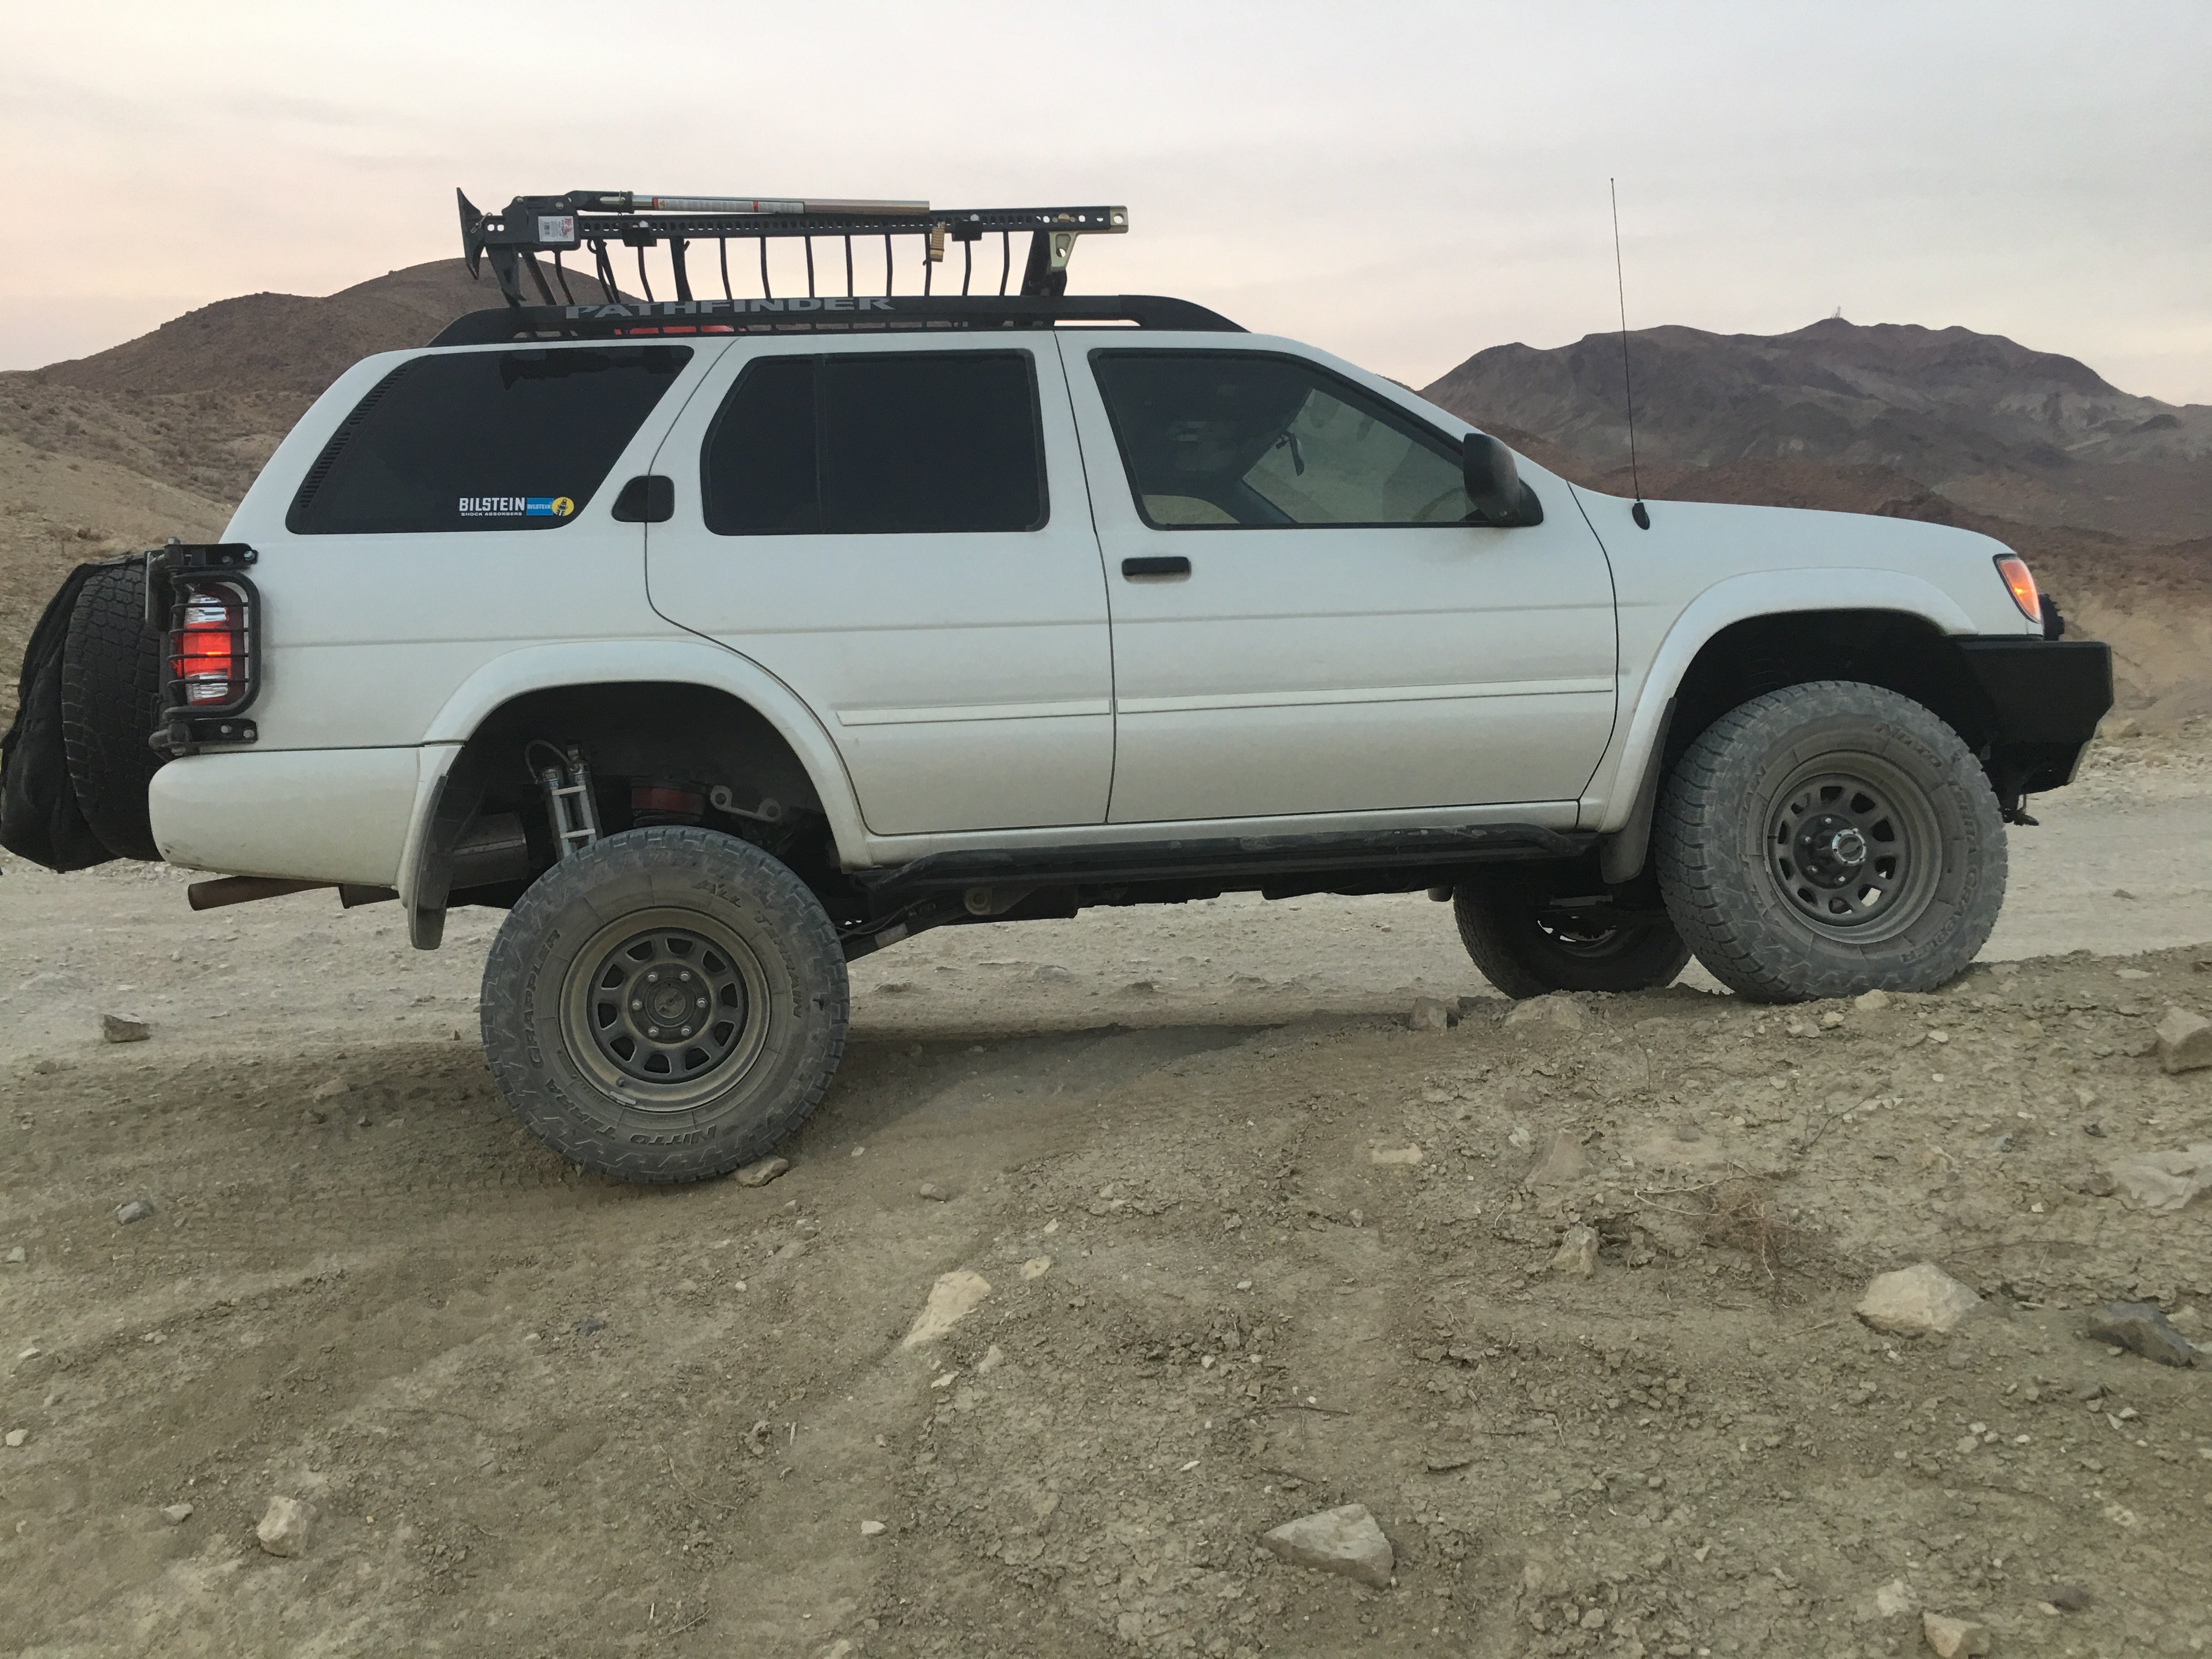
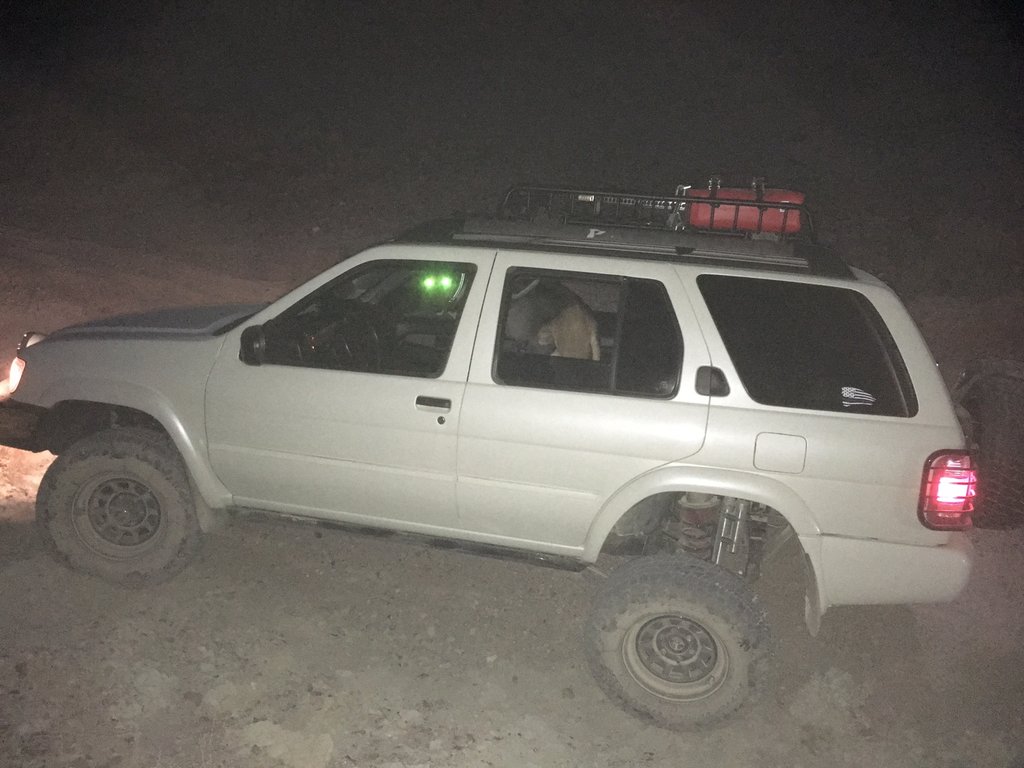
Definitely happy with the outcome. Got 4” as expected and ride quality as good as everyone boasts. #9448 Sent from my iPhone using Tapatalk
-
Custom brackets made for the viair and the fuse box Sent from my iPhone using Tapatalk
-
Fires didn’t affect us much up by calico. I was thinking of swapping the fittings but that’s what brought me to mention the 7100 series because they’re rebuildable as opposed to the 5165s. I wouldnt see how to properly pressurize the shock once again after swapping fittings... again if swapping fittings was even possible. I think mine was from a 2013. Sent from my iPhone using Tapatalk
-
In the for sale section I’m selling my 5100s maybe finding specs for that length will give u an idea of what size 5165s you’ll need Sent from my iPhone using Tapatalk
-
Extra note, just to boast the flippin awesome OBA hawairish installed, ending the trip filled back up from 15-35psi in 3:09. Forever thankful for that long but much enjoyed weekend. Sent from my iPhone using Tapatalk
-
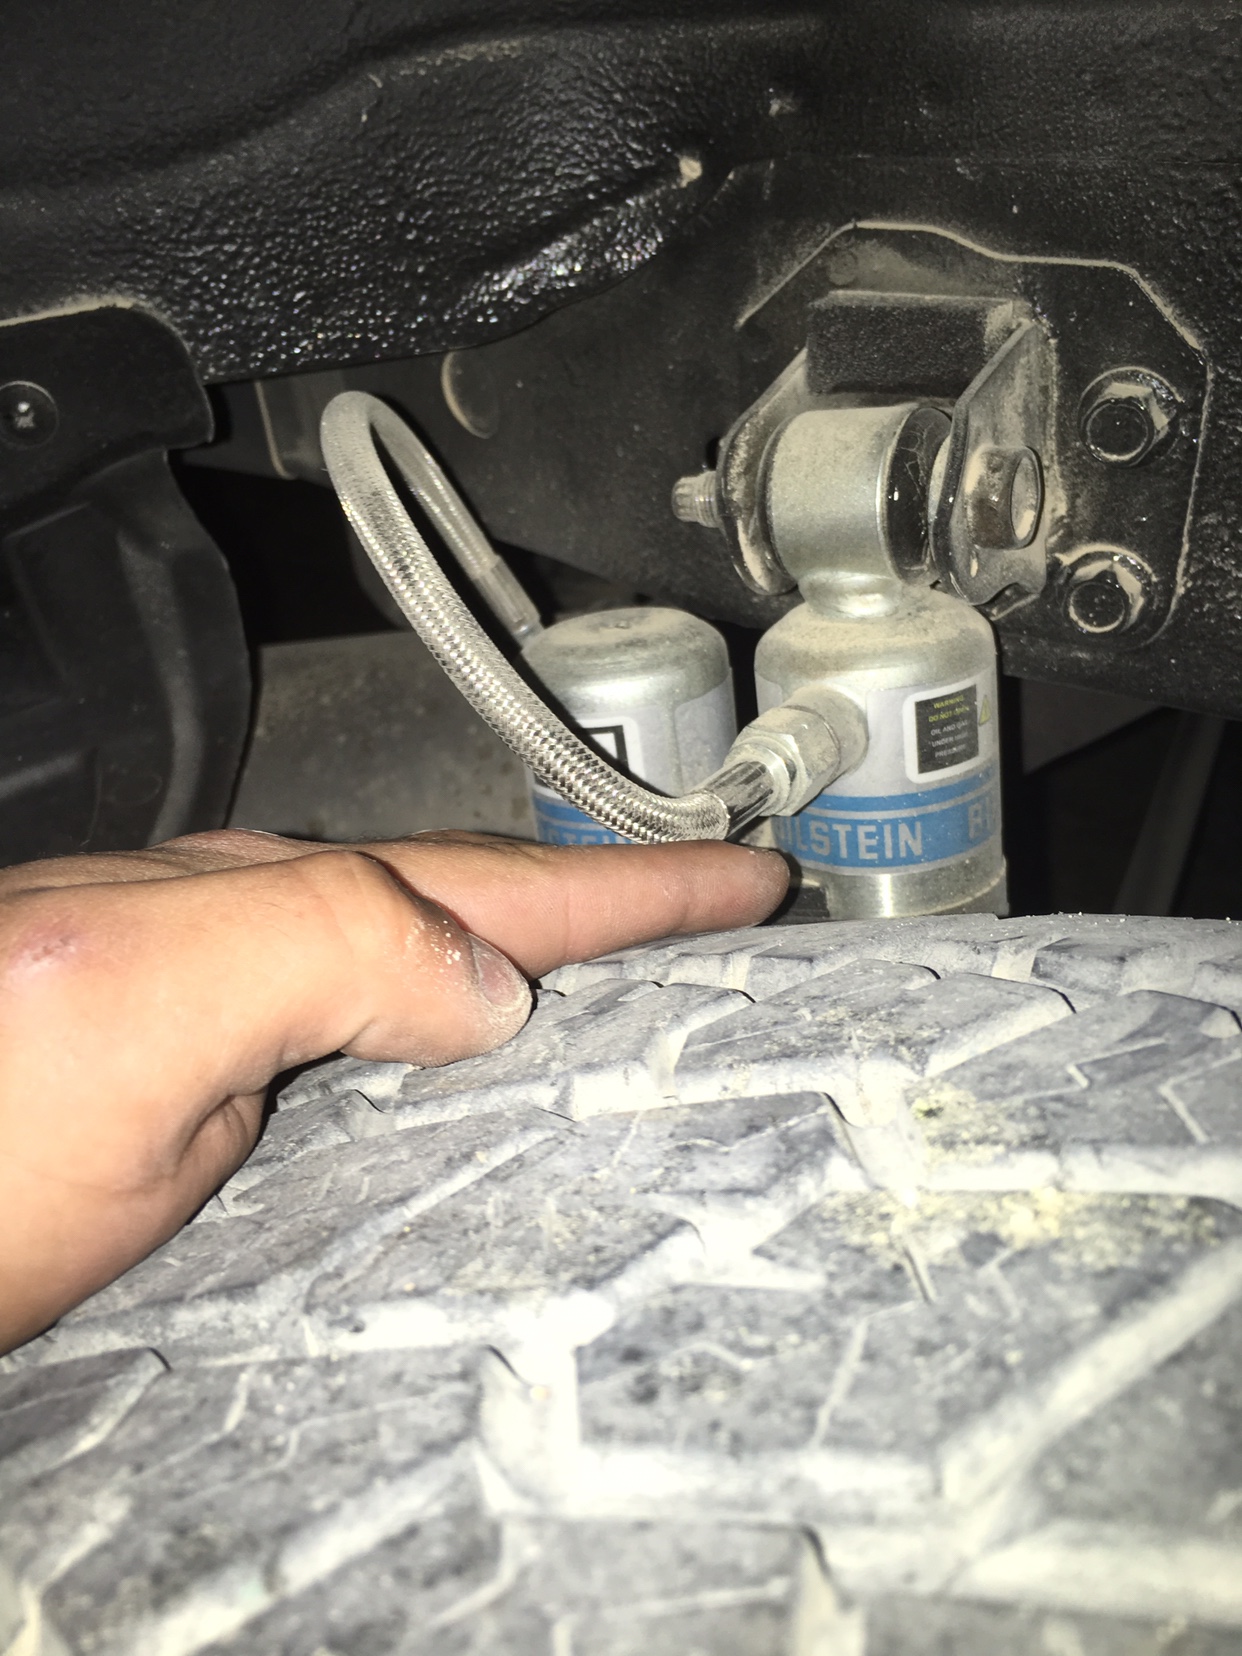
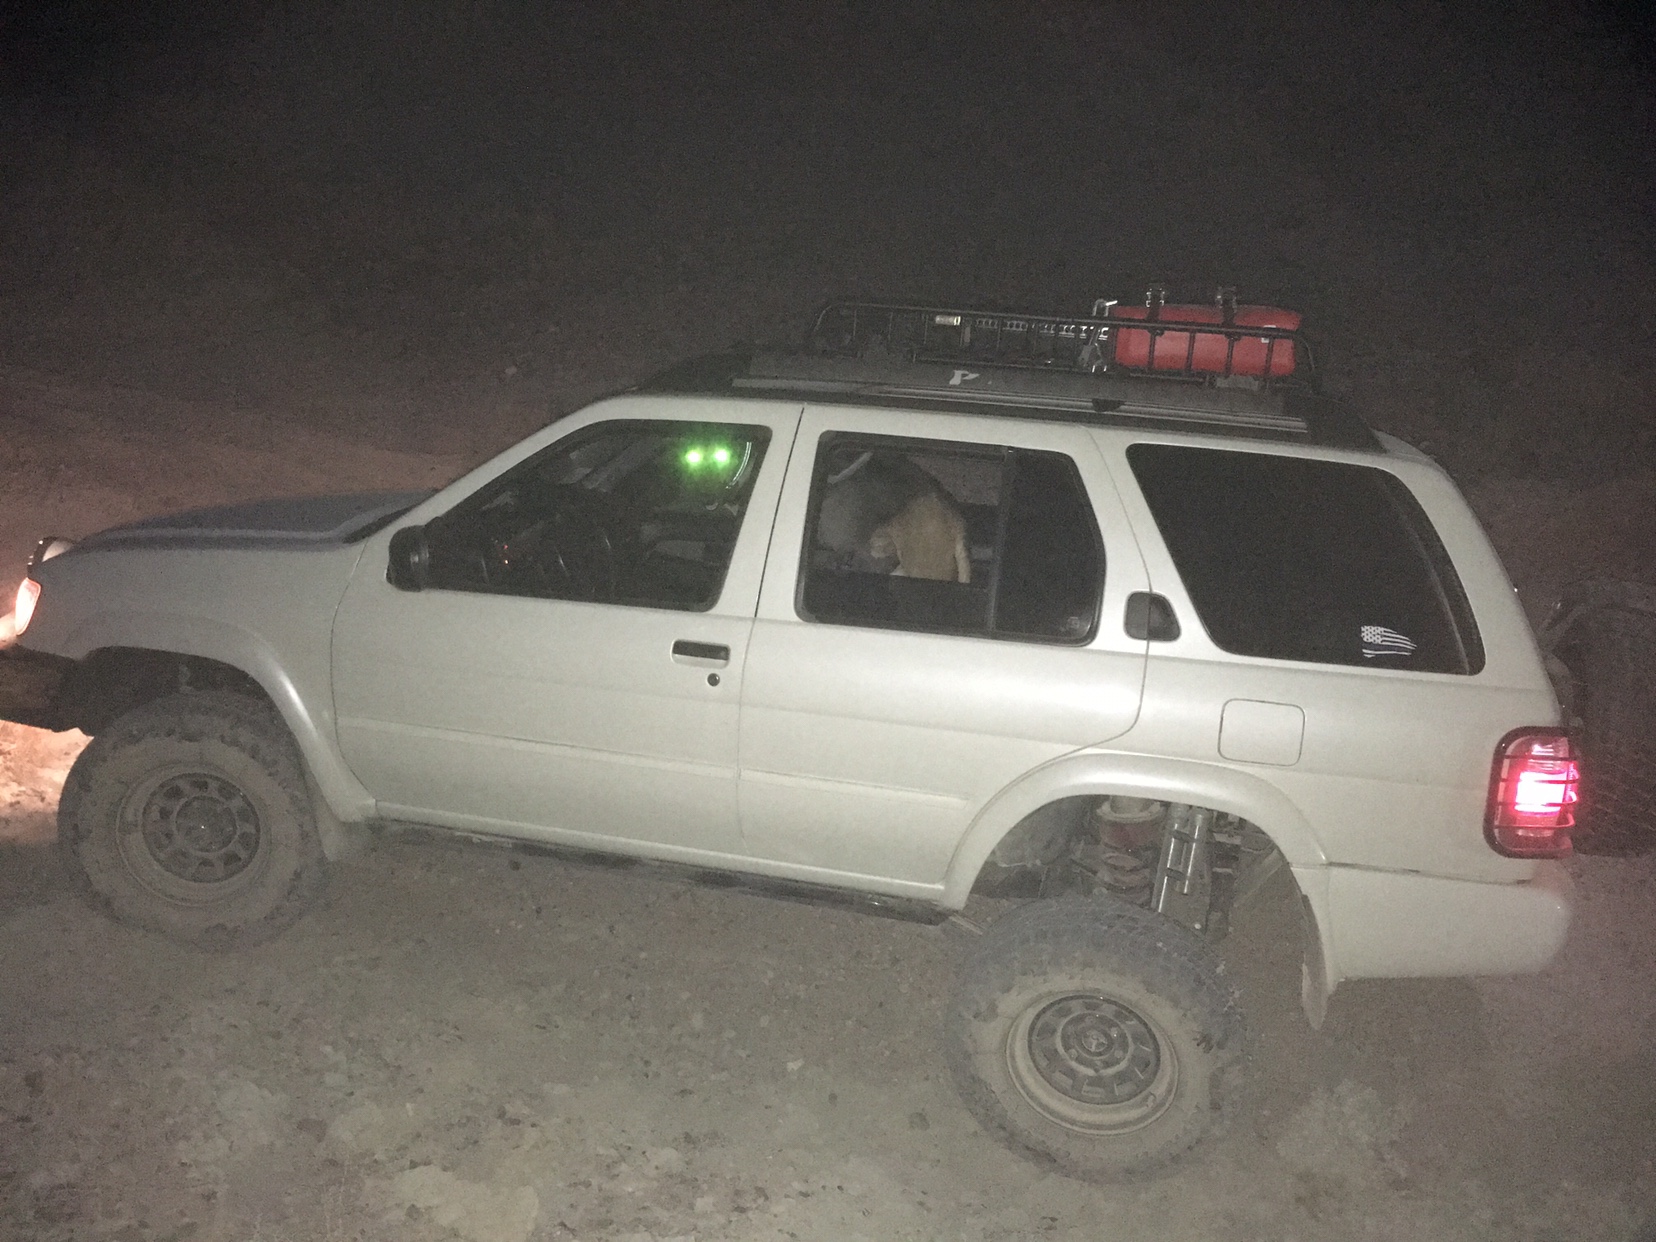
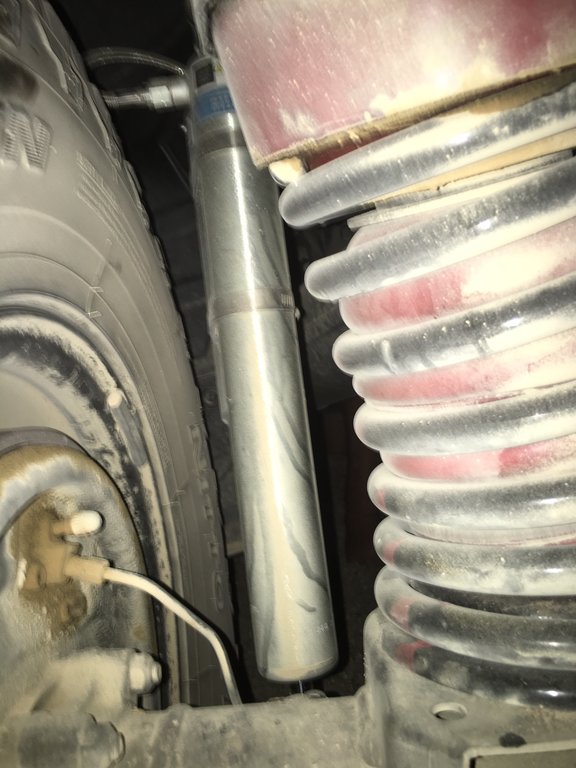
Imo that showed some pretty decent flex and the shocks still didn’t touch... however not saying they would not touch with active driving or rocking motions. For those considering 5165s... [user]towndawgR50[/user] and I both ran into different issues where as his shock mount had to be relocated to accommodate longer shocks. My shock mount remained at the oem location and I ran the appropriate size for my 6in lift... the difference lies in our reservoir hose. Towndawg’s reservoir hose has a low profile 90 degree swivel while, obviously from pictures, mine is stationary and sticks outwards. Our shocks are mechanically the same but yet structurally different in regards to the reservoir hose. So why not just get a 90 degree swivel like TowndawgR50? Well bilstein designed 5165s for fords and various Chevy trucks whose mounts and shock lengths are different from our R50s. From my findings.. there are no 5165s with a 90 degree swivel that match the collapsed/extended length to fit the oem mount location. Now bilstein sells a model ‘7100’ its a reservoir shock too and it’s rebuildable... i didn’t get that one because I don’t know how or plan to rebuild shocks. They may have 90 degree swivel hose mounts ?¿ I’m not quite sure as I didn’t do much reading on those but for anyone whose 100% diving into reservoir shocks, take a peak at those and let us know what you find please. It may or may not be a solution. Sent from my iPhone using Tapatalk
-
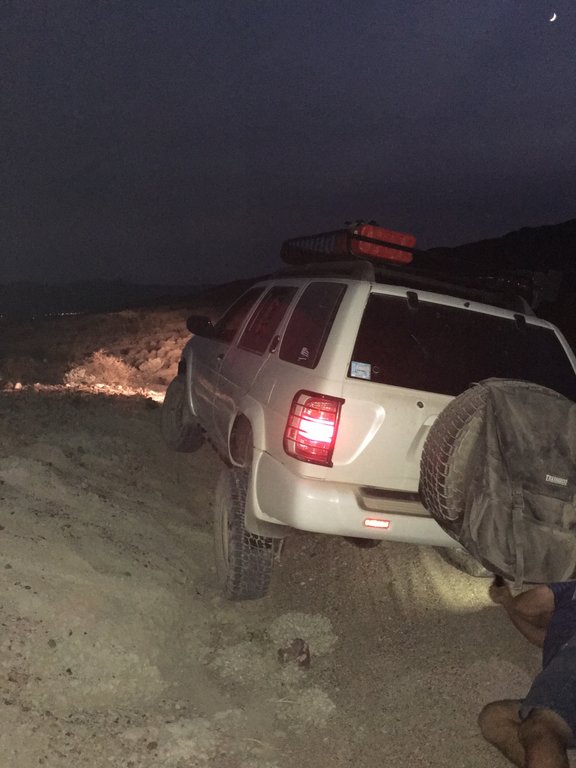
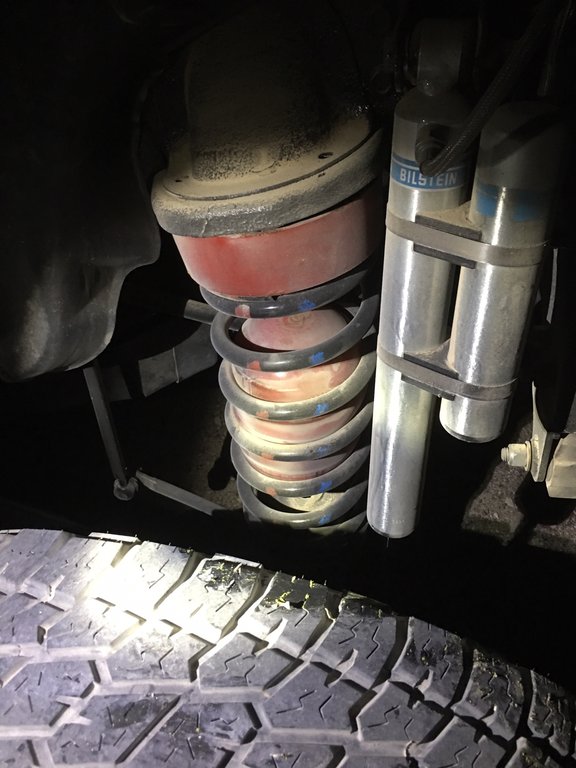
Front coil compression for anyone curious, OME HD front coils Miscellaneous pics
-
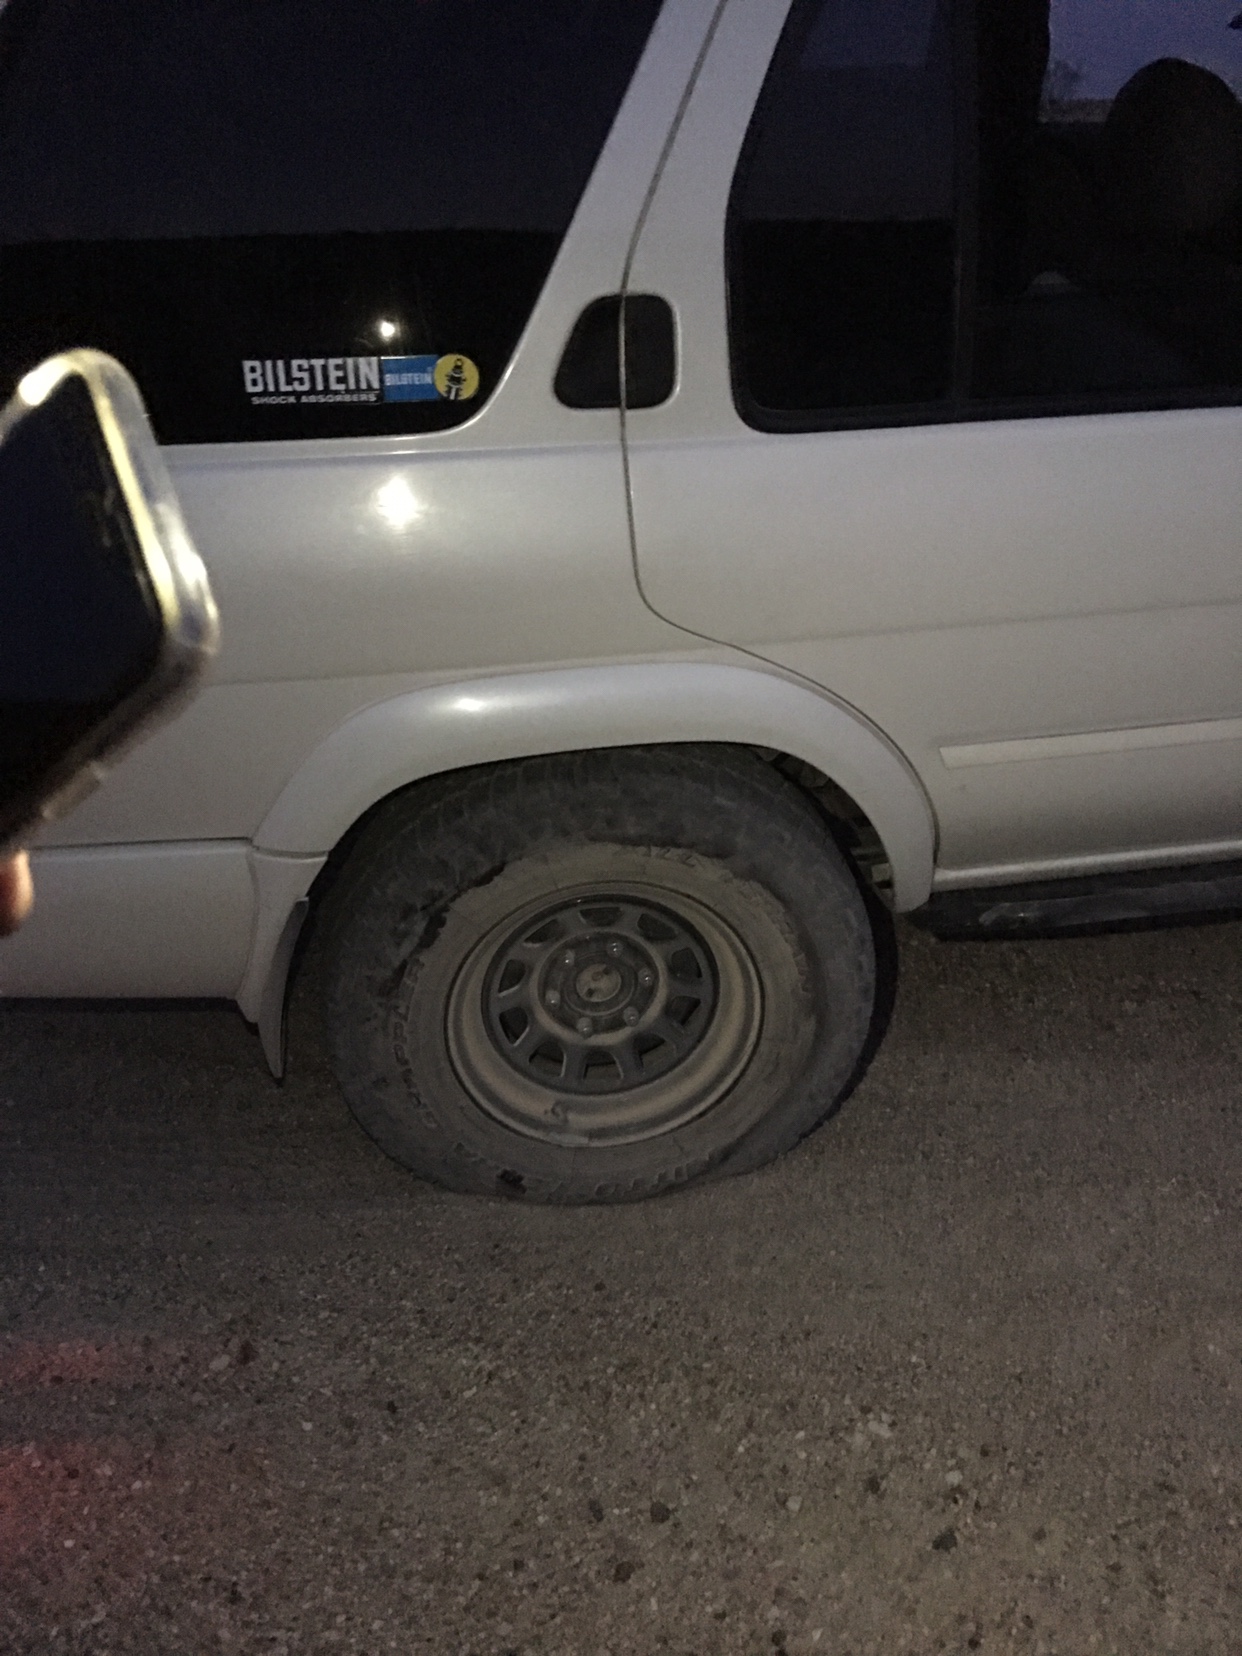
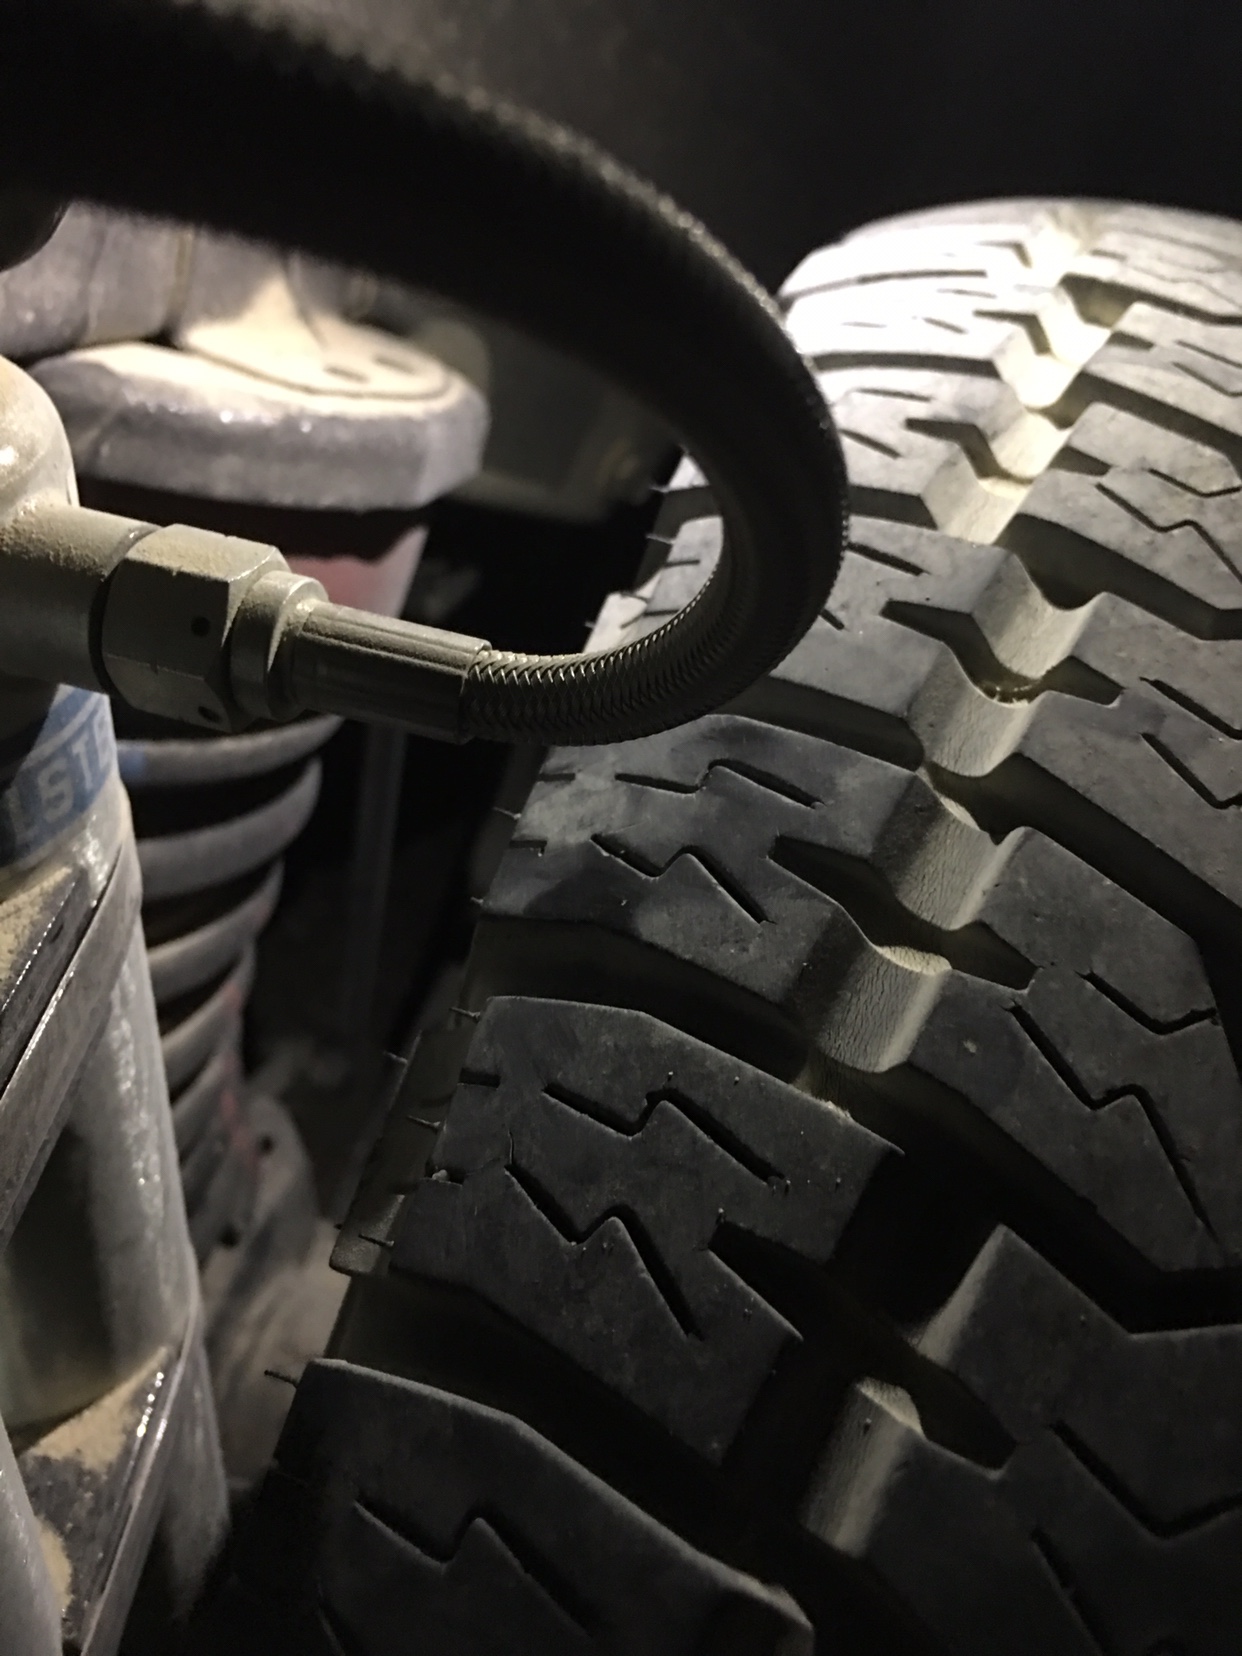
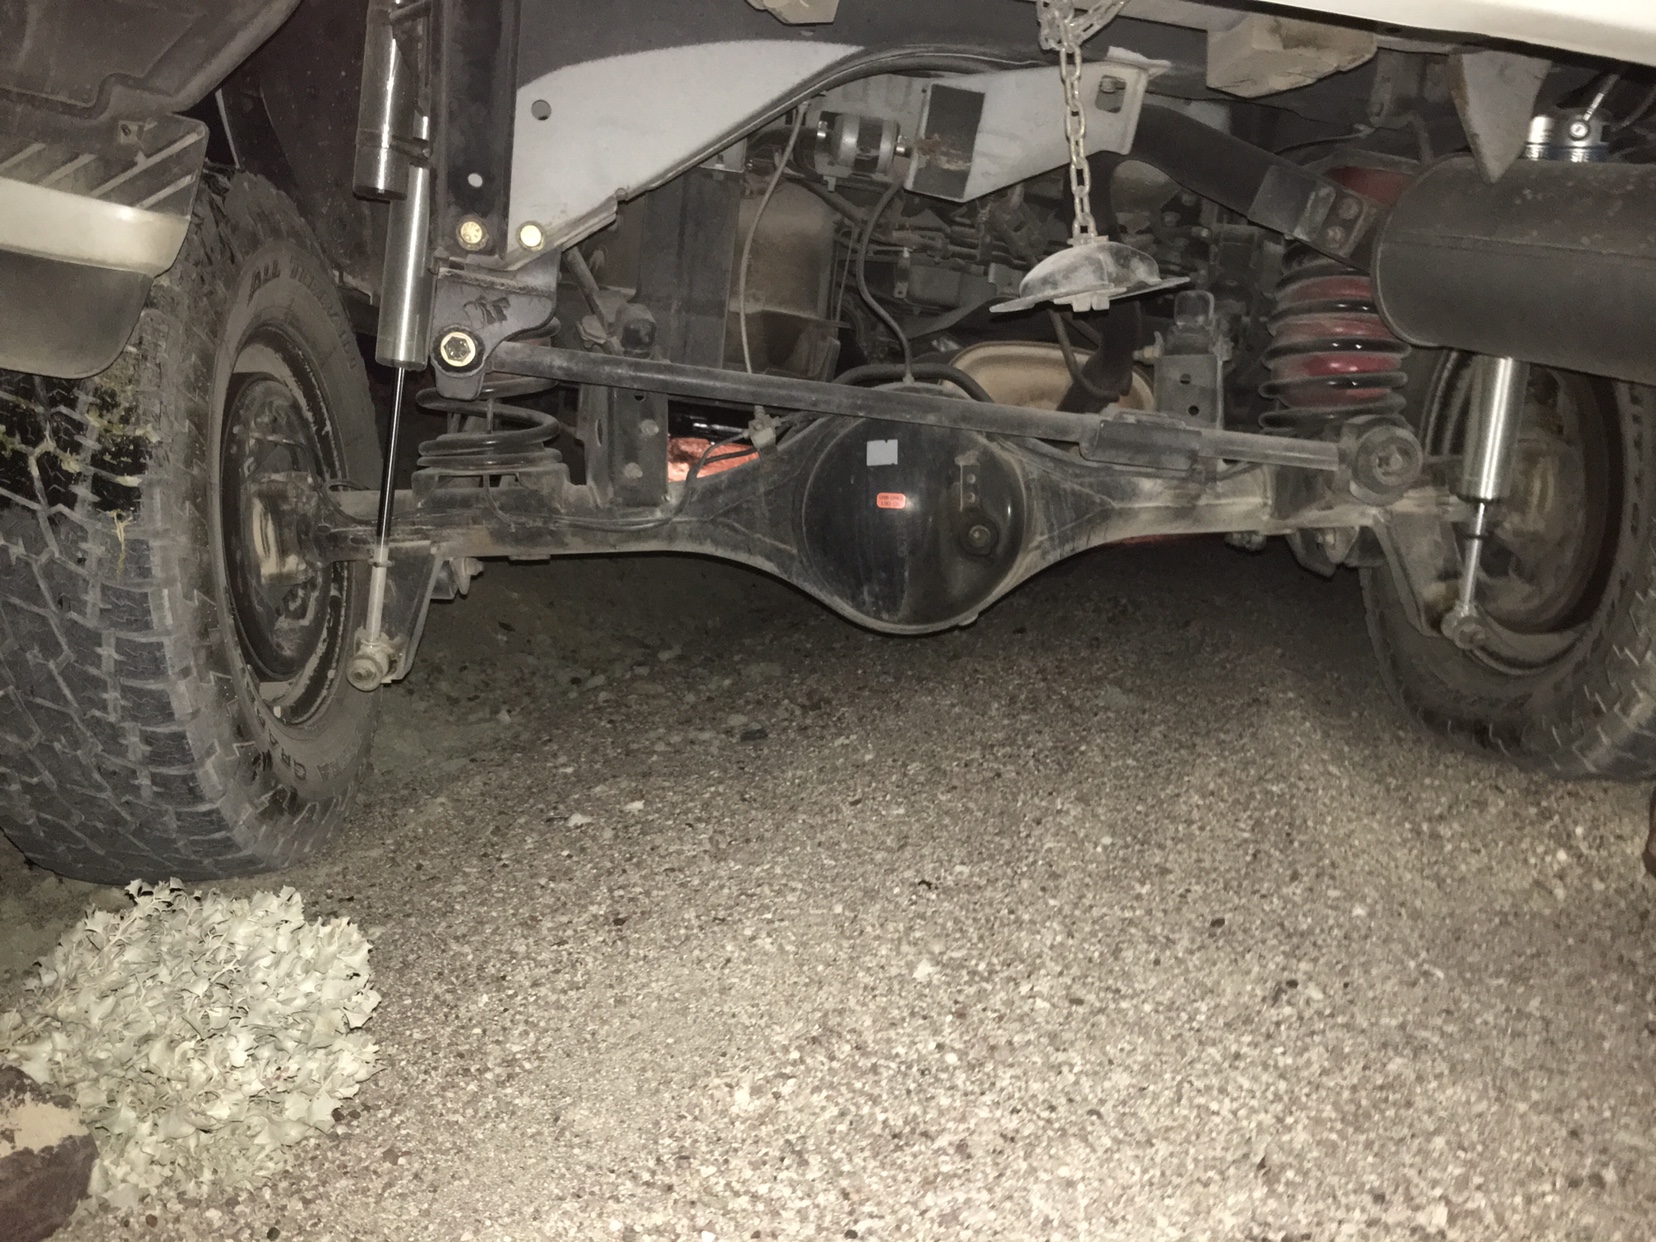
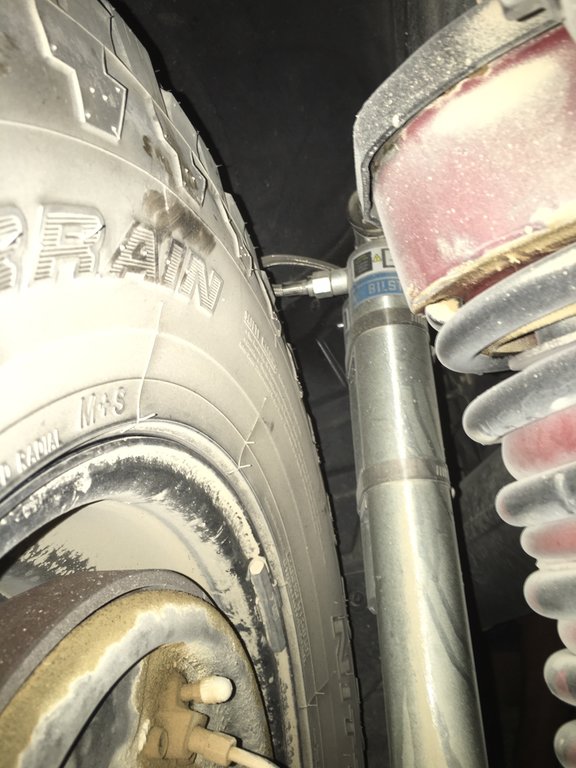
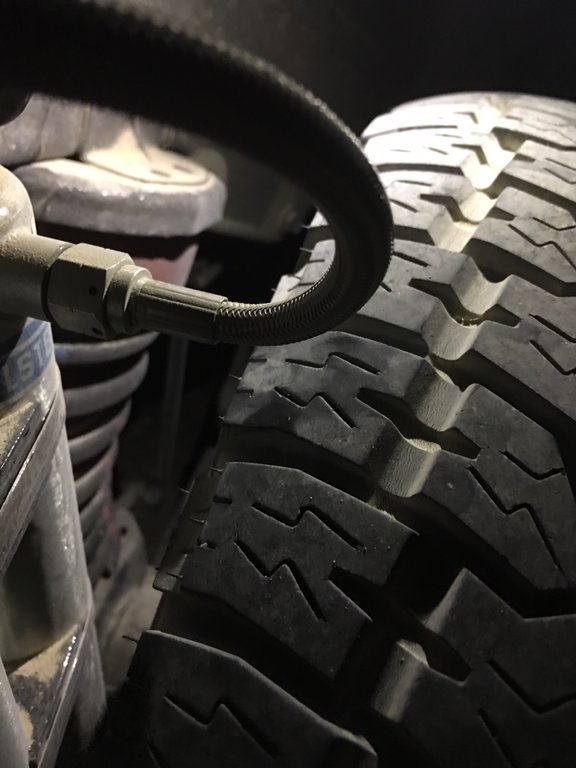
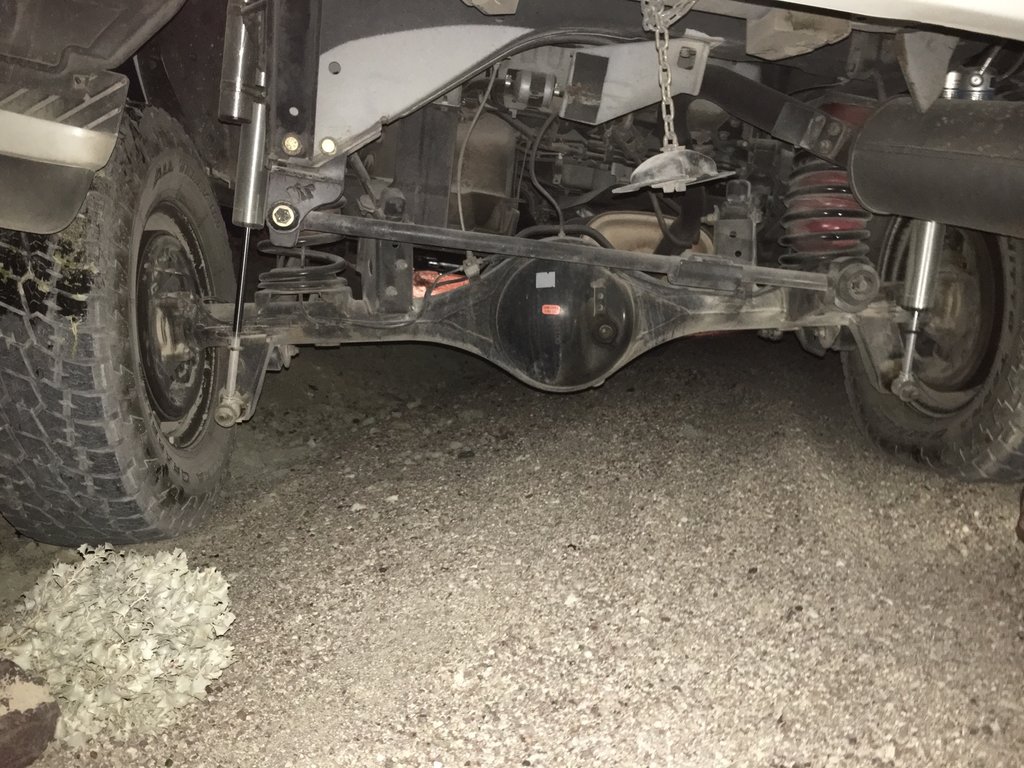
Now for the fun part .......... the reservoir hose ........... to save any searching for anyone wondering my part ## again .......... #25-261400.......... As we were initially worried ([user]hawairish[/user]). The reservoir hose will touch under extreme flex... pics to follow.... During these pics the hose did NOT touch. Never did the reservoir hose graze against the side wall this entire trail run. However in these following pictures I feel if i had added anymore flex, or me jumping in the rails, the hose and tire would definitely have touched. That’s just imo but I feel the pics justify that. I apologize in advance for the annoyance and bombardment of pictures but it was difficult reaching certain angles and so I’d like to just give you a free for all of whatever i took. That way you can possibly see various angles and answer any questions you have. Sent from my iPhone using Tapatalk


-
Sent from my iPhone using Tapatalk
-
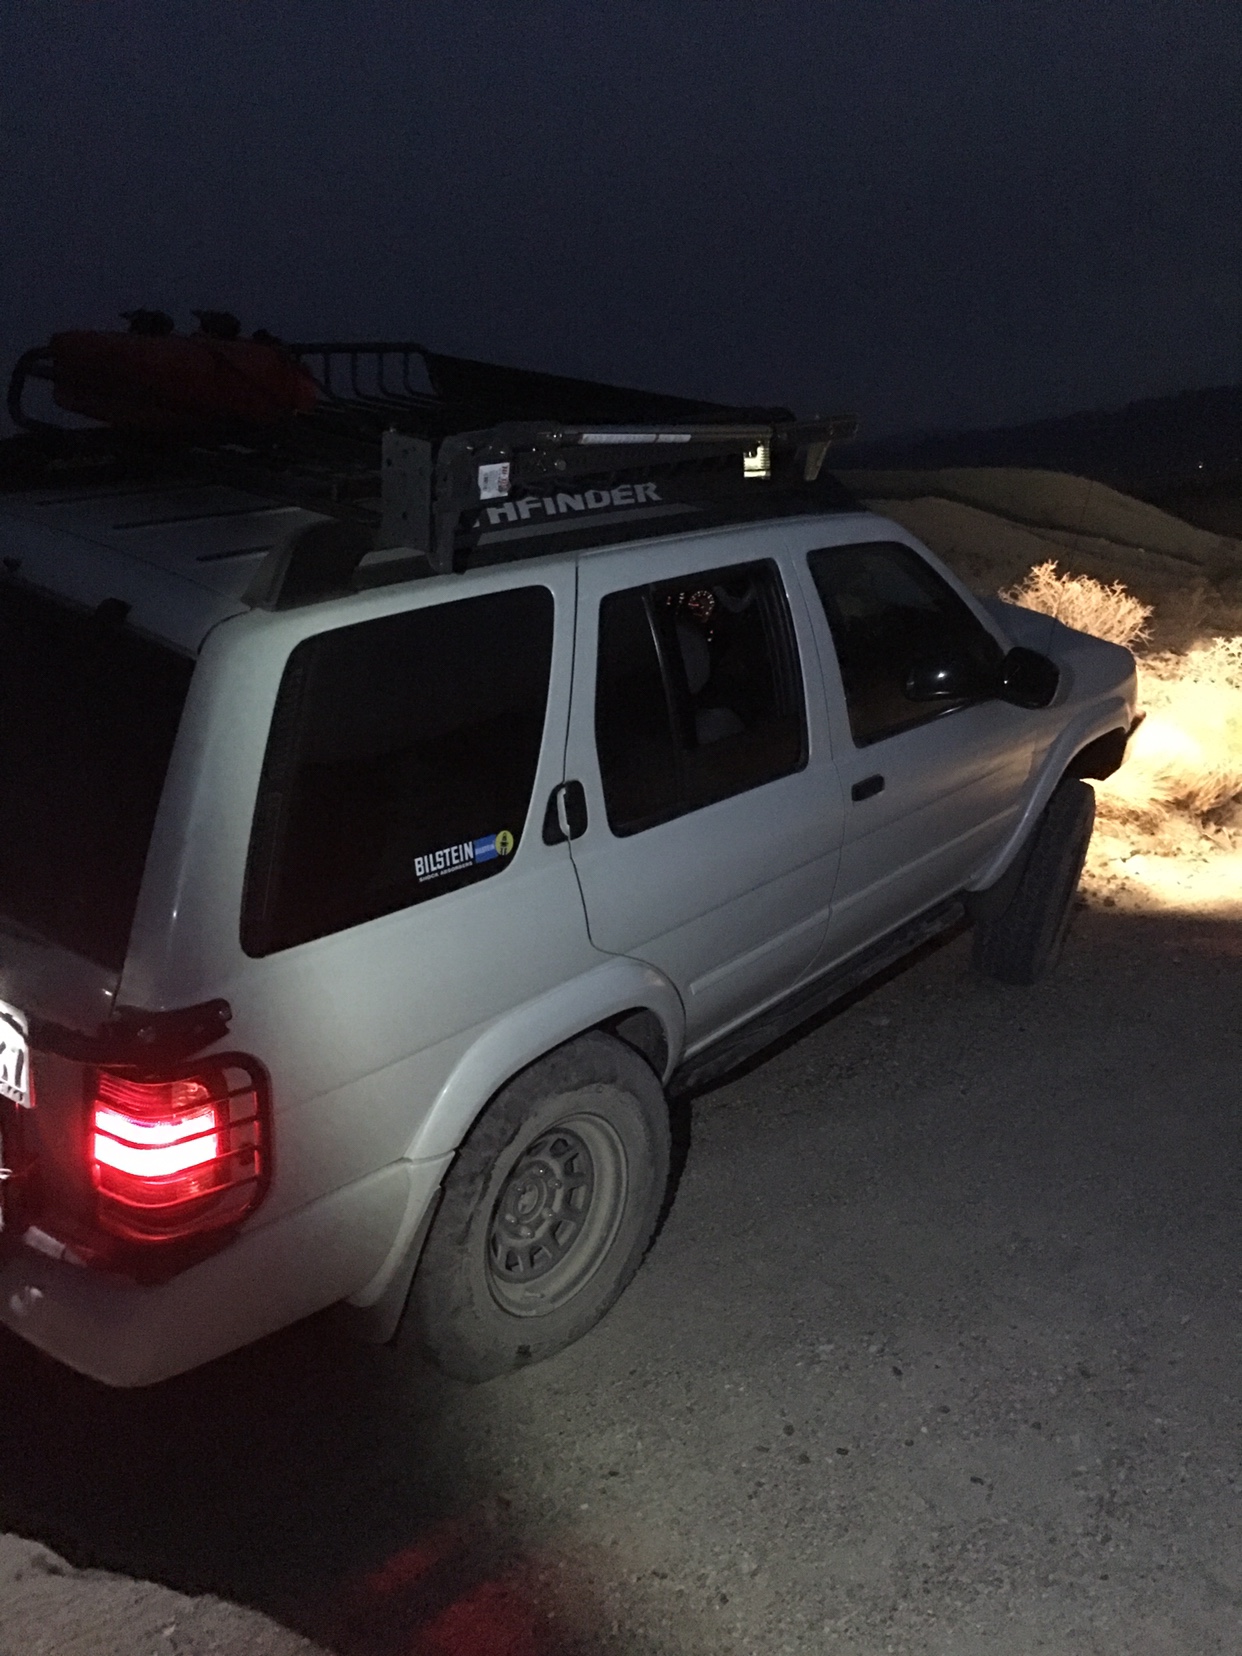
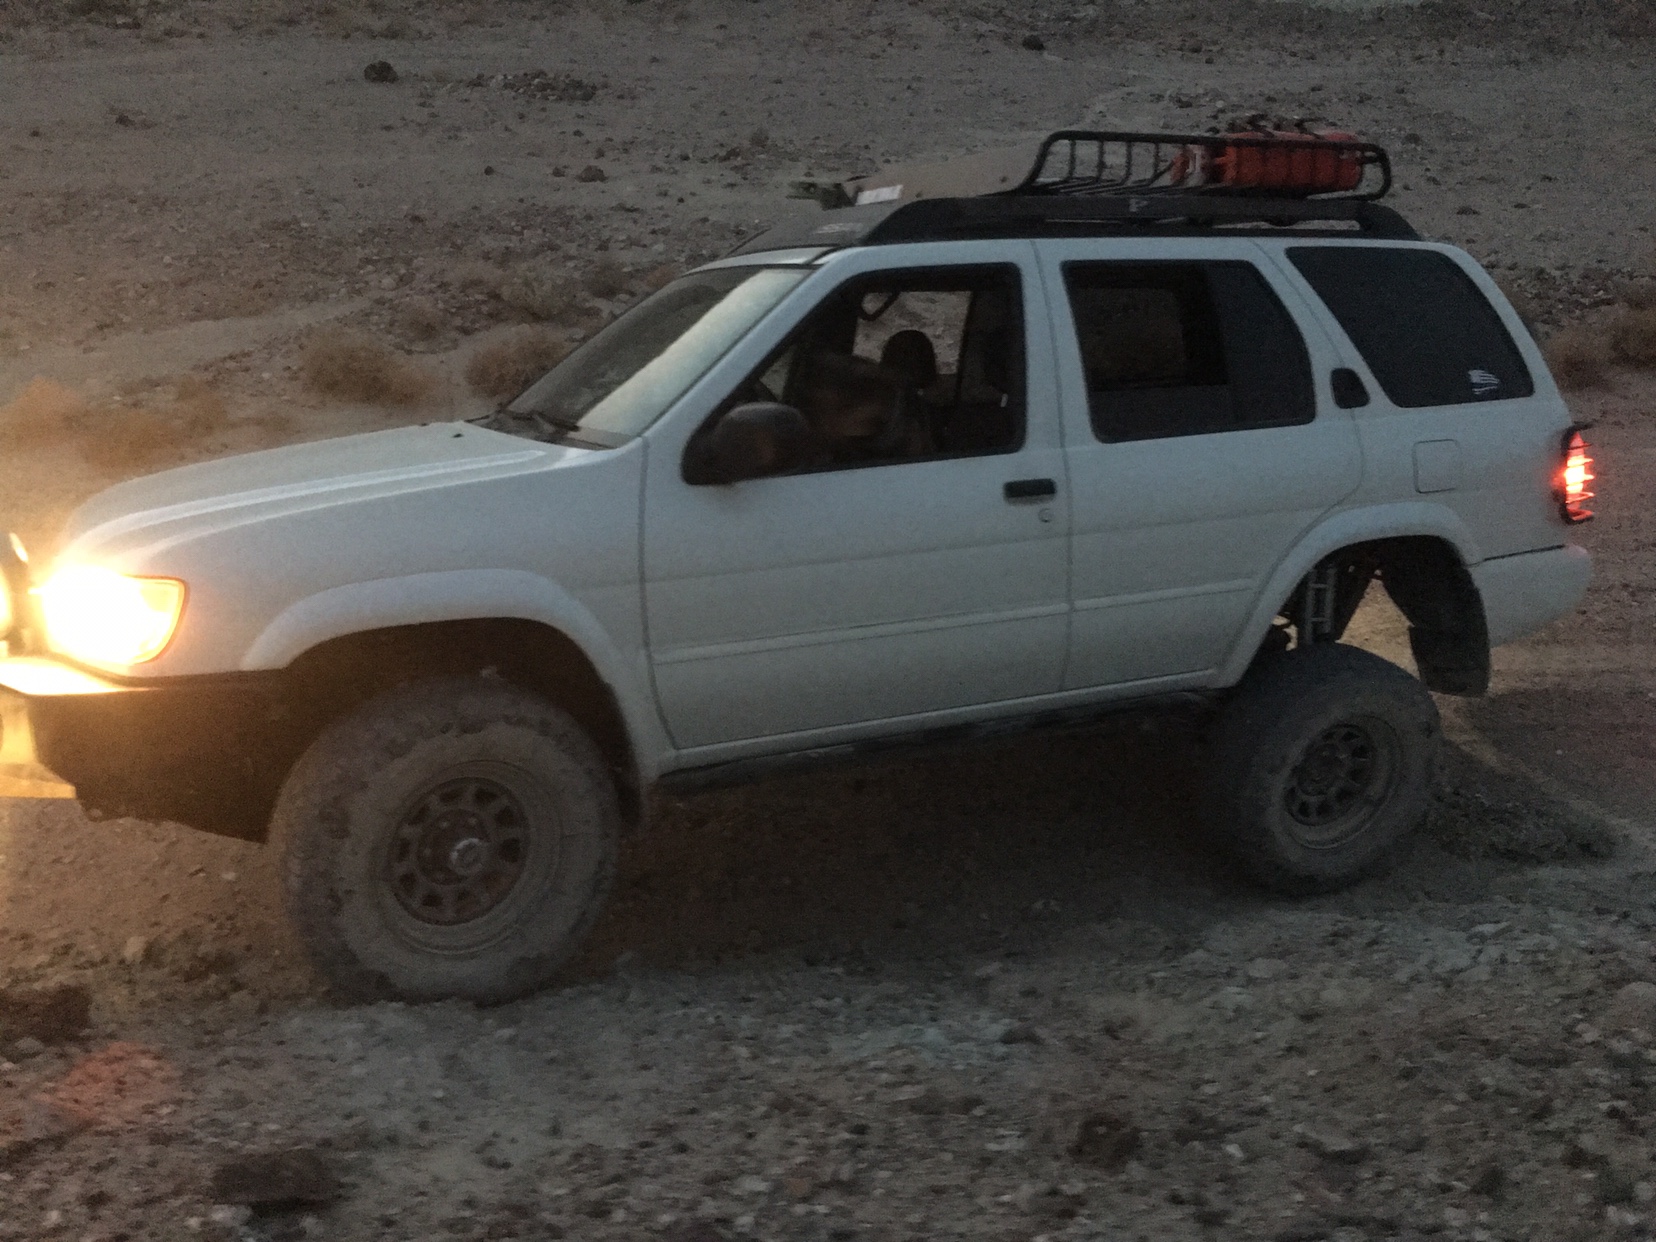
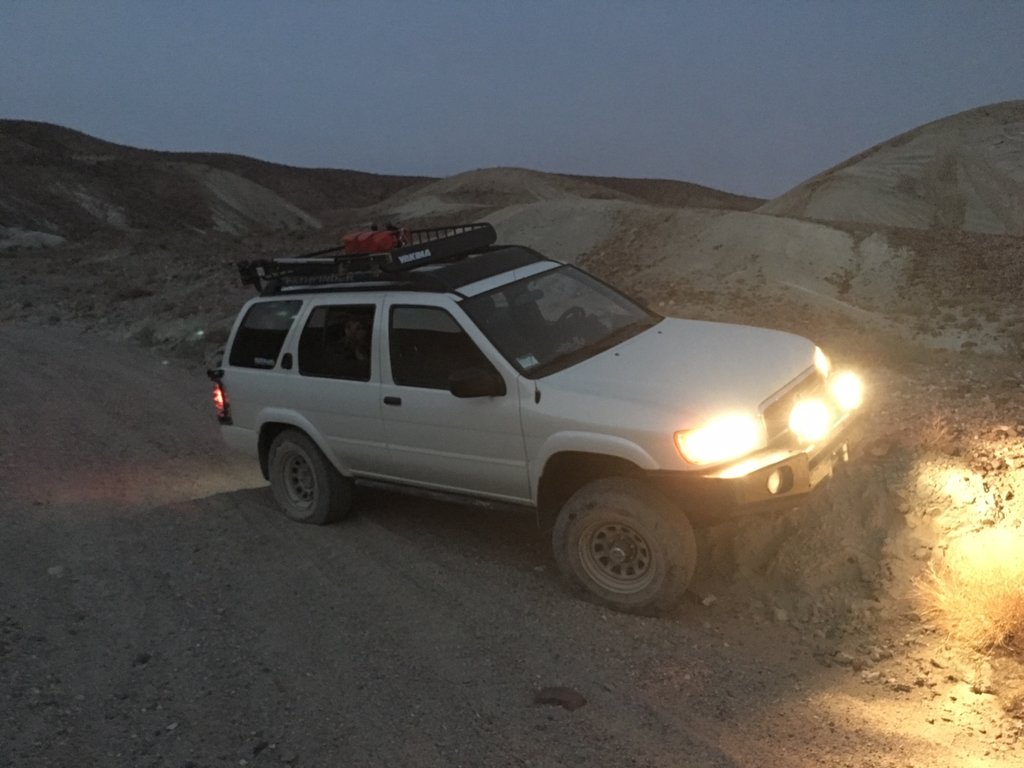
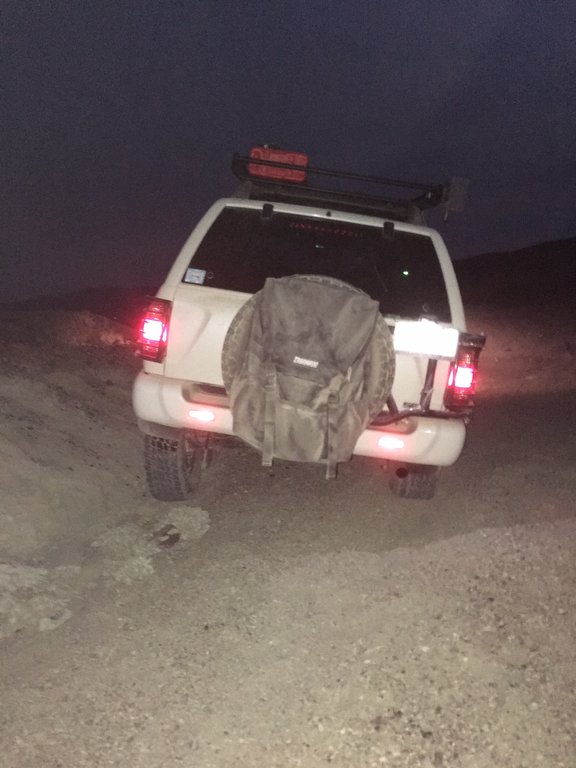
Shocks were worth every single penny. I’m beyond pleased with how well the truck ran the trail today. My main focus today was not to test my trail limits in terms of technical difficulty but to really test the shocks hard to find their limits.... rough/rocky washboards and uneven terrain was not a problem and definitely no longer will be when I’m over-landing. Ran calico trails today between 25- occasionally upper 30mph runs on roads i would have previously taken at maybe 10- lower 20mph. I felt notable differences that instantly validated the $$ for the shocks and rear combo with the HD LR coils... absolutely love the set up and would recommend it to anyone whose considering to run bilstein 5165s and the HD LR 9448 coils. Again imo it’s worth every penny, I would have been bouncing around in the 5100s i had previously. Went downhill/ straight, etc over terrain that definitely had some deep potholes or ditches that also gave the car some various basic flex terrain. I cant properly explain just how smooth the ride was, as if gliding practically. Took various corners at higher mph and the truck felt nice and firm all through out with no rear ended drooping or swaying (hats off to hawairish’s sway links). Trail time was just over 2 hours and the stocks responded well the entire time. 2 hours may not seem like a lot of time on trail but mind you it was practically a two hour stress test. Sent from my iPhone using Tapatalk
-
Change of plans, will be doing philips loop/calico , over previously planned holy Jim trail California fires closed down holy Jim. I’ll also be posting pictures of the brackets hawairish fab’d up this weekend Sent from my iPhone using Tapatalk
-
Summary list of parts used for this past weekend build with part #s - bilstein 5165’s #25-261400 - viair 485c stealth black - LR HD coils #NRC9448 - custom sway links (hawairish) - custom viair mounting bracket (hawairish) - custom fuse box bracket (hawairish) - (4) 8ft x 3/8 rubber hose (central pneumatics, harbor freight) - 5mm air tubing - 6mm air tubing (between air manifolds) - (2) quick connect coupler - 5 port 3 way air manifold block - 4 port 2 way air manifold block - HFS solenoid - Pressure switch On: 90psi Off: 120psi https://www.amazon.com/dp/B01LZ8NJGO/ref=cm_sw_r_cp_api_P.P5BbCKH2JHZ - ASME pressure valve 125psi - (3) 1/8 90degree push to connect https://www.amazon.com/dp/B07H7X4QFM/ref=cm_sw_r_cp_api_Q8P5Bb7HYF8K4 - 30 amp fuse - viair air pressure gauge #90084 - Heart Horse 3 way carling switch #B01EFIZP2A Sent from my iPhone using Tapatalk
-
OME HD front coils KYB struts. Warren hubs I had an issue I stated earlier with not having a missing link and having a repair done... the welds I have on are solid I wont probably be messing with the front until I am ready to do a SAS in the future Sent from my iPhone using Tapatalk
-
My front end has a 4 inch lift with a 3inch subframe drop. More to come in time, tough to do even what we achieved in this past weekend haha Sent from my iPhone using Tapatalk
-
No worries [user]raingoat[/user] I try my best in write ups with this being my first, sure I’ll get better in detail as new things come along but not even close to hawairish’s posts. Sent from my iPhone using Tapatalk
-
For the sway links. You’ll need to have those lengthened, I know towndog and hawairish know a few brands that sell them but as for mine, they were quickly fab’d up over the weekend when we saw that the oem ones wouldn’t fit. So if you get the 6 inch lift... no doubt you’ll need new extended sway links For the 5165s mine clear with about a quarter inch space between the reservoir hose and the tire.... although not sure yet if i was to go through some extreme terrain if the hose would rub or not...... towndog’s are perfect although his were done with a refitted shock mount. I’m assuming his 5165s have a different reservoir hose mount because they must be for a different model ford (mine are for 2013-18 fords, and their shock mounts are designed different then ours so the reservoir hose wouldn’t be an issue for fords). I went with the ones I have because i didnt want to use a shock strap or go through refitting the shock mount... so they fit perfect for the 6 inch lift but the hose placement can be seen as a possible issue. Though through some flex tests and me at 255lbs jumping on the car... the hose had about a quarter inch still from touching the tires... imo I’ll be okay for the overlanding and any wheeling i plan on doing. Although I’ll definitely update in the future if any issues do come up.. The combo is great and I definitely notice a difference in ride quality, I gifted [user]hawairish[/user] with a pair of bushings for the shocks in hopes that we all convince him to get a pair of 5165s ! I kept the air lift for the sake that we already had them installed and if i ever choose to tow xterras outa trouble if they break down on any green trails. *jokes* but in all honesty I kept them for the sake that they were already installed and fitted, all that needs to be done to reinstall them to the LR coils is to just shove them back in and reconnect the air line..... soo i figured why not, took a few minutes. Now to admit and drop a hint on a future upgrade.... the air lift may have slightly help stiffen up the rear since I have a bit of death wobble from bore out bushings on my trailing arms (oem) which are only a year old! Safe to say trailing arm updates are bound to come next. Sent from my iPhone using Tapatalk
-
More ideas on the drawing board... don’t wanna spill though till the time is right. I’ll let hawairish drop hints on those if he wishes Sent from my iPhone using Tapatalk
-
Some extra pictures.... Again any undercarriage hosing routes you see were tied down and cleaned up, just tryna give a reference as best as I can as to how it was all done. On the passenger side of the car Nissan runs various cables underneath the car with a wire/hose clamp/bracket?¿ you’d see what I mean if you look under the car. Anyways that clamp has one extra unused slot which i used to hide and organize the air hose all the way through the rear. Sent from my iPhone using Tapatalk
-
The interior aspect of the build turned out really clean. Underneath the driver side air vent and above the hood release there is an empty box compartment .... turned that into The drawer still opens and closes with the switch and pressure gauge clearing. The switch is also wired to the power cable on the off-road lights which allows the compressor to be ran while the car is off if. I feel that a couple posts can’t even justify exactly how much work happened this weekend not only in labor but also fabricating and brainstorming the entire set up. Im extremely grateful hawairish was willing to take on such a huge project with me and help me out a ton. This wouldn’t have been possible without him. It’s an awesome set up that turned out perfectly. With so many hours thrown into this build I’m sure my mind is scattered and missing something I haven’t mentioned yet. Shoot away any questions about it or pictures you guys would like to see. Sent from my iPhone using Tapatalk
-
I’m sure it’s not only the links but the shocks and coils too that feel much tighter on turns as opposed to the OME and 5100 set up I had prior. I read what towndog said earlier about his set up not having as much droop in the rear and and I definitely notice that improvement in my ride quality. Courtesy of [user]hawairish[/user] for the bad ass sway-bar links he designed and fabricated. Sent from my iPhone using Tapatalk
-
The air compressor was definitely the biggest part of the project that required custom fabrication of mounting brackets, which came out top notch thanks to [user]hawairish[/user]. There was a solid 40+ hours into the compressor install which I’m sure hawairish can fill in more about than I can. My engine bay is that of an 02 pathfinder which I believe should be identical to 00-02 pathfinders (i may be wrong). We initially drew up all the prints to mount the compressor in the rear underneath the car but then playing around with the engine bay we saw a possibility to mount it on the right side and re-align the fuse box. I have a viair 485c compressor, we took off the factory mounts and repositioned the compressor to its side where we have atleast a quarter inch clearance from the hood when fully closed. There is a custom bracket that mounts two of the legs on the viair and then a third leg is supported by a inch and half or so spaced where there’s a bolt and a washer keeping it mounted..... I’ll do another update where i unmount the compressor and show the actual brackets on both the fuse box and the viair Mind you we used factory mounting points and drilled no new holes into the engine bay or anywhere else in the car. A four way air manifold is connected to the compressor hose and fitted with the solenoid (which clears the air box perfectly), and then air’d to the front bumper quick connect and a second air manifold by the air-intake box. The air manifold was mounted to the intake box (no other place had clean enough and large enough fitment to run everything smooth and easily, keep in mind that all this is fitted for easy dismounting and assembling if ever in need of a possible repair) in pneumatics dozens of things can go wrong which leads to possible needs of repair. With the way everything is mounted, fixing possible leaks or wiring is extremely easy. The power and air hose is ran around the engine bay to the battery followed by the air hosing routed to the rear of the car. *the hoses you see in the pictures were during the install and were zip tied and fitted to the body. Sent from my iPhone using Tapatalk
-
Rear install, will do a size comparison pic later this week when I get a chance. Shock mount required to have refitted 5/8 size bushings. Took some work to grind a simple shock bearing out. It may look like a small issue but these required some thought and work to get a clean cut and fit to not damage the shock mounts. The metal sleeve that bilstein makes these with is permanently fitted to the rubber eye so it will all need to be removed (we used a drill press and floor press to get the bushing removed) and then just fitted in a 5/8 eye. * I’ll include part numbers in a summary post * Sent from my iPhone using Tapatalk