RainGoat
-
Posts
1,343 -
Joined
-
Last visited
-
Days Won
86
Content Type
Profiles
Forums
Calendar
Posts posted by RainGoat
-
-
Installed rear springs,shocks and r sway bar bushings. Also refurbished the rear end while I had most of what holds it to the car disconnected. The wire brush was my best friend LOL during this project. I also got new tires today. Well I had the tires I purchased them back in April but wanted to wait till I got all my suspension changed out before I put them on this thing rides like a Cadillac. #97JR50Quey

Mr Cox 96R50-97JR50
Not sure it’s been said but your work is lovely! I expect every one of us wishes our truck looked as clean as your finished product. I’m curious, what paint did you use & why it over others?
Sent from my iPhone using Tapatalk Pro-
 1
1
-
 1
1
-
-
I'll be out west for a few weeks then heading home mid august.
Where are you?
Sent from my iPhone using Tapatalk Pro -
Trialed packing for 3

-
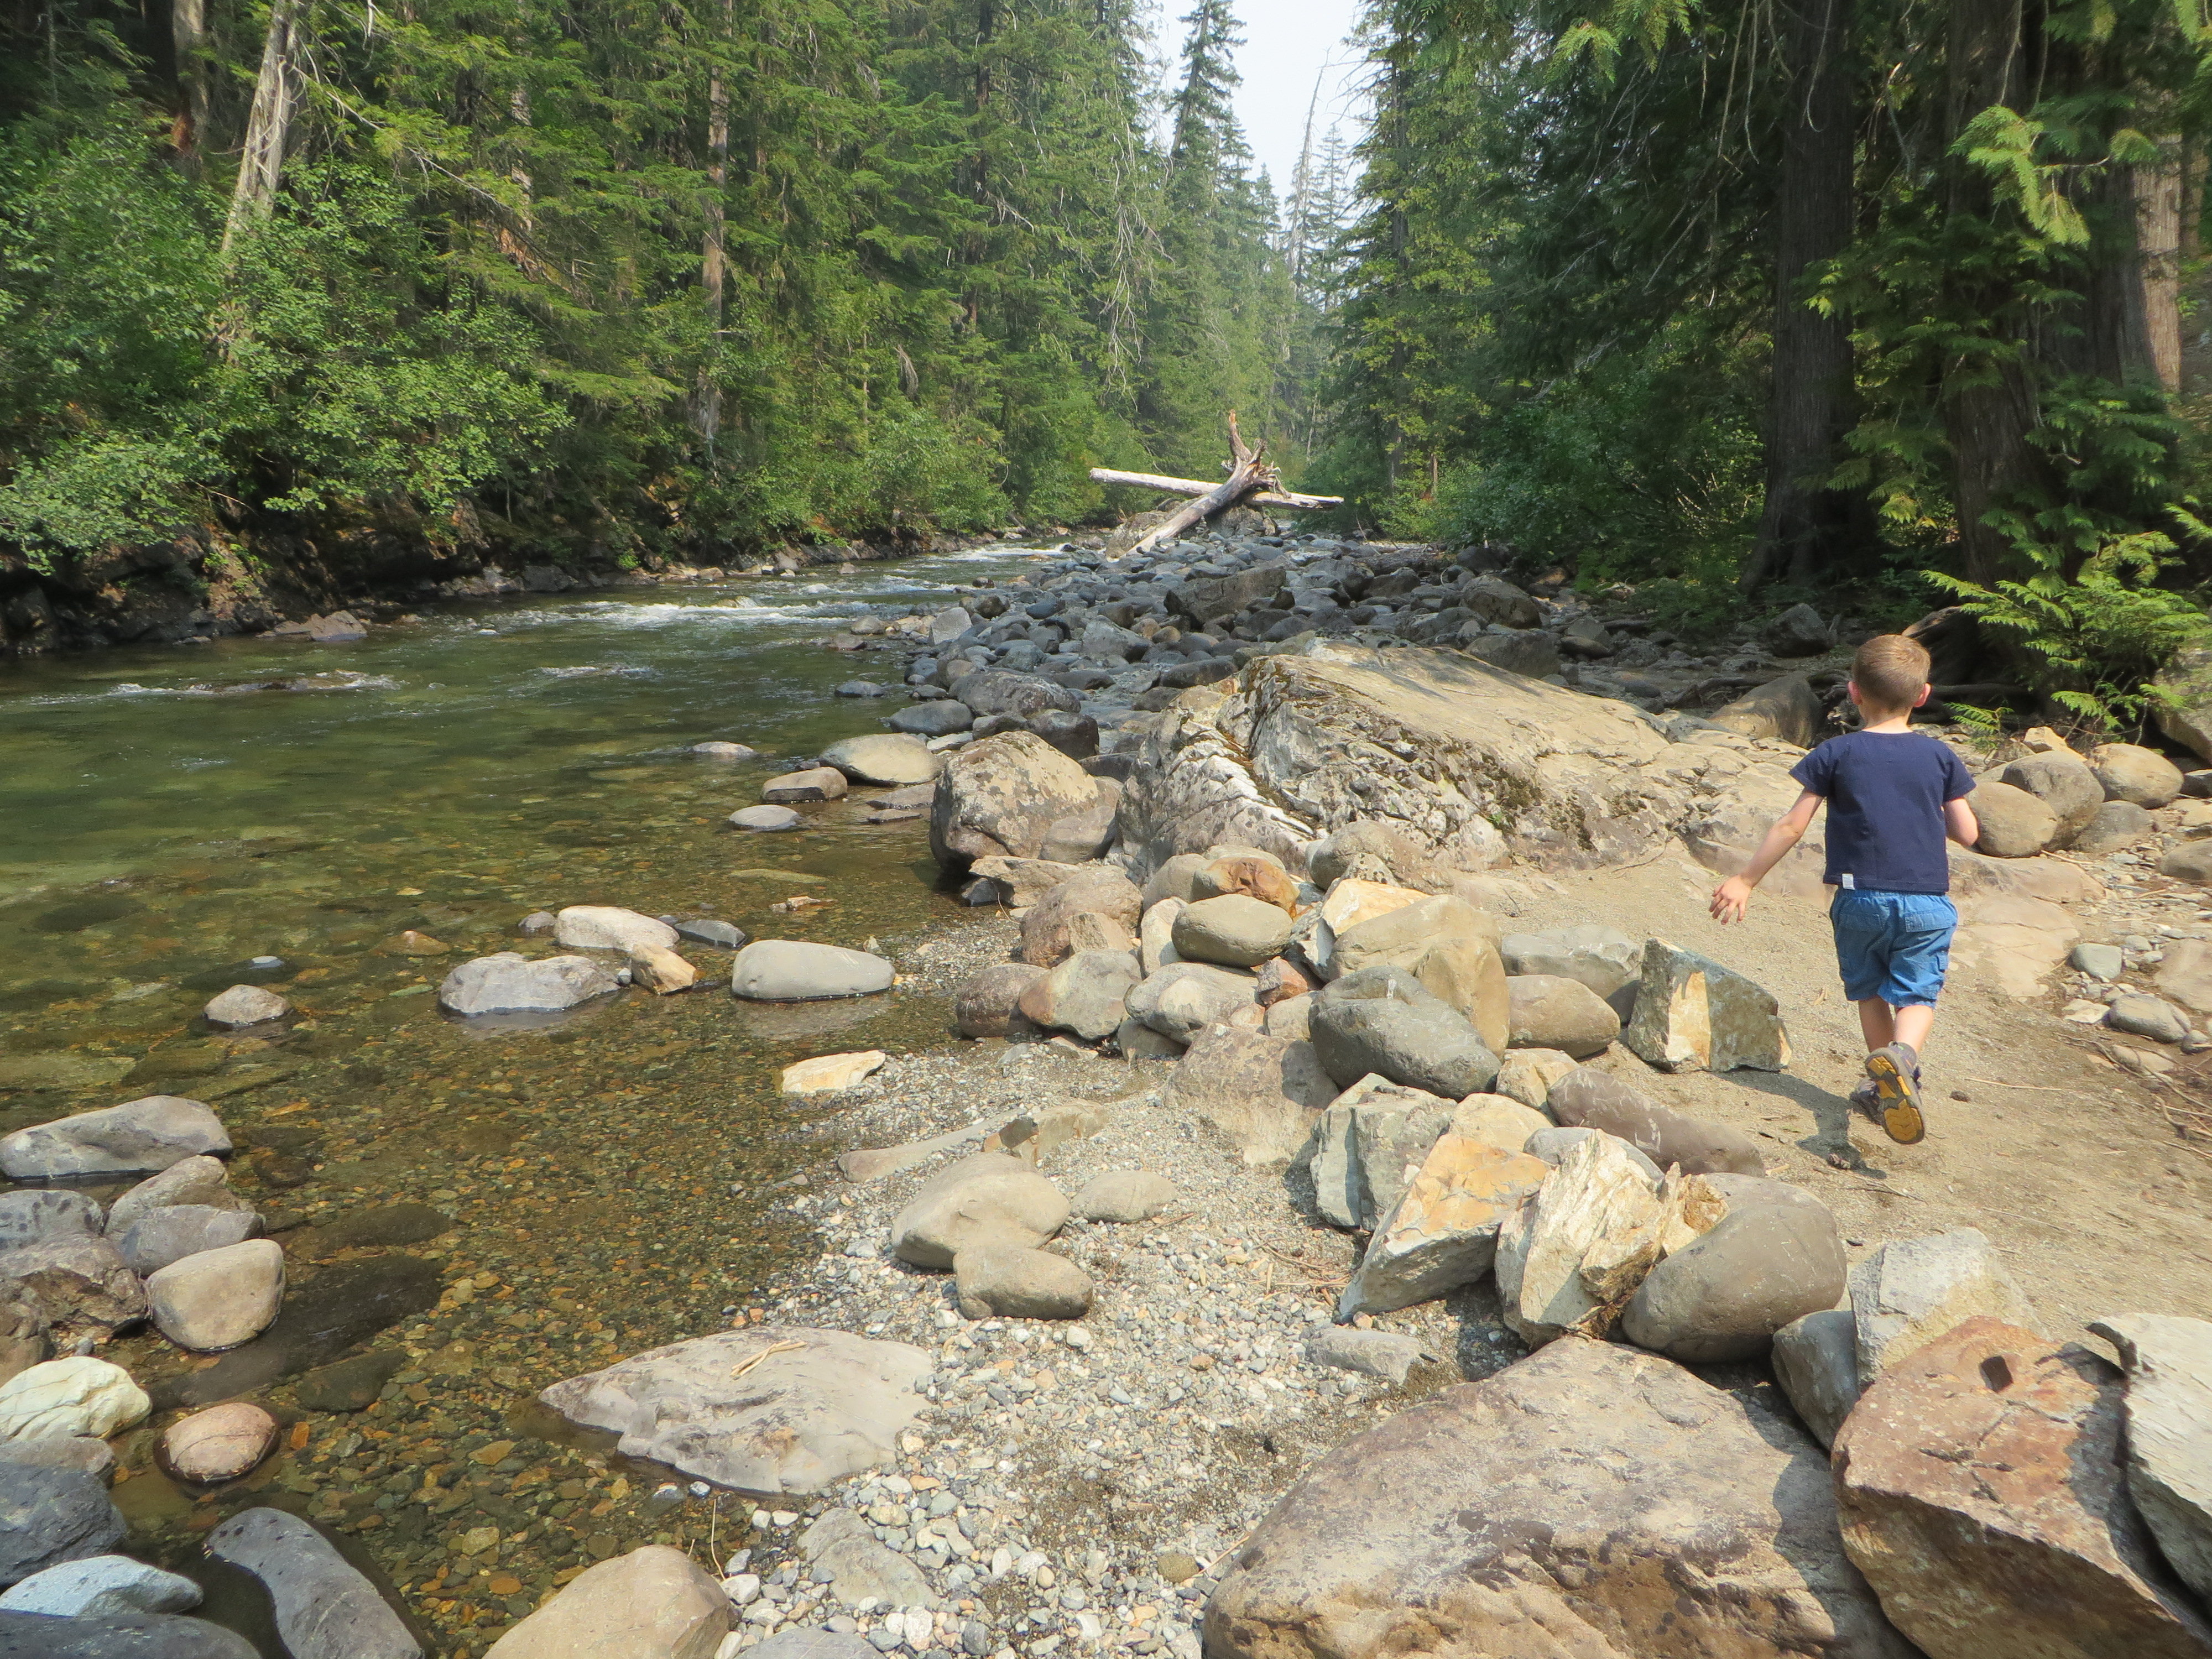
Out & About in Mount Baker NF last week.


-
3
-
-
Front Runner Outfitters has a low-profile slimline system that will replace the rack, and has a slew of other accessories. Not terribly cheap, but seemingly of high quality.
Frontrunner is very highly thought of in the T4R community. A million accessories but all at high cost. I do love their undermount stainless steel prep table though-that’s a great idea.
I kind of like the Rhino racks a little better as they run front to back & I expect have less noise & drag. One downside is that you can’t just omit a transverse bar if you want to accommodate a sunroof. Rhino rack platform is also a little broader making them easier to walk on. Finally, they have a great center channel which you can put tie downs or a nice little rubber strip in.
Prinsu also has a good rep but you need to drill an opening in the slots to put anchors in the track if you don’t want to disassemble it each time.
All that said, I’m putting a Rola V-Tech with extension on mine.
Sent from my iPhone using Tapatalk Pro
-
Beautiful Pic!!
Sent from my iPhone using Tapatalk Pro-
1
-
-
17 hours ago, neilca said:17 hours ago, neilca said:
$1100 to rebuild an automatic is insanely cheap. I rebuilt my own and had nearly that much in parts.
One key to making one of these transmissions to live is adding an external cooler. I also added a thermostat so when cold the external cooler is bypassed. The transmission will not shift correctly when cold. you need to direct the fluid through the radiator to get some warmth.
Ah, neilaca, your CA is showing. I get work done on vehicles in Seattle & Kansas City & it’s like it’s two different worlds. The West Coast is ridiculous on parts & labor but unfortunately that’s where the R50 is located. I’ve actually bought my last 2 vehicles elsewhere & shipped or driven them back, saving thousands on each-thank heavens for the internet.
As for transmissions, I can only vaguely remember a post from enjoi408. The shop that rebuilt my engine after the power valve debacle says they can’t ever remember fixing a Pathfinder transmission but that they did Xterras regularly. At TowndawgR50’s (& now neilca’s advice), I’m going to add a cooler as I want another decade & 100K out of mine.
WARNING-If you are looking to buy, immediately secure the power valves. It’s a relatively easy & inexpensive fix but failing to do so can be tragic. Just search it on the forum!
-
Installed Eyebolts for securing cargo.
I’m still working on a clean application for the rear. I’m also working on a ceiling net & ultimately a MOLLE rack for the driver’s side cargo window. All that said, I’d rather have hawairish‘ rear cargo area rack-that thing is great! -
Installed Eyebolts for securing cargo.
If I’m going on a trip where I’ll be off-road a lot, I like to throw a net over the cargo area to hold all the loose stuff down. My critically heavy items are camstrapped to the floor cargo tie downs, but the net just attaches to the fairly weak upper cargo points & the rear seat headrest posts if the rear seats are up.
I’ve been wanting to do the cargo tie downs for 14 years. My thought was to simply use eye bolts where the machine screws anchor in the body. Those are M6x1.0 threads, however, and metric eye bolts, particularly in stainless or zinc, are quite difficult to find. Combined with a lack of motivation, this usually stopped me. When I had a time limit to solve an essentially identical problem in my Mom’s new 4Runner I was finally forced to get it done (admittedly, testing it on the Path first).
The key was ridiculously obvious. I simply needed to rethread the frame bolts to 1/4” & I would have endless hardware options. Warning, this is an irreversible step.
You can remove the metal arms or even fold them out-I just kept them folded for now. A slightly shortened spacer would recess the eye hook some, which I would prefer, but a hardware option wasn’t readily available to me. You could also use washers instead of a spacer. If you remove the metal arm entirely, you can use a single washer for a much more recessed eye bolt-though I think it then reaches the point of being too difficult to use (you also may want a shorter eye bolt). Anyway, here is the modification for anyone who is interested.
Cargo Tie Downs:
(2 above cargo window/2 in front of tonneau cover slot)
Rethread M6x1.0 frame machine screw holes with a 1/4” tap.
Spacer-Chrome Steel 0.5x0.25” [Everbuilt] 2 pack x2
Eyebolt-Stainless Steel 0.25” x 2” (6.3x50.8mm) 160#(72.5kg ) Working Load Limit [Everbuilt] SKU372941 2 pack x2


-
5
-
-
Love the other 2 rigs, but I'd just like to point out that mine is the only one that stuck true to the sand theme for June.

Yeah & throwing in 2 adorable kids didn’t hurt either!
Sent from my iPhone using Tapatalk Pro-
2
-
1
-
-
Oh dude Yotatech is like THE quintessential toyota 4x4 forum, it's crazy how big and active it is.
Good to know, I’ll take a look too, though I despise that old school machismo cr@9
Sent from my iPhone using Tapatalk Pro-
1
-
-
[quote
Alabama Dan-you have a very cool avatar -

This is what happens when you use one truck as a toolbox while you work on another. She’s been patient while I worked on my Mom’s new 4Runner. Now it’s time for some love for the Pathy. Actually, all the developed products for the 4Runner have given me some good ideas on how to jury rig similar mods in my old girl! I’ve even got some RRO Sliders that have been sitting in a box unopened for almost 2 months. So much to do!-
7
-
-
Looks great guys!! Thanks for all your hard work.
-
How much? Up to a quart every 1000 miles or 30 days seems common. Mine does it. But I think at least half is leaking rather than being burnt.
Over 16 years & 106K miles I have had no leaks & have never had anything near that volume. More like a quart every 6-10,000 miles/1year.
-
Glad you made the sale! I hope there is a forum like this one for your new vehicle. If you find one let me know. I haven’t looked for one yet for my Toyota so I’d be very interested to know.
T4R.org is probably the best. It’s massive in size. With time you learn to whom to listen but there’s a lot more “Bro” culture you have to sift through. I follow 4 vehicles & NPORA is definitely the best! BTW, I’m RainGoat on T4R as well.-
1
-
-
Like Hawairish mentioned earlier, Ive started working with him on the design of these brackets. He sent me the data to punch out a set, using his current iteration, so I can start mock up on my rig and work with him on the R&D end. I have a chunk of time coming up and plan to push on this project so I can finally get rid of the XJ bumper and help however I can to get these on the market!
Hip, hip, hooray! Very exciting! -
...On the plus side, I finally started v2 redesigns this week on the bracket. I'm at a minor blockage rethinking where to put the shackle mounts due to other modifications, though. I'm currently planning to move them closer to the OE tow loops, about where the lowest bolt is in the pic. That would provide the necessary space for mounting a crossbar/receiver under the winch channel. I'm also playing with the idea of lowering the channel altogether, for those not wanting to find an alternate control box mounting position like I did...but it would lose the option for a receiver.
Exciting days to come!
Okay, can’t resist plugging a front receiver again. I don’t even need a front receiver but it would be SUPER handy (TownDawgR50 could certainly use it & you said you were considering a trailer).
Personally, I only want one new bumper, period & I would like the most functionality out of it. I think anyone who would purchase these brackets (& really anyone with an R50 who would consider a winch) will not see relocating the winch solenoid as a barrier. Technically, that’s an easy process that anyone who can mount a bumper should be able to do. Giving up the option of a front receiver to avoid that is a pretty hefty price to pay.
Anyway, you know I’m on board however it ends up. I’ve certainly got enough to do already that the timeline is fine for me too (though my wife is getting a little tired of my winch in our entryway - or maybe it’s the rack segments stacked up under the coffee table-it’s hard to tell)
-
Here is the composite forum experience to date. Look up the Land Rover Spring thread for details:Can you share which Land Rover springs you ordered? Did the set worked for front and back? Thx
Land Rover Defender 90 Spring Summary
http://www.red90.ca/rovers/springinfo.html
5” Inner Diameter
NRC9446 +2.5-3
(15Spring Ht) 0.5-1" rake c 2 front spacers
175# Spring Rate
LR 90 Defender-Front Driver
(0.5" longer than passenger)
NRC9447 +2-2.5" (Micah got 4")
175# Spring Rate
LR 90 Defender-Front Passenger
NRC9448 +4(Perfect c 4"SFD),
cut one coil=3"
225# Spring Rate (LR 90 Defender-Rears)
$80 Delivered from UK
NRC9449 +2-2.5" (same Height as NRC9447)
225# Spring Rate
(heavier Load than NRC9447)
1badqx4
9446: neilca(35"F/36"R c 31"tireMid Fender Ht)
9447: 19pathfinder99, MichaelAndrews,
micahfelker(37-37.5" c 31"tire, MD OME Springs, F=HD OME),
thehillboys (Bilstein 1525 shocks)
LR - 34 1/4" to 38 1/2" settled to 37.5" net 3 1/4"
RR-33 3/4" to 38" settled to 37.5" net 3 3/4"
Front 35” c Moog OEM Springs, KYB Struts & 1 1/2" spacer
LF - 32 1/2" to 35 net 2 1/2" (slightly uneven shop floor)
LR- 32" to 35 net 3"
Rake 2.5”
9448: hawairish, TowndawgR50, drewp29, Bax03SE(37"F/38"R c 33"tire Mid Fender Ht-1 coil cut)
9449: 03Troutfinder (36.5" from 34", same ht as OEM Spring+2”spacer)
Order from LRdirect
Brands-few reviews on LR forums say Brit Part (c8) springs held up better than OEM Land Rover against sagging
Sent from my iPhone using Tapatalk Pro
-
1
-
-
Did some more wheeling last weekend and gotta say this old pathy held her own with some badass rigs. Here’s a couple shots. Also installed my CB radio as well. Tell me what you guys think. Even had the pleasure of pulling out a stuck Jeep lol.
CB looks good! Lusting after all those empty switch blanks below it. Where did you get the tailgate antenna mount bracket?
-
Also keep in mind wheel backspacing for strut clearance. 265/70/16 will clear the strut. 265/75/16 will sometimes clear and sometimes hit depending on the tire brand and how aggressive the tread is. Anything bigger will require either wheel spacers or new wheels with less backspacing.
Bax03SE, do you know what wheel backspacing will clear the strut?
Here are my notes to date (including Bax03SE’s):
at a little over 32” they will hit your strut.
anything over 31” tall will require either a spacer or a wheel with at least 3.75” backspacing to clear the strut. 245/70/17 would give you another inch over stock tires, and would fit on stock rims/stock height with little to no trimming.
**Fits up to 265/75r16 (~32x10.5) without any problems
265/70 r16 tires should be the biggest you can do and still will probably have a rub. Be careful!
keep in mind wheel backspacing for strut clearance. 265/70/16 will clear the strut. 265/75/16 will sometimes clear and sometimes hit depending on the tire brand and how aggressive the tread is. Anything bigger will require either wheel spacers or new wheels with less backspacing.[bax03SE’s]
Bridgestone AT's (LT255/70/16)
So 0 offset rubs rear guards but no contact on the front.
+7 rubs a little at the rear and little on the full right lock, but has the benefit of sitting inside the guards better.
By the looks of that +10 would fit, but it will scrub harder on a hard right turn
265/70/16 Grabber A/T,
a little bit of scrubbing on the splash guard at the front but that was easily fixed, by pulling it up more to my bullbar with some cable ties. Other then that all good. I haven't taking them offroad yet to see if they will rub on the rear guard, if they do I think it would be a light rub that I could put up with.
<http://pcoa.org.au/forum/viewtopic.php?f=43&t=7263&start=15>
-
Not late, I'm just a little stalled for the time being. I'm trying to ramp back up for a v2 of the bracket, but too many other projects at the moment. Hoping to have a much better answer within a month.
First off, you needed to include a pic of that fantastic skid plate-you can barely see it in those pics.
I’ve seen hawairish’s bumper brackets in person & they are going to be well engineered. He’s currently tweaking for more universal application & fit & finish. I liked his as is already. Personally, I’m waiting for his product because it is so well thought out. His is simply a superior mechanical design to anything I’ve seen before. I’m going to take this opportunity to plug for a front receiver option again too. I don’t really need it but I know they’re super handy!
As an FYI, he is building his own rear bumper too but I’m not sure if he has any distribution plans for it.......?
-
Although this car isn’t my daily and I don’t ever plan on mall crawling with it I wanted to secure the traction boards. I thought of a few different ways to lock it but settled on using a 1/2” receiver lock.
Ditto. Great idea with the receiver lock. Once I get my rack on I’d like to fashion something similar. I have the same boards & asked around about them at ExpoWest with encouraging reviews. Can’t beat them for the price.
BTW, relieved you addressed the power valve screws-most disappointing car day of my life.
-
Sounds like the perfect time to do two....
Steering Wheel Radio Switch giving me fits...
in 96-2004 R50 Pathfinders
Posted
Ack! I’m about to put an aftermarket Pioneer head unit in mine & I bought the switch interface as I’d like to retain that fx too!
Sent from my iPhone using Tapatalk Pro