

Jmoor85
-
Posts
154 -
Joined
-
Last visited
-
Days Won
1
Content Type
Profiles
Forums
Calendar
Posts posted by Jmoor85
-
-
Just sold my blazer that had the 4.3L. Had it 11 years so I feel I can honestly say I am an expert on them. It was reliable-ish. Always had a random cylinder misfire that no one could figure out. The spiders are a pain and always need replace or cleaned. Numerous timing issues. I've been on blazer forums for years and they are common issues. Most ppl have to get a new engine when they get the random cylinder misfire. I loved my blazer. It was had to let it go. But I'm glad I am no longer tracing all its issues. Just my opinion but I'd stick with Nissan.
-
That's a cool article. Wish they have a video documentary. Sucks all those vehicle are mostly extinct. Long live the 4Runner I suppose.
-
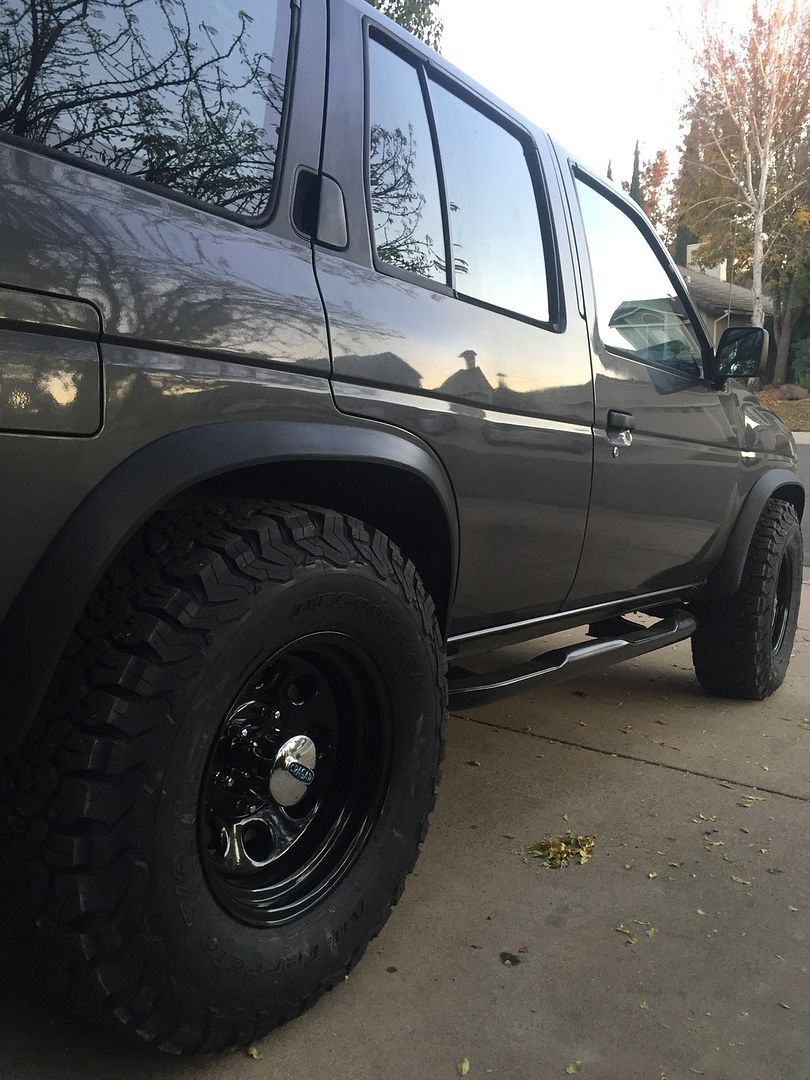
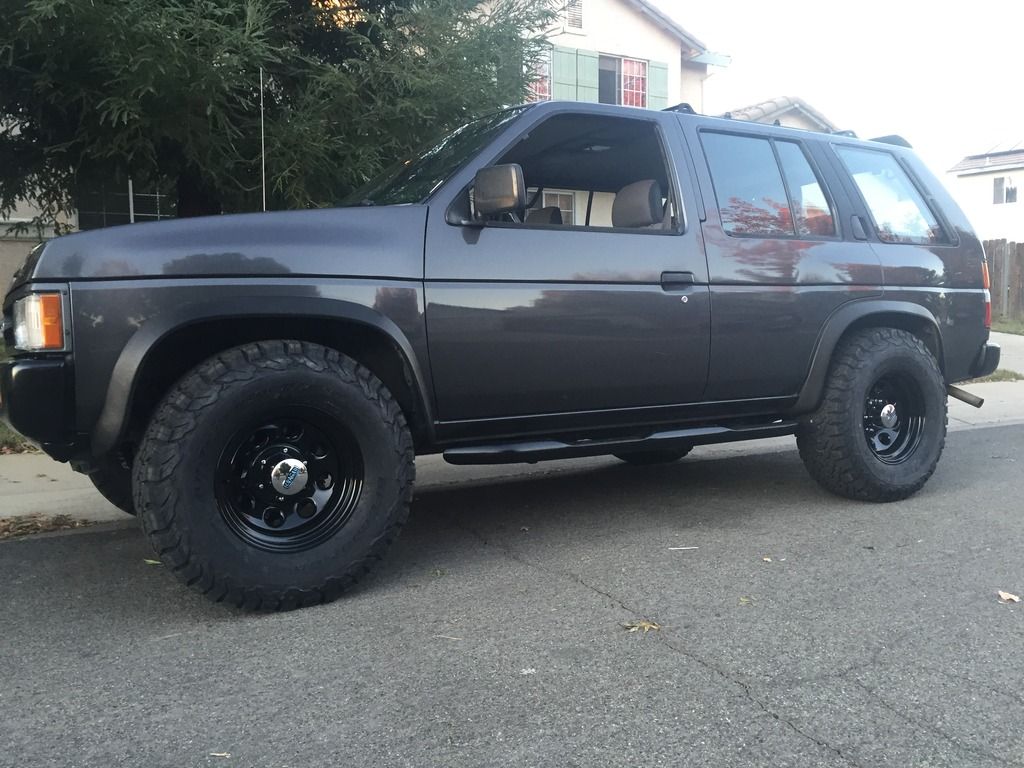
31x10.50R15
-
 2
2
-
-
My bad I guess it was 50/50 ATF and acetone. I hear that Lacquer thinner works too.
for the nerds here are the specs
> No Oil used 516 foot pounds
> WD-40 238 foot pounds
> PB Blaster 214 foot pounds
> Liquid Wrench 127 foot pounds
> Kano Kroil 106 foot pounds
> ATF/Acetone mix53 foot pounds
Ooook so what do these numbers represent? What is the control set at and how are these numbers harvested? I'm actually very interested in this with all the bolts that are snapping off on this damn thing. Maybe I misread it or missed an explanation already due to reading from my phone.
-
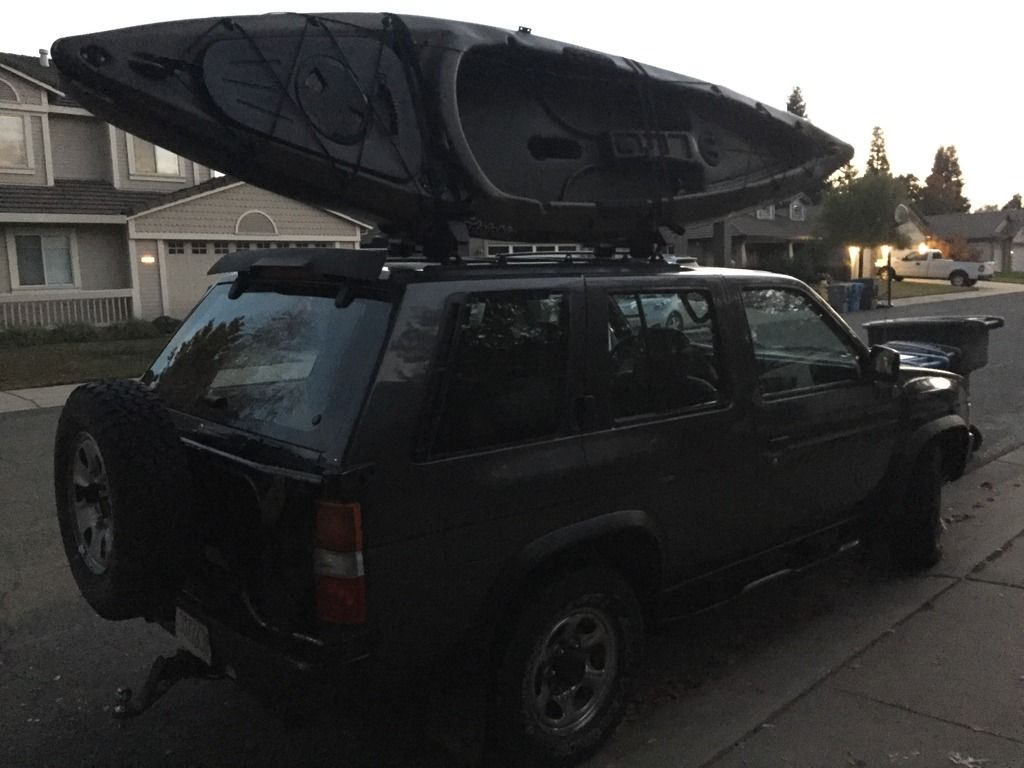
Got my Jay Cradles from Yakima installed. Time to have some fun and catch some fish.
-
Yeah, one of the collector studs came all the way out for me too (the one closest to the block, nut was totally rusted in place surprised it didn't break) I guess I'll get it off when I pick up the torch.
I'm gonna try to get a center punch in there for the manifold studs cuz I've had the same off center drilling happen when drilling out a broken bolt on the a/c condensor. Thinking about using left handed drills too. Damn I wish I had a body lift to give me a little more wiggle room
I went to homedepot and bought some 12" drill bits. They were like $6 each. I went in through the inner fender. Not much space but it got the job done. The drill bits are only good for a couple studs so I bought 5 smallest bits and 5 of the next size up. I tried left handed bits on the ones I could get to since they are much smaller. They didn't grab for me. Use oil and drill slowly when you do. Don't heat the bits up too much. Good luck. It's rather stressful. Also try drilling the hole in the stud to the largest you can so you can use the largest extractor possible. This will help to ensure the extractor doesn't break.
-
Are those knitted slippers? Jealous.

-
@Jmoor --7 broken studs ? You're the king. The stud king,lol
Here thanks. LMAO. I was not a happy camper though. It thoroughly pi$$ed me off. I was on here trying to get other ways to get the last ones out. My drill bit walked on me and I thought I hit the threads. I got lucky on a couple. I also had two broken on the collectors. The two bolts(one on either side) that have the exposed end on the back side of studs are the ones that broke. They must have been siezed from both ends. So yeah. I hope I'm past all that and am still wanting to go back in and replace them with something from NASA that will never get stuck and break again.
-
When I got my egr pipe off I just use pb blaster and an adjustable wrench. I sprayed the blaster the day ahead of time. Then the next day use the adjustable wrench and when it finally did break loose just slightly and went back and forth with it in the tightening and loosening direction until it felt nice and free. I had 7 broken studs total. Wishing I replaced them with something way better.
-
Yep, I got a Nissan clutch through Alkorahil (Rob Lacy) and it was so much softer/smoother, I had to learn how to drive the truck again. Don't worry, it'll slowly stiffen up over the next year...
Congrats BTW!

B
Yeah the clutch catches way sooner than before. Also I can now pull out onto the 65mph hwy and not have to worry about slamming into me because I couldn't gain speed fast enough. Best part is not seeing the rpm shoot way up and not going anywhere. So glad it's done.
-
I went with exedy as well. The pressure plate is way easier. I almost thought I didn't have a petal.
-
So does anyone want to take a guess who has a new clutch?
-
I want that hood

-
1
-
-
Yeah. I'm not too worried about the harness. If someone had a pic that would have been helpful but if not I'll just move them around until I figure out the right combo. I'm sure the switches connect with one another and then to harness. It's pretty basic but I never claim to be an expert of anything.
-
All I have left to do is instal new slave and bleed system, install exhaust y pipe, fill transmission and install shifters.
Hopefully everything works as planned.
-
Well I just had to order the two square exhaust hangers from rock auto. Had I known no one carries it anymore I would have waited so long.
-
Those are fine the way they are. as long as you don't have 2 wires from the chassis harness going to one switch it will work the way its supposed to.
I just turns on the dummy light for 4x4. One wire to each switch and one wire connecting the two.
Right. I'll figure out one way or another.
-
Snarf
-
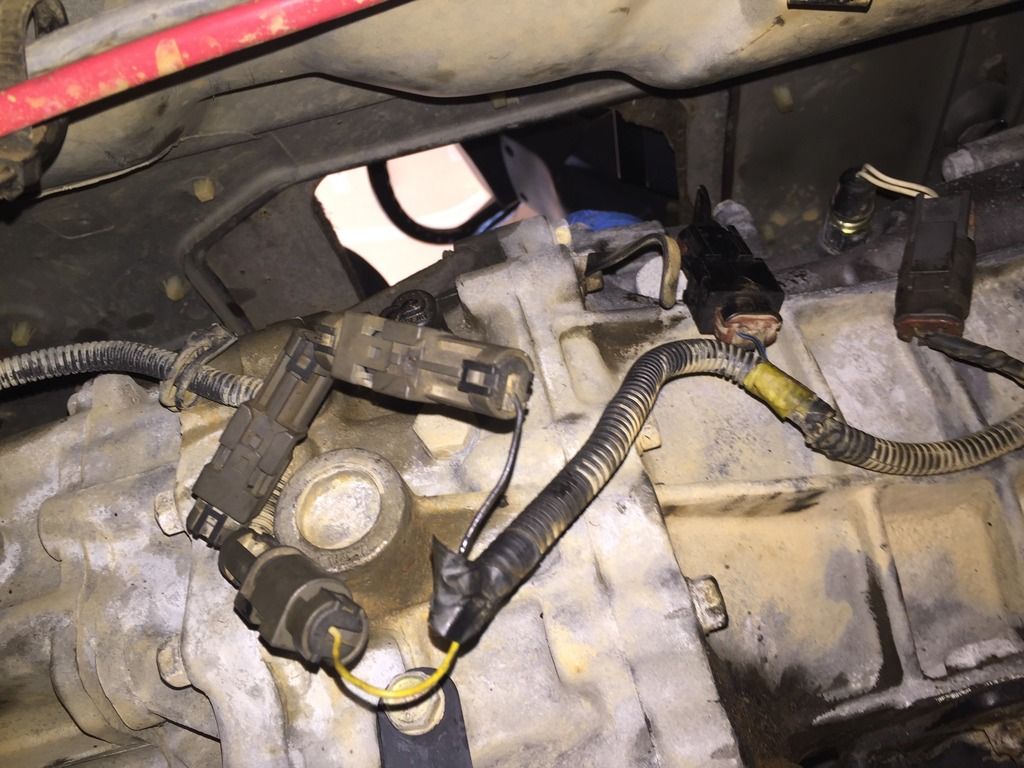
This is the harness I am referring to.
I place the connections where I think they would go.
-
Yeah. The harness that goes to the four plugs on transfer case. The FSM does have wiring but nothing I see looks like the harness I am working with. They have four plugs coming off the harness instead of two.
-
Does anyone have a good picture that shows the wiring connections for the transfer case? All my marks wore of with the degreaser I used and I did not take any pics
-
GUESS WHOS TRANSMISSION IS BACK IN!!!!!!
-
It's just like the grease method. I bought a bolt that was the same ID as the bushing. Nice tight fit. Torn off small pieces of the bagel and stuck them in the center of the hole. Put the large bolt in the hole hole and gave it a couple good smacks. Added a couple more small pieces and with just a few more smacks the bushing came right out. Way less messy and I had some bagel left over to eat. The hole cleaned right up too. Seriously I thought this was a joke when I first saw it on YouTube. It really is the best thing I think.
-
You have to post pictures once you have them on. I am getting ready to order mine and I was think 3.75 BS. I'd like to see what 4" looks like


tire size poll!
in 90-95 WD21 Pathfinders
Posted
Well thank you. I like to make it functional while keeping its nice clean lines and not losing the designed look and overall stance.