NavyP503
-
Posts
89 -
Joined
-
Last visited
Content Type
Profiles
Forums
Calendar
Posts posted by NavyP503
-
-
Ugh, everyone I called is on back order. The site I ordered them through say's it'll be 2-4 weeks, and I need the garage space before then. Thinking about getting one auto hub off the junkyard to at least get the passenger side back in working condition.
-
Thanks for the heads up, I'll take a look at them, the local Ace has a really good selection of bolts so I'll probably pick up some new ones there.
-
Broke down and got the Warns, hopefully get them by this weekend. New and shiny won out this time! I'll put up a couple pics of the old broken one and the new ones once I get it all put back together. Thanks for the opinions everyone!
-
Yeah, unfortunately there aren't any of those up here anymore, stupid insurance. Takes twice as long and they have to pay someone to do what I could run out there and do easily.
-
Yeah, 28 spline, I went down and counted just to be sure
 The only thing keeping me from going with a junker auto hub is that the wear in them might not be much better than what I have. I found some Warn's for $150 shipped now so when the wife gets home I'm going to ask her about it. I'll let you know though, thanks!
 -
So the Auto hubs on my 91 XE are going out. I took them apart yesterday, drivers side was okay just put some new grease in, passenger side was pretty bad, the brake set is shot and some of the teeth are pretty worn down. The opinions I'm wanting to get is what I should do next.
The local junkyard has some auto-hubs for $50.
The 4x4 stores can get me Warn for $190 and be here in a week, or Milemarkers for $120 and get here in about a week.
Autozone can get the MM's fro $86, but they're out of stock and no telling when they'll get more in.
New brake set from Nissan would be $50/each and be here in a week.
I'm leaning more towards getting a set of manual hubs, but I'd rather not spend another $200. I don't really go 4 wheeling, just need the 4x4 for bad weather and going to the ski resorts. But right now the Pathy is up on jack stands in the garage and I'm trying to get it out soon.
From searching it looks like MM's are the way to go for me, but I really like the instant gratification I can get with the Warn's
EDIT: Just found Warn's for $165 shipped, brand new.
-
Just tore mine apart today, drivers side looked pretty good, just put a bunch of new grease in. Passenger side (part number 26 in that picture) was bent pretty good, said screw it and I'm getting some manual ones this week

-
A few things I've picked up that my toolbox won't go without anymore.
Nitrile Gloves from Autozone- keeps the oil off and actually helps prevent a lot of the nicks and cuts I used to get without losing the dexterity that you would with the cloth type mechanix gloves.
Tap and Die set- I just have a cheap set from Harbor freight from now, but for just cleaning out threads in the bolt holes and on the bolts it's already saved me tons of time and it wasn't too expensive, probably wouldn't trust
it to actually put new threads on anything harder than maybe aluminum. Will be getting a nicer set when I can afford it.
Earplugs- Box of disposable earplugs, inexpensive and worth it
Toothbrush and wire brushes- The cheapest tooth brush I could find, great for getting in and cleaning tight areas, and the nylon bristles are safe on most finishes
Voltmeter- I have a multimeter but when I can afford it I'm buying a Fluke, uber-useful and I've never had a Fluke break on me (4 years in an industrial setting on an aircarft carrier).
I'm sure there's something I'm forgetting, I'll wander around the garage tomorrow and add the useful stuff.
An old radio I don't mind getting grease on is nice!
-
I used DexIII, bought one of the $5 hand pumps from Autozone that fits the gallon jugs and made it a piece of cake to fill all the transfer case, tranny, and diffs (Just to specify, I didn't use the DexIII in all of them
) -
Not sure if I had what you would call R2D2 frying, but had some weird noises coming out of the front of the truck after it was warmed up and if I got above a certain RPM. Turns out the fan clutch was shot, I could wiggle it side to side a good quarter inch. It was so quiet the first time I drove with a new one it was almost like a new ride!
-
Just wondering if the new CV's fixed the problem for ya Addz? My left front is making a clicking noise that goes away when I put it in 4wd, I was thinking it was the hub.
-
Brand new battery, couldn't see the flywheel too well last time I had the starter off though so it could be bad teeth, just aligns to a couple good teeth when I rock it.
-
So far, knock on wood, my starter hasn't been too bad. The only issue I have is that maybe 3 out of 5 times I try to start it. I can hear the solenoid pick up and the starter turns but I can hear the gear just tapping on the flywheel. If I rock back and forth with it in gear and try to start it again it comes right up. Seems like the teeth aren't aligning every time, maybe a weak solenoid?
-
Hey Solidbob, How's your pathy running? Haven't been on the site all summer so I missed all the replies to this thread. Hopefully have mine back up and running this weekend. Pretty sure the clutch slave cylinder seal is shot.
-
Wow, I've never seen a strut fail like that. Glad nothing bad happened while driving around with it like that though, could've been ugly! I have had a spring come out of the top mount and sit slanted though, made a knocking sound as well.
-
I just read the Bravo 1 story after seeing the link in the ash tray thread. I have to say it is a pretty cool story, I love it when a manufacturer listens and works with it's customers that well. I'm definitely going to have to start saving for one now though, make a great addition to my hiking gear. Right now I have a couple of Gerber's basic locking blade and multi-tools; a Smith & Wesson Power Glide
 http://www.motherboard.cz/spyderco/smithwesson/SWPG.jpg
 And a Benchmade 9050
http://www.benchmade.com/products/product_...aspx?model=9050
My favorite multi-tool by far is the S.O.G. Powerlock S60
http://sogknives.com/store/S60.html
I used a lot of Multi-Tools while in the Navy working as an electrician. I did like the Gerber's one handed opening, but the tools were brittle, more broken blades and driver's then anything else I've used. Easy to replace but Gerber didn't support selling individual parts. After a while the pliers function of it wore out as well, not able to get a strong clamping force. I think I went through three Gerber's before getting the S.O.G. It's been great for a general purpose mutil-tool. Strong clamping due to the geared joint, still has easy one-handed opening. There are little steel covers over the blades that fell off fairly easily, meant to give you a flat spot to grip when using them as pliers but I never really had trouble without them. Tools are still easily replaceable and S.O.G. supports replacement parts. My one complaint is the locking mechanism, it has a habit of unlocking depending on how you're holding the knife.
-
Check the hoses going to and coming from the filter for leaks at the connections as well as breaks in the hose. Two of mine were cracked so badly that they leaked as soon as fuel pressure came up.
-
A garage sure did make this job easier. The first time I did a head gasket job without the help of my Dad was on a 94 V6 Mustang in an apartment complex parking lot. We had to keep an eye out for the landlord so we didn't get a ticket, not the most fun I've had working on a car.
-
Welcome to the boards, I just finished up the same exact job about a week ago. The fuel rail is a bit of a pain when trying to pull the intake off, kind of a catch 22, one won't come off till the other and vise versa. Hardest time I had was actually getting some of the coolant hose's off for the heater. Expect to break some vacuum lines and find some cracked hoses. I had an easier time pulling the starter completely out to get at the flywheel when you go to take the crank pulley off. I can't really think of any good tips at the moment, if I do I'll post them up. Oh and if you haven't yet, get your self a tap and die set. Cleaning up the threads will make your life a lot easier when it gets to reassembly. Good luck and let us know how it goes!
-
Yeah, if it had been my DD I would've been chucking hand grenades a while ago. But I mostly bought it for the project, even if I didn't get it working I figured I could just about make my money back parting it out. So now that it does work it'll be for tinkering around and learning to do stuff like body work and fabbing some of my own stuff. Too scared to do that on my DD
-
2003 Mazda Protege' 5
2000 Suzuki Bandit 600S
Fiance has a 2006 or 7 not sure which, Beetle.
-
-
Took about five hours today but I finally fixed it, still not sure where the ground was though. I pretty much took all the wire looms apart and rewired a couple of connectors.
Works now so I'm not going to complain, put everything back together and it still works! Took a ton of pictures, thinking of writing a "How-To" on dash removal, I'm getting fairly proficient at it
Slow, that might be a fun project for next winter when I get the garage cleaned out and welder, for now I'm just happy to be done messing with it for a few weeks.
Only thing that I know that doesn't work now is the reverse light.
-
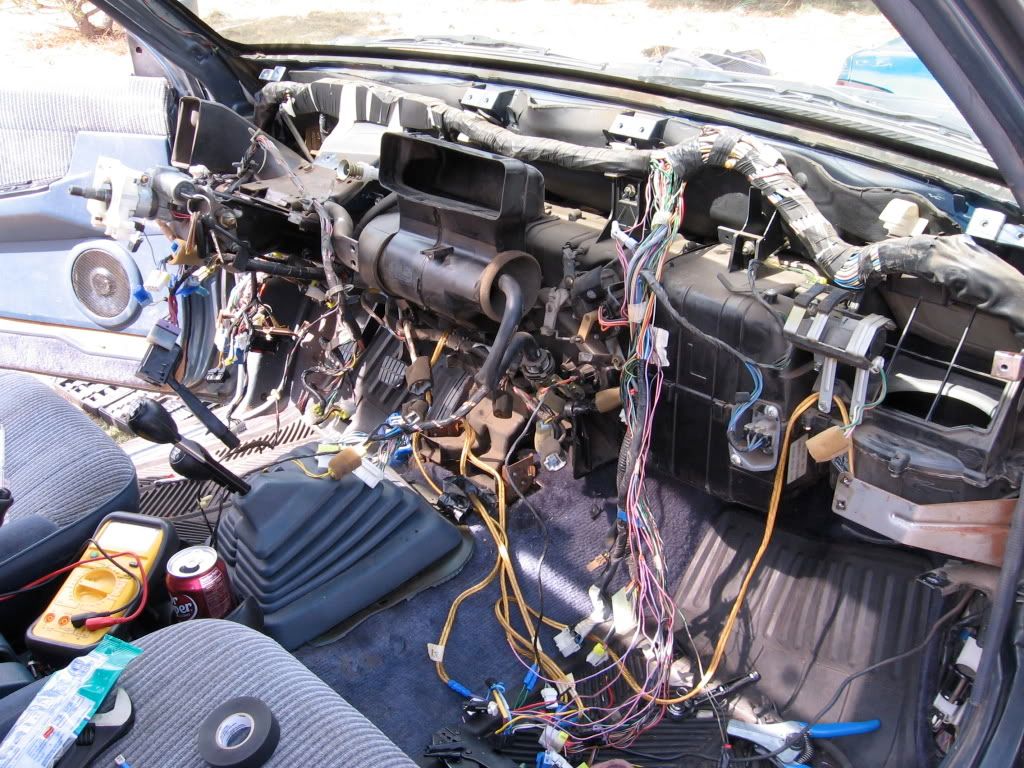
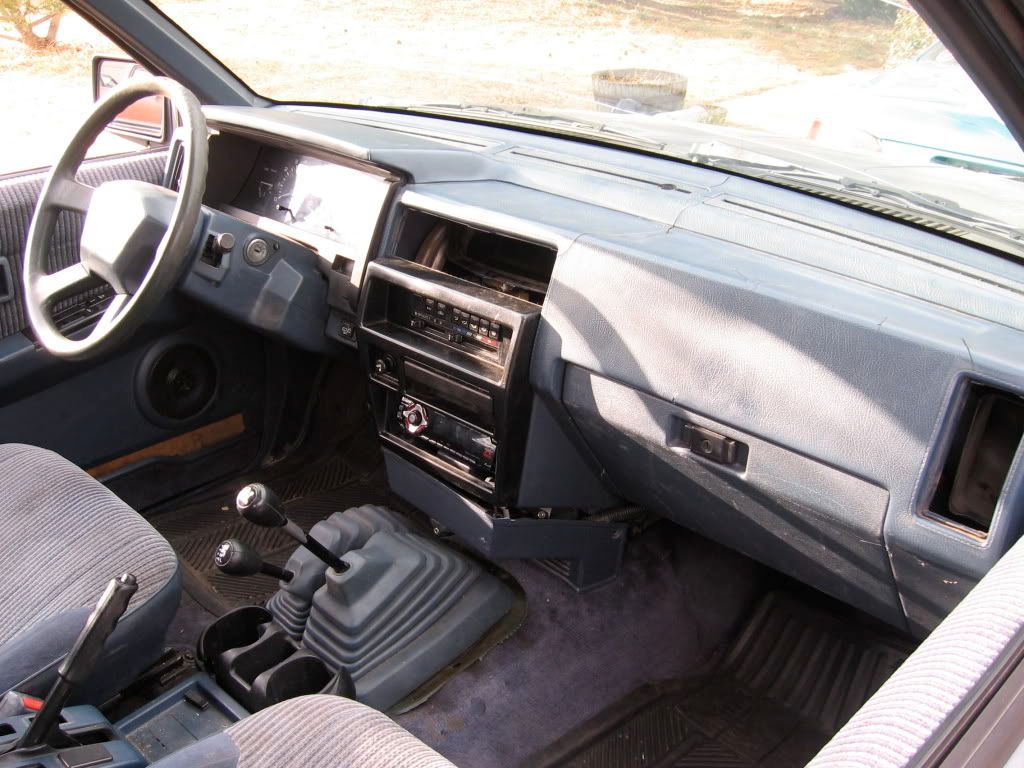
While tracing out the ground I started behind the stereo, where I found an awful mess of wires. It looks like the PO spliced the power for an amp off of the cigarette lighter, with two more inline fuses, and then spliced again to a different circuit near the fuse box.... argh, and with only the Hayne's wiring diagram to go by it's been a PITA. Decided to pull the dash to get a better idea of how jacked up this wiring is. A couple of cut connectors behind the fuse box, and one off the box that was labeled 'Seat Heater' but I don't have seat heaters... huh.
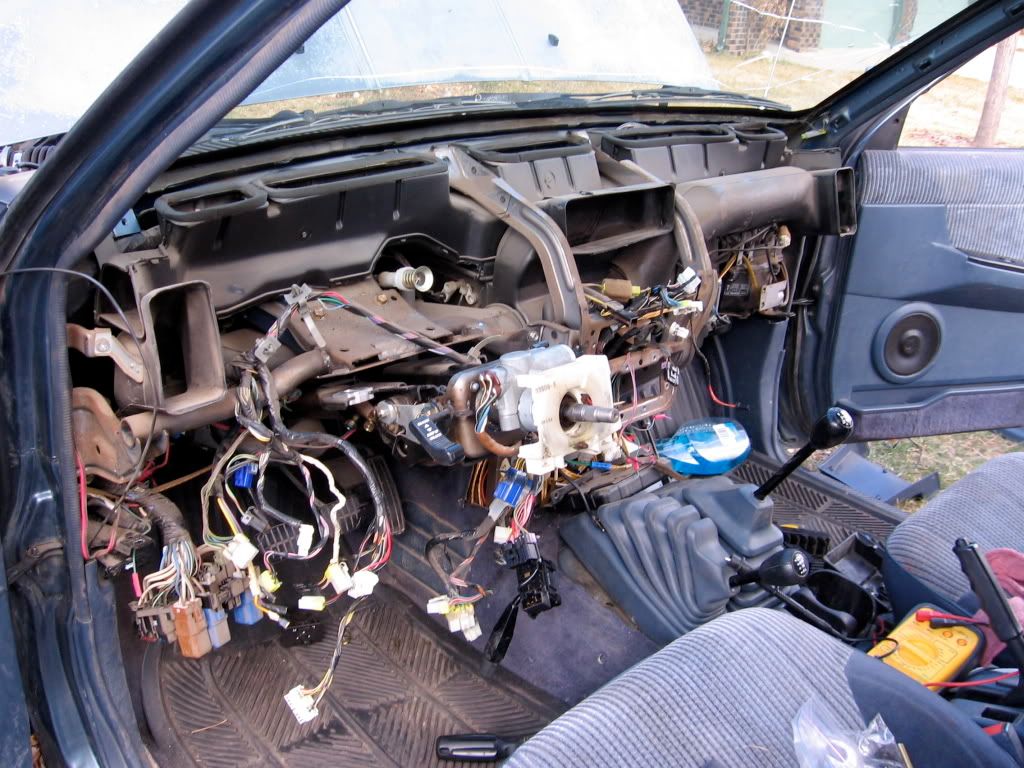
A couple more sets of wires that led to now where and came from nowhere, lol, just pulled all those out. I had pretty much everything disconnected at this point and tested for the ground.......... it was clear!! Wooo!!
Putting everything together I ran a quick test once the instrument cluster was back in, plugged the switch in and turned on the lights. Hooray I had dash lights, glove box, and parking lights. After everything was bolted back on I tested it again, and the ground is back. It was already dark so I had to give up for the night. I'm going to start in again tomorrow by pulling the radio and the dome lights, those were the last things I attached today before the ground came back. Unfortunately while putting everything back together I broke the plastic housing for the center vents and the vent on the right side in the dash, oh well, back to the junkyard.
Figured while I had the dash out I would check the blower motor and resistor pack. Boy am I glad I did:
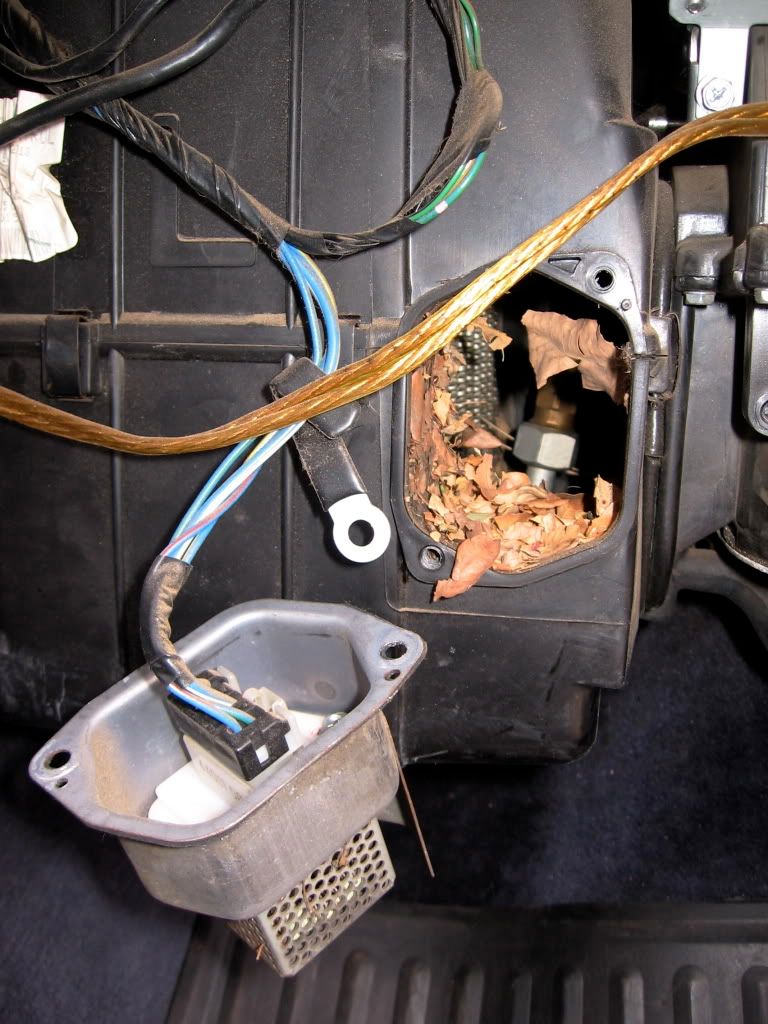
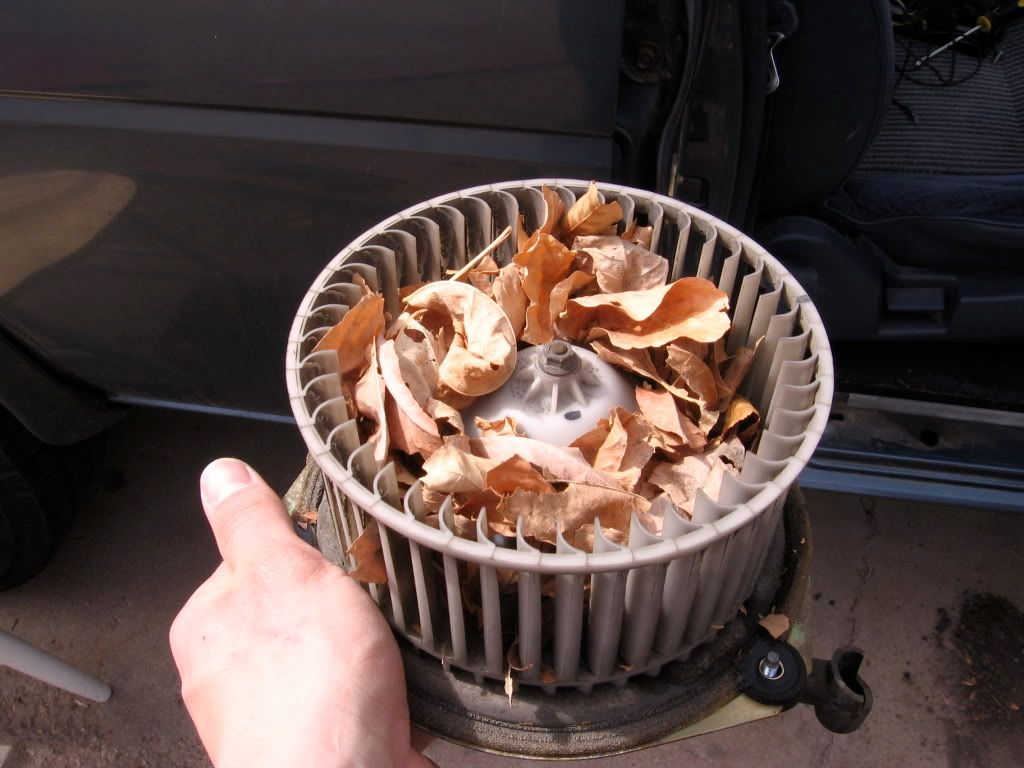
I'll be starting again tomorrow morning, hopefully I can get this stupid thing cleared.
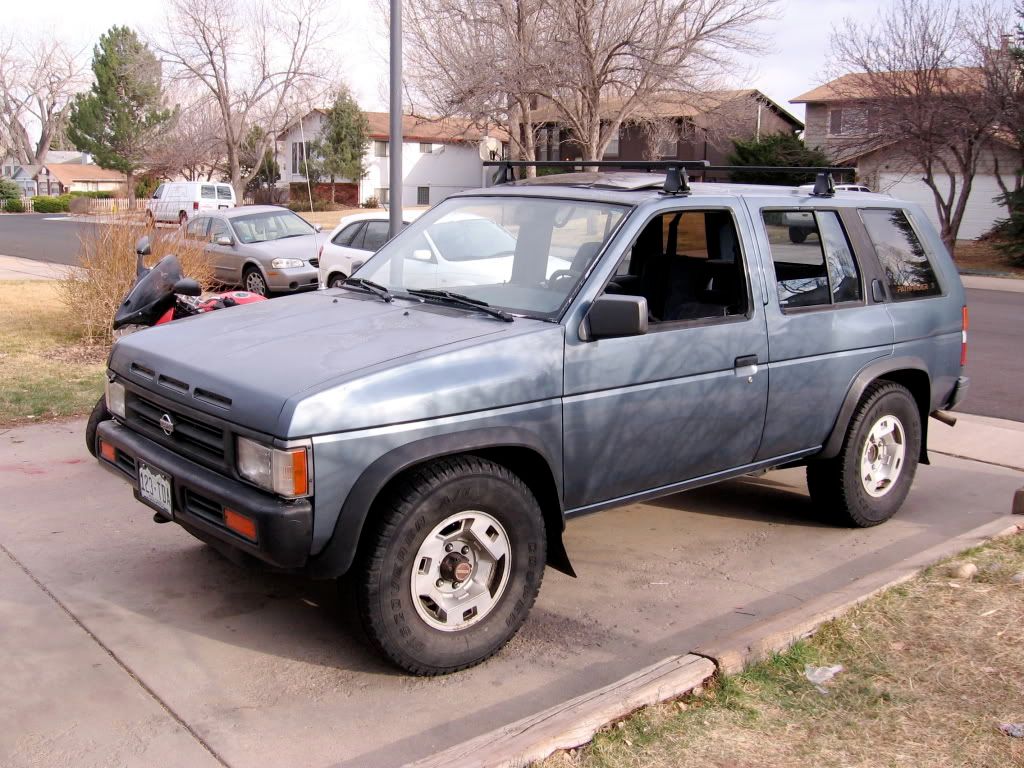
Here's the new bumper:
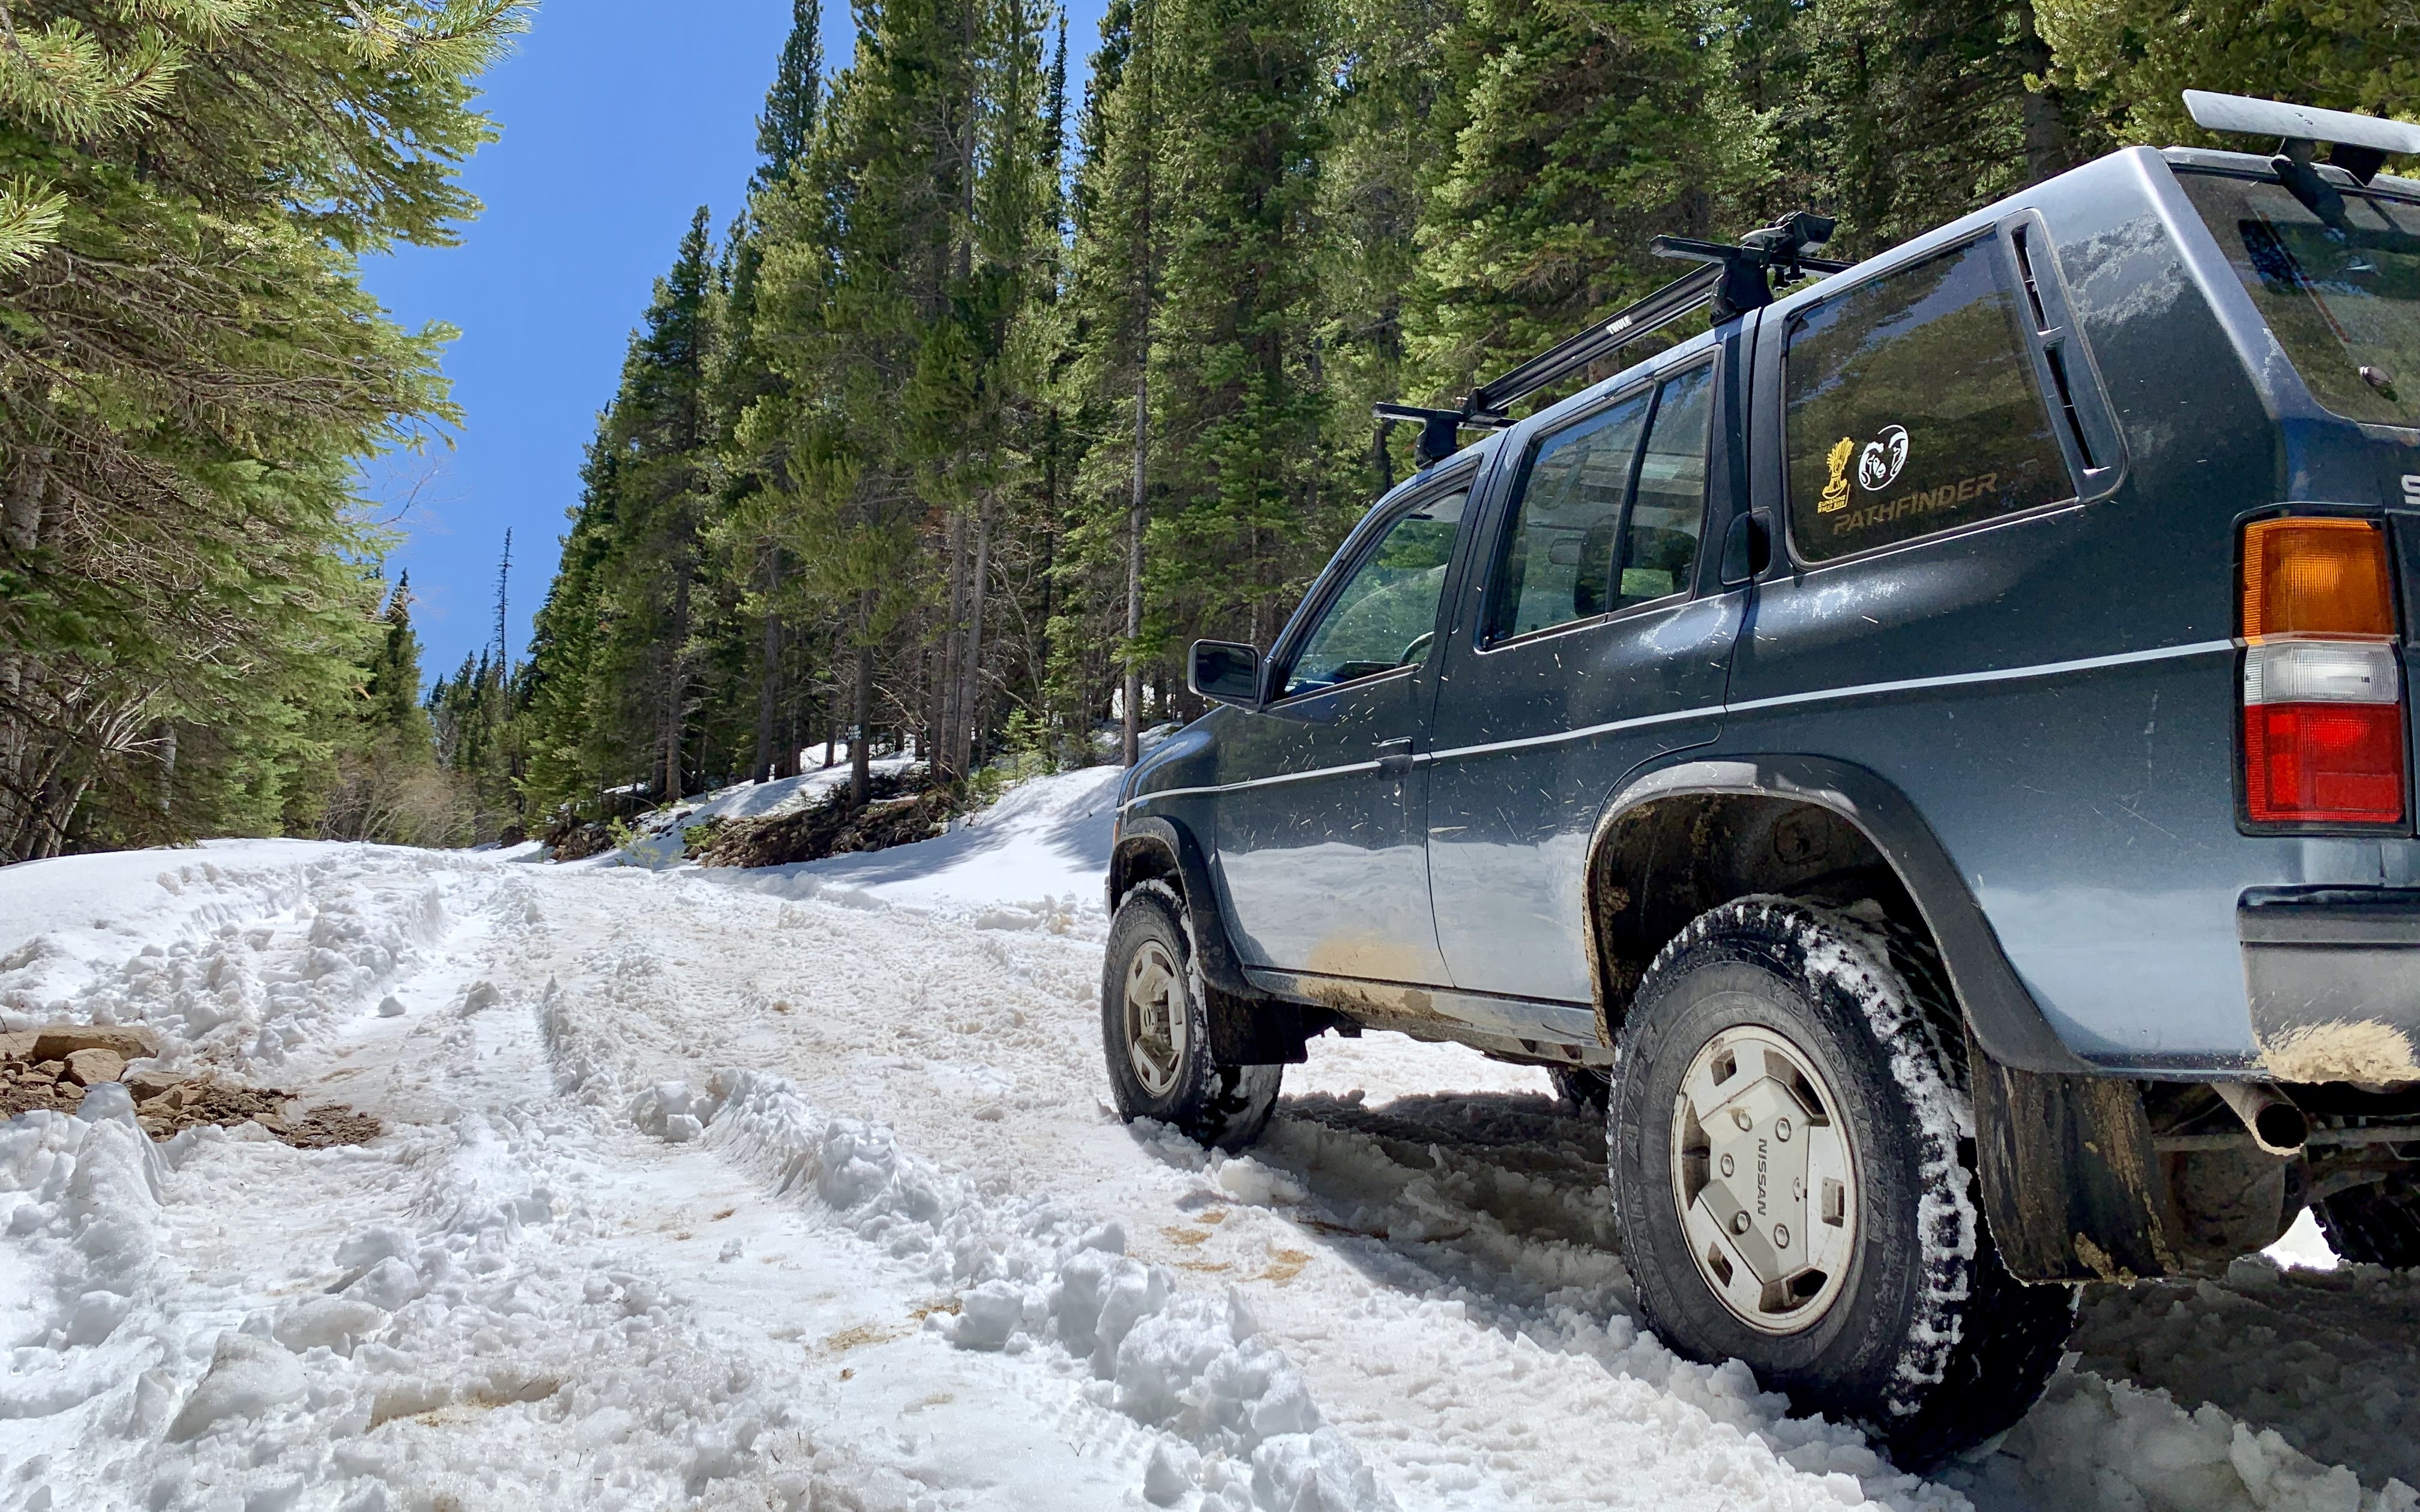
Servicing The Automatic Hubs ?
in 90-95 WD21 Pathfinders
Posted · Edited by NavyP503
I've got mine torn apart in the garage, I can post up some pics tomorrow ('91 but shouldn't be too different from the '95 AFIK). It's not too hard though really.... realized I didn't have anything better to do so I went and took some pics
1. Remove the 6 bolts from the Auto hub, it 'should' slide free from the axle bringing with it the O-ring, Spring and one of the brake pads. The O-ring is on the outside of the lip, on the hub. I searched on the floor thinking I had dropped it before I saw that it was still on the hub.
Brake A
2. Remove the snap ring with some snap ring pliers. It holds in two washers and the second brake pad.
3. The first washer is grooved to match the axle, the second washer has two prongs sticking into the second brake pad.
All the parts, in order of assembly top to bottom and left to right.
TL: Hub, friction ring, bearing, helical ring, spring, brake A
BL: Snap ring, grooved washer, pronged washer, brake B
That's all the parts to the hub.
The FSM doesn't show it but you can take the other side of the hub apart too (the part that was bolted on)
Down inside it is a helical ring that should have a tiny slanted end, enough to get a screwdriver on it.
I used a screw driver to start it out of the groove then pliers to pry it the rest of the way out, being careful not to bend it, only to coil it a little tighter so that it would slide out. After that's out the rest of the bearing slides out and can be cleaned and re-greased.
If you need any other pictures or clarification on anything, feel free to ask. The FSM says that the wear limit for brake A and B put together is 15.4mm (0.606 in).