

muddfildvaynes
-
Posts
841 -
Joined
-
Last visited
-
Days Won
4
Content Type
Profiles
Forums
Calendar
Posts posted by muddfildvaynes
-
-
Thank everyone, I just got the parts today, I'm working on my Harley this weekend, I need to pull the primary and put on a new drive belt and new gaskets so next weekend is going to be dedicated to just the trailfinder. Thanks for all the support and I will hopefully have some new pics/videos up soon enough.
-
I have not been able to work on any of my toys for the past couple months due to health issues, I had gastric sleeve surgery in December 2012 and so far I've lost 101 lbs but I had complications due to my surgery and had to go into the hospital for a week due to blood clots in both my lungs, and both my legs. I am doing much better now but have to be on blood thinners for the rest of my life, and just got the ok from my doctor to be able to actually start doing stuff again; I will be posting pics of my progress. Also I recently just bought a house and found out that my neighbor owns a Auto customization shop called trickin out trucks and is willing to help me with a SAS for about 3 grand.
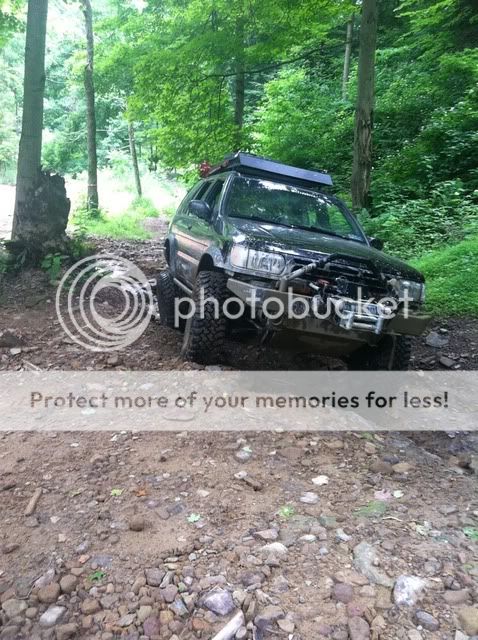
New Distributor, New plugs/wires, tires need to be rebeaded on the rim and it needs a really good bath. My harley should be back on the road this weekend also just waiting on the parts to show up. (new drive belt, and primary gaskit kit)

The inside is extemely dirty still but it felt good to get back into the driver seat.

-
 1
1
-
-
I Found this write up in the SFD write up, ask shift220 if he still has the picture that was on this post.....
Alright so I thought I would need a small spacer and a longer bolt but it turns out to get it tight enough you need bolt it down like stock.
First I loosened and removed the steering linkage off the steering rack. This had to be shortened after rotating the rack anyway. I then took off the driver side bracket and loosened the passenger one to rotate the rack. I just wiggled it upwards how far it would go without really pushing it. Checked the linkage and it was nearly straight. Perfect.
Then I did the wire trick and figured out that each ear on the bracket just needed to be angled more. You can see in the picture about how much. I just cranked the bracket in the vise and took a few good wacks at it. The white is the modified bracket.
It needed to be bent roughly 10 degrees so the picture can be printed out and will help if you need it (check it on the vehicle too). What I did was hold it tight on the top bolt and make sure the square part hugged the bushing well. You'll notice that the bottom part is about 20mm above the stock mounting hole. This is where I figured I needed a spacer and a longer bolt but it turns out cranking down the stock one worked perfect and held it tight.
Of course I forgot to take pictures of it but if I did now you wouldn't noticed much of a change except the rack pointing up more. -
-
I built my own out of PVC and a couple Spectre Adapters I bought a a local autoparts store, I think I spent about $100 on the supplies....


-
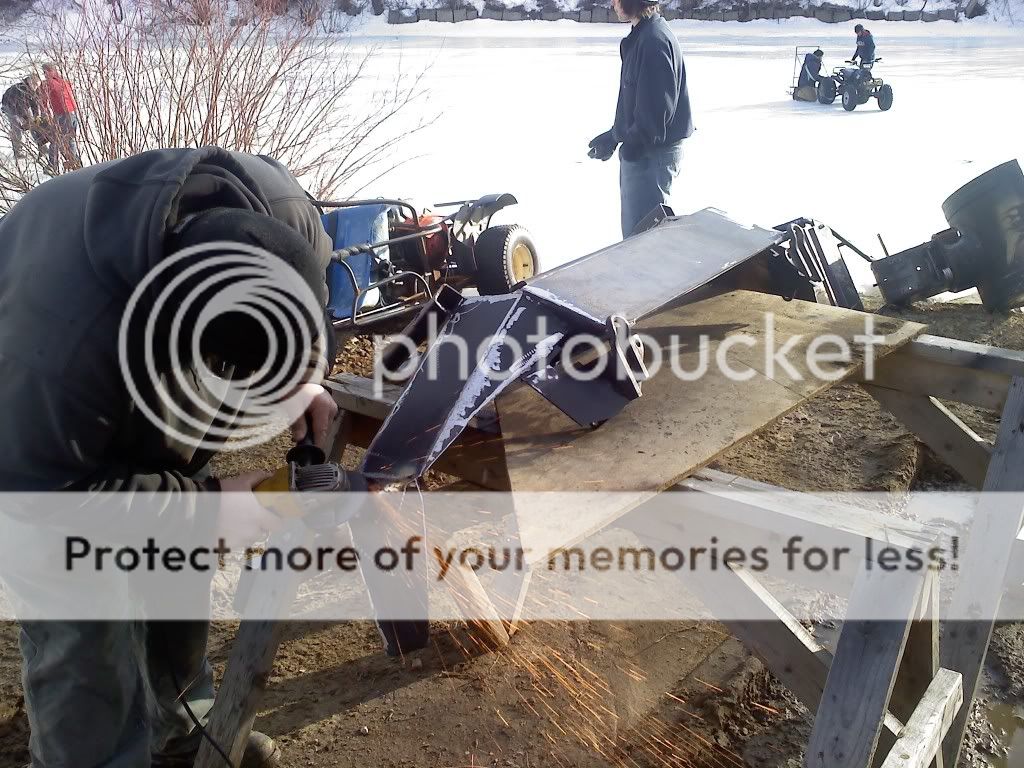
Build a custom steel tube bumper? Won't happen again...
-
1
-
-
KRfabs.com
-
Song for the Dead - Queens of the stone age
-
I am a Lead recruiter for a Engineering Firm that specializes in the energy industry's like nuclear power, alternative energy's, gas fired and steam turbine power generation, HRSG's (Heat Recovery Steam Generator's), and right now I am doing some business development in the Oil & Gas industry here in Houston.
-
It can be done, I changed my post set up from top post to side mount post so I could hook my winch up to the top mounts on my yellow top battery. Just buy the new post and transfer the wires over... not that hard.
-
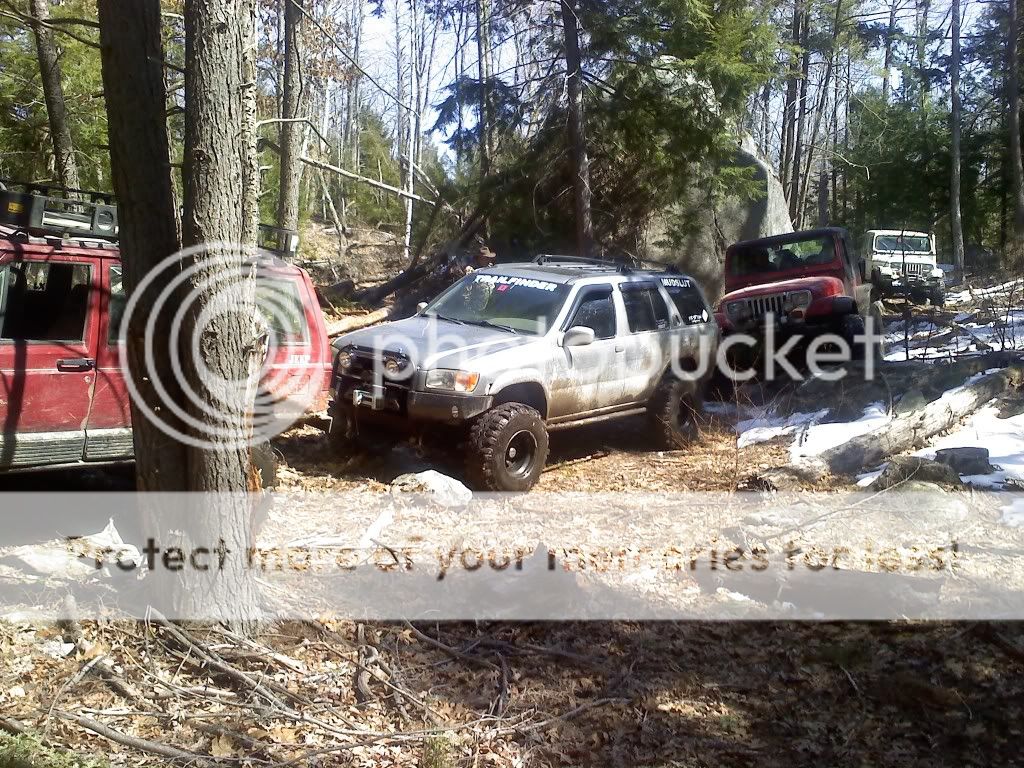
This is a old pic from when I was in NH with some snow on the ground, so I nominate myself muddfildvaynes
-
-
Any support would help
-
It's a close one
-
Safety first right?

-
Ready to change your vote?

-
If you guys want to help me with TOTM that would be helpful

-
Hey I have the best of both worlds, good cleavage and a nice wheeling picture

-
Thought someone would notice it

-
I'll nominate myself muddfildvaynes for this month just to add some selection.

-
1
-
-
R50 FTW
-
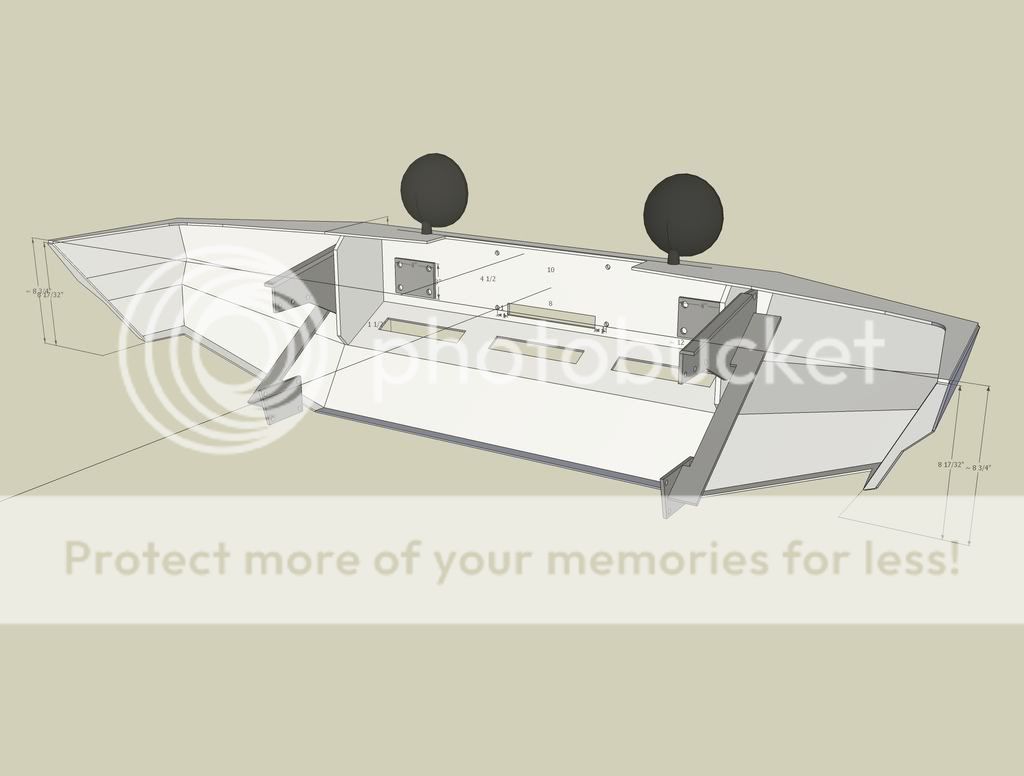
I built my own, I just used the stock tow loops as a point of contact and welded the bumper to them, and then I used a plate on the back and cut holes for the stock bumper mounts. So there are 14 points of contact where the bumper bolts up. I think I spent about $400 to build that bumper in parts which included the steel, bolts, grinder wheels, and welding wire. It just takes some imagination is all.


There are many different routes you can go, a bunch of people have done it, and this is where I originallly got my insperation: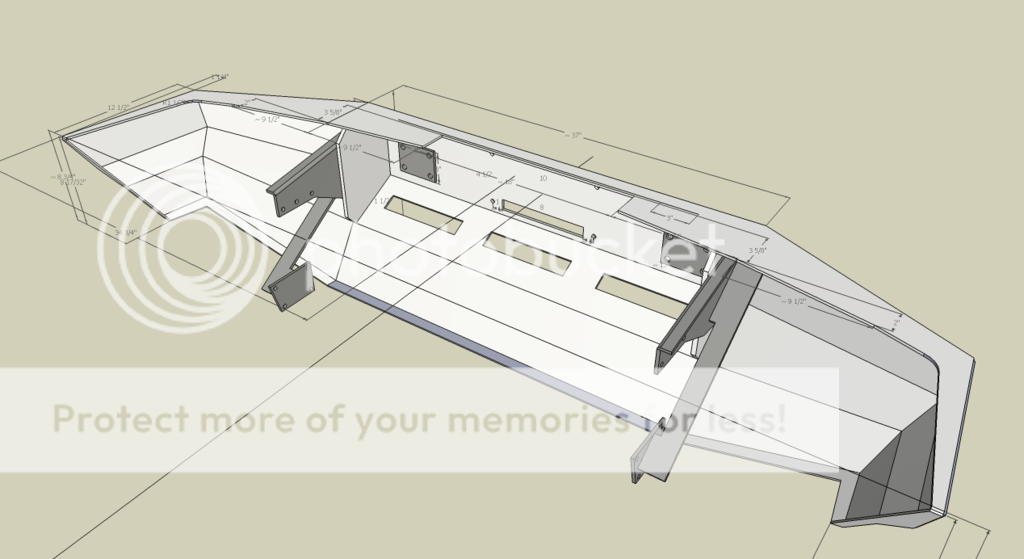


-
Good idea using the tow hooks as the lower attachment points. How does the stock bumper attach to the frame? Does anyone have pics of the backside of the stock bumper?
The stock bumper uses the 6 dots in red I have marked in the picture, it bolts up 2x on eatch side and the higher dots out of the 6 it just slides on and you tighten up the bolts. It is really easy actually.
-
Well I just used the stock tow loops as a point of contact and welded the bumper to them, and then I used a plate on the back and cut holes for the stock bumper mounts. So there are 14 points of contact where the bumper bolts up. I think I spent about $400 to build that bumper in parts which included the steel, bolts, grinder wheels, and welding wire. It just takes some imagination is all.

-
1
-
Help! A/C Lift Kit or SFD
in 96-2004 R50 Pathfinders
Posted
Piece your lift together 4"SFD+2"AC lift=6" lift. Get the 4"SFD and the only thing you will need from AC is the front 2" lift springs and possibly new struts and you will get 6" of lift.