

Specv1973
-
Posts
85 -
Joined
-
Last visited
Content Type
Profiles
Forums
Calendar
Posts posted by Specv1973
-
-
That filter on the bottom of the pickup tube on the old unit looks like it was full of crud. Was it?
-
-
Did you check your ECU diagnostics?
http://www.nissanpathfinders.net/forum/index.php?showtopic=21
Check all the vacuum lines (especially the one in back of the intake manifold near the firewall the goes to the fuel regulator and the manifold), check the resistance on all your plug wires and make sure their pushed on all the way, and maybe pull the plugs and check them all for cracked isolators or fouling, etc. Just what I would do first.
-
I want one for water crossing. The distributor location sucks balls for water forging. 4x4's I've had in the past had coil packs/distibutorless ignitions and I could submerge the engine and keep going in my 4runner and my tacoma without any problems. But, they both had snorkels, raised diff and tranny vents, waterproofed floor pans, perfect door seals, dielectric grease on every electrical connection known to man, and aftermarket E-fans. The mechanical fan splashes water all over the distributor since it's so close, and will add engine load turning in water obviously, which you don't want near idle for obvious reasons (stalling while submerged, very bad). There's ways to seal the distributor or at least help it shed water, but it's not 100% fool proof, and at least getting rid of the splash will help. Overall 4x4 efficiency I think is the point here.......
 (also: my e-fans never came on in water and I only had auto thermos, probably cause the outside water always kept my engine cool while submerged.)
 -
-
Also don't forget new inner and outer grease seals and to repack your bearings along with lubing the slide pins on the caliper etc. if you want to do a complete job. I also would get new pad retainers if they've never been changed. Can make the difference between a little squeak and no squeak sometimes after a complete brake job. Just my opinion.

-
I went with RayBesto's Professional Grade rotors all the way around and RayBesto's Service Grade semi-metallic all around. Only have about 1000 miles or so on them right now, but they stop way better, especially in the rain, than whatever was on it before and no problems overall yet. I got them from Rockauto.
-
Good luck man, and good for you for having the balls to try something new. There will always be critics unfortunately.

-
Ahhhh...the late 80's early 90's.....that was definitely a hot time for mini's if you were a teenager or in your early twenty's. There was also plenty of females to be had if you owned one. Every decade has had some sorta fad when it comes to customization of your ride man. Bass (the sound, not the fish) and mini's were "it" back then, along with the fox body 5.0 mustangs and Z28 TPI camaros, at least in South Florida. Some of the best memories back then of my life, cruising the beach and picking up chicks man.
-
I did forget one factor, tho a cooler may recuce overall temps by 20* I guess that wouldn't really be right after the cooler. The overall temp is lower because of the cooler. Its a cumulative effect times the ammount of fluid. The instant effect is prolly less dramatic than I predicted.
Sayyy what? LOL...me and my G.E.D. do not compute your statements. I think in terms more like if you put it in this side, it comes out this other side. haha....
-
According to the B&M instruction sheet for my B&M Guage the "T"/sending unit should be on the return line "from the cooler". Here's the excerpt: (Note: This location is recommended
to monitor the true transmission temperature
going in, as well as checking the oil cooler efficiency.)

http://www.bmracing.com/PRODUCTS/Cooler-Accessories/Transmission-temperature-gauge-kit
There's the link to the PDF manual.
I don't think it really matters either way. You just want to know when your running hot. The return line will just be a little cooler, that's all. Then again, now thinking about it, if the cooler plugged up for some reason, the guage measures fluid temp and wouldn't tell you your hot, cause no fluid would be there running over the sender.....hmmmmm....I'm assuming that anyway. Crap, now I might have to move mine over to " before going into the cooler" line. ughh....
-
12.50's have a hard enough time fitting without trimming the fenders... I don't even want to imagine 13.50.
Yeah, I see what you mean. I did a little measuring, and I see your point. I don't really want to cut any of the metal either.
-
Nissan down here in Sunny SW Florida quoted me 600 plus parts when I was looking, but I'm so glad I did it myself. Wasn't nearly as hard or time consuming as I thought it would be, and I saved a BUNCH of moo la'.
-
Yea yea! I did mine just like that too, except I put my B&M stacked plate on the drivers side. As a result, I had to grind down the depth of the plastic grill a bit in order to get everything to fit perfectly. The stacked plate can withstand being hit by rocks and gravel at highway speeds.
Just make sure that you put the hoses so that they enter the cooler sideways, with the hot fluid going into the cooler at the bottom and the cooled fluid exiting from the top...that way you won't get a build up of air bubbles.
Sideways? What? Must be a different cooler or something.....both of my lines are on top, but there is an order to flow, which is left to right. Yeah, I did have to trim the back/bottom of the plastic grille and also the radiator support slightly with a Dremel and some nippers. No big deal though, took like 5 min.
-
X2 on the bucket thing trying to find the return line....It's the easy way to be sure you hook it up right, and is easy to do.
-
whats the biggest tire I can fit on my 94 without lifting it?
lol...just to keep this thread alive forever! Oh, and how do I turn my pathy into a real transformer from the cartoon series and movies. I want to make it turn into MEGATRON with 52" Super Swampers and a light bar with a diesel powered winch!
-
15x10's look great if they're just gonna be your street wheels.
I agree! Exactly what I was thinking...

-
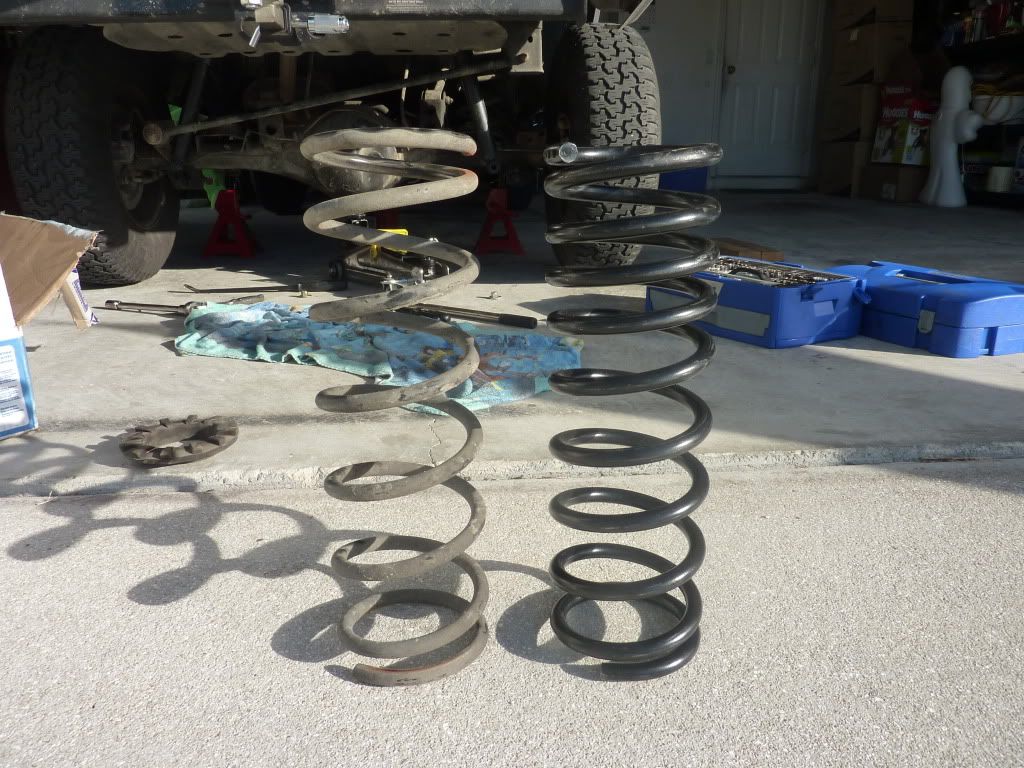
MY1PATH said: (so the moog had 9 winds instead of 7 and 4 of them are close spaced for progressive comfort and the rest are for ride height and load handling. NICE side by sid shot.)
SO, I'm a dumba$$. After reading your comment, I thought, wow, I didn't know that or notice that either. So I went out to the garage and looked under my truck. One spring is upside down
 So, I get to take it apart again tomorrow.
  I confirmed this by actually looking in the box for an instruction sheet and seeing a little folded up piece of paper stuck in the corner edge, unfolded it, and low and behold, the coils that are close together go towards the top, and the passenger side is not.
  Typical man I guess.......didn't think a simple part like springs would need instructions, much like an alternator or starter or battery wouldn't need any I thought.
  Live and learn I guess.......
 -
Yeah I kinda thought that too with the 3/4in. thing. I'll probably just leave it alone. Now I want some new wheels. Trying to save up for those or get a good craigslist deal. I want a nice offset. I like the look of wide wheels in the 31" sizes on these trucks, since I only have the P235/75R15's now. I saw one once it looked nice. I think they were Mickey Thompson Baja Claws on black steele's. I found some just like them recently on craigslist, but the guy sold them the day before I called. Story of my life....I know they would probably rub on the fenders bouncing around off-road, so they would mainly be for the street, and I would put some mud-terrains on the legos I have to swap for offroading.
-
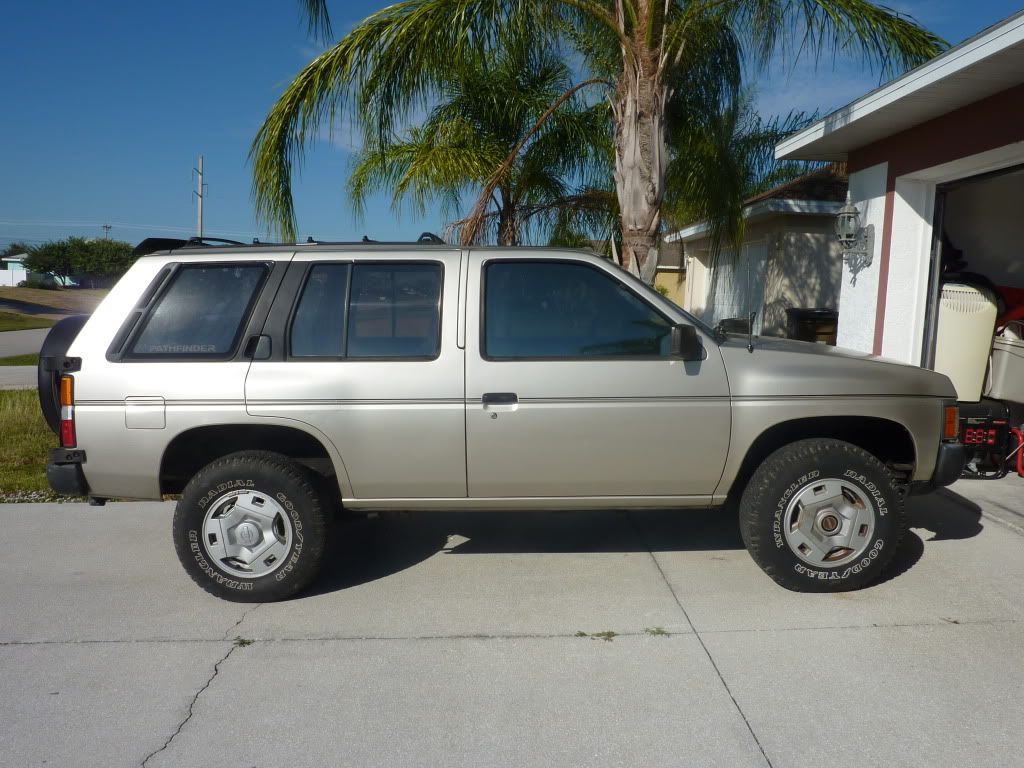
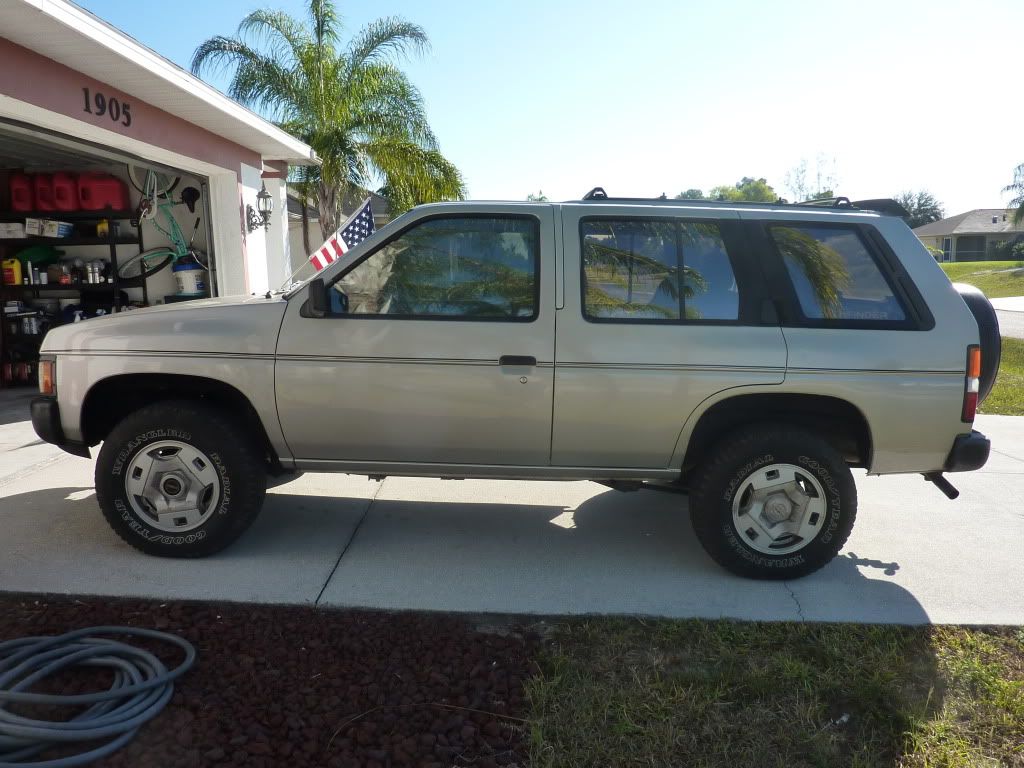
Hey guys, I got it done, and without all those steps involved. All I did was jack the back end up as high as my jack stands would allow, dropped the lower shock mounts, put another jack under the diff to support it, jacked the truck up a little more on the rear cross-member with a bottle jack to get the wheels about 4-6 more inches off the ground. Lowered the jack under the diff till the axle was just starting to hang (no pressure on the springs anymore), then used a long prybar on the bottom of the springs to wedge them out, which was real easy. Pop'd the new ones in the same way the old ones came out (don't forget the boot on top of the spring) and all in like 30-45 min. taking my time. Thanks for the write up though JamesRich and everyone else. Now, how is the ride? Way better! No more bounce in the rear or body lean around corners. I only took one pic of the old/new spring side by side because the process itself was so easy and self explanatory. I gained 3/4 of an inch in the rear, so I need to bring the torsion bars up now too I guess, but it's hardly noticeable. Here's my pathy with the new springs. No more sag.
-
One other thing......To install these springs, I only need a spring compressor right? Compress, pull out old one, uncompress, compress new one, pop it in, uncompress right? Are there any other tools or steps I need to do? The FSM only talks about dropping the whole 5-Link.
-
10-4. I should have them by Tuesday and in by the end of the week. I'll let everyone know...
-
Macro setting on your camera, learn to use it. It usually looks like a flower on the camera itself.
Be happy you even got a picture you picky mo-fo......lol......I found it, thanks man. I must have taken that pic 10 times trying to get the center focused, then I gave up. Now I know how to do 2 things on this camera....lol...thanks again.
-
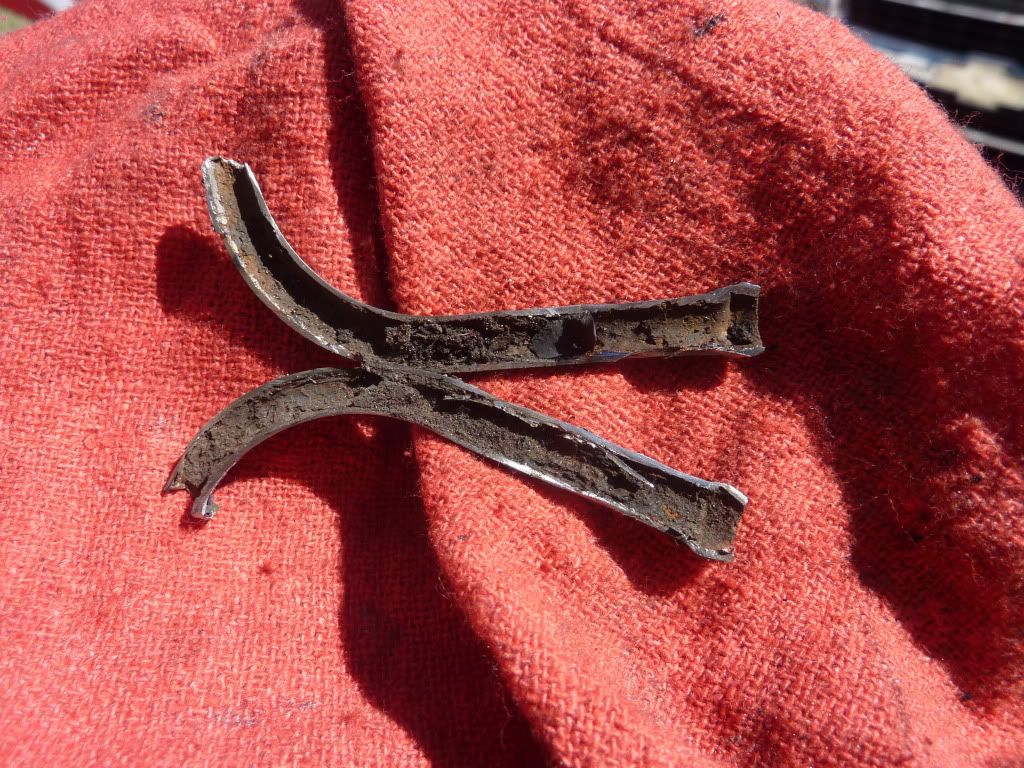
Here's what you get with those crappy metal lines......plugged up and you don't even know it. If you see any pitting anywhere, chances are this is what's inside. Most of the crud flew out when i was cutting this open with my Dremel...it was really packed.


Engine oil wars!
in The Garage
Posted · Edited by Specv1973
I hear ya. I feel the same after that fiasco. I'm running 5w30 and whatever is on sale at the local parts store which I believe was Valvoline last time cause they were giving away a free filter with a 5 quart jug purchase.