Leaderboard


Popular Content
Showing content with the highest reputation on 05/22/2019 in all areas
-
I bought a kit like this off eBay the other month for $85, and they've worked great. Used them on long OME HDs for an FJ80 project, and just the other day on R50 OME MDs. I've used those rental ones on OME HDs in the past, but it's a pain. These were fairly effortless.3 points
-
Update... Drove it some more on the highway... it started to get too hot, and headed towards over-heating (temp way too high... temp gauge about 3/4 towards "H") I pulled over, and let it cool down by idling on the side of the road with the heater on full at 90 F. Once it cooled down, I drove straight to the nearest auto parts store, used a rag to carefully open the radiator, making sure to aim the lid away from my face so I didn't get burned (plus, my ultragauge told me the temp had come down to 220 F, which while hot, I know isn't hot enough to make the engine coolant boil... so I know I wouldn't have steam coming out). Then I let it cool down, topped off the coolant, burped both radiator hoses to get rid of air, etc. At that point, it ran better temp wise, but the smoking increased. I wrote a four page letter to the dealer about the issue... It was carefully framed to give him a day to take the pathy back and refund my money, and was laying out all of the legal claim's I'd need to try to win a case if we ended up in front of a judge. The dealer called me up, telling me -- not realistically -- that he was terrified by my fancy letter. I played it cool, and nicely telling him there was no need to be sarcastic. He continued, so I told him, 'look, you've been in business 15 yrs... I'm sure you've seen it all, and know the drill. This isn't new to you, and I'm sure you know the drill. I'm sure you've been through this many times before." He agreed to take it back and refund my payment... and he actually did! I'm quite happy. Yeah... I'm out $500 for my attorney's fee, but the attorney helped verify the things I had researched on my own, and also gave me other info that helped shape my letter. I'm glad I sent my own letter first, because the attorney's letter probably would have put the dealer too much on the defensive. My letter laid the foundation in case I had to sue, but all that I asked for was my money back in exchange for the truck, and nothing more. I'll do a separate post with the key points from the letter, just in case anyone else finds themself in a similar situation with a dealer. There's no guarantee that you'll be successful, and who knows how it would have gone if we ended up in court, but my goal was really just to give back the vehicle and get my money back, since the cost to cure the problem was unknown, but could have possibly run into thousands of dollars. Thanks everyone for the help and info. I'm gonna miss that Pathy... I really liked it! -Phil2 points
-
I really like the design of that! It looks like it would be very robust.1 point
-
Haha. I get comments on mine all the time. I tell my brother that I endured the “you look like a dirtbag” phase and am now in the “it’s cool and hipster because it’s old phase”.1 point
-
Groovy, much thanks!1 point
-
Yep, those are exactly like what I have.1 point
-
Hey bud. Welcome back to the states! The key that I learned by trial and error years ago when I used to show my rides was to paint the pieces like your painting a car. Continuous movement from side to side, starting before and spraying past the piece your painting. Stay about 10-12" from the piece. Never just point the spray can at the piece and spray. That causes too much paint to lay in one spot and causes the over spray a lot of people get. I just take my time and spray 2-4 light coats, allowing 30 minutes to 1 hr between coats to avoid running and to ensure a consistent level of paint. I have been pretty lucky with this method. Before you spray the pieces though, sand the piece with some high grit paper like 500+ grit to give the paint some grip. Clean the piece well before painting it. Also, get the better spray paint. I typically use rustoleum paint/primer that bonds to plastic. Hope this helps. Sent from my SAMSUNG-SM-G930A using Tapatalk1 point
-
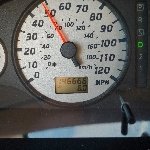
Did it Saturday, and it was not as big as I feared. I just get really nervous messing with wiring because of the whole "point of no return" thing. The knock sensor on my truck has been bad since I last owned it in 2008. There was no MIL on the dash or anything, but I scanned it when I first got my scanner just for fun and found the code. Even back then, the relocation was pretty well established as a cheap fix for the problem. For those not familiar with this, the knock sensor is located under the intake plenums on the back side of the engine. It's about a $25 part, but $800 of labor at a shop because of having to remove the upper and lower plenums. It detects cylinder knock (incorrect detonation of the air-fuel mix) and the engine computer adjusts timing and air-fuel ratio to compensate. The sensor in a Nissan plays a passive role, so the engine may run fine without it functioning, but it will throw a code. Some years ago, someone discovered that you could mount a new sensor and splice into the existing harness to avoid the headache of removing the plenums, so I followed their lead and did it. This guy made a great how-to video on YouTube that I used to know what to do. The only thing about his video that is not 100% clear is the location of the second wire. When you cut into the cover and find the black-covered wire, the second wire is wrapped around the white wire inside the black cover and not separately insulated. It took a few minutes for me to figure it out, but if you notice in the video when he starts the splicing, that splice looks like it's sticking out of the insulation - that's because he put the splice on exactly where it exits the cut he made. Also, the part number he lists is for the wiring harness, not the knock sensor. The sensor itself has a separate part number that I don't remember, but can supply if someone is looking to do this mod and needs the part number. (I bought a package deal off eBay for the harness and the sensor) Overall, it's a relatively easy fix and should help my fuel mileage, since now the engine won't run rich to compensate for the bad sensor. Here are some pics of the finished product: Knock sensor bolted onto intake with harness looped to left: Prettied up where I did my splicing:1 point
-
When my fresh/recirc servo died in my truck, I simply replaced the servo unit. A couple of screws and a wire plug, nothing all that special. For the record, I have replaced a bunch of HVAC door servos over the years in a wide variety of cars and trucks. Not an uncommon failure part and most can be found in the aftermarket.1 point
-
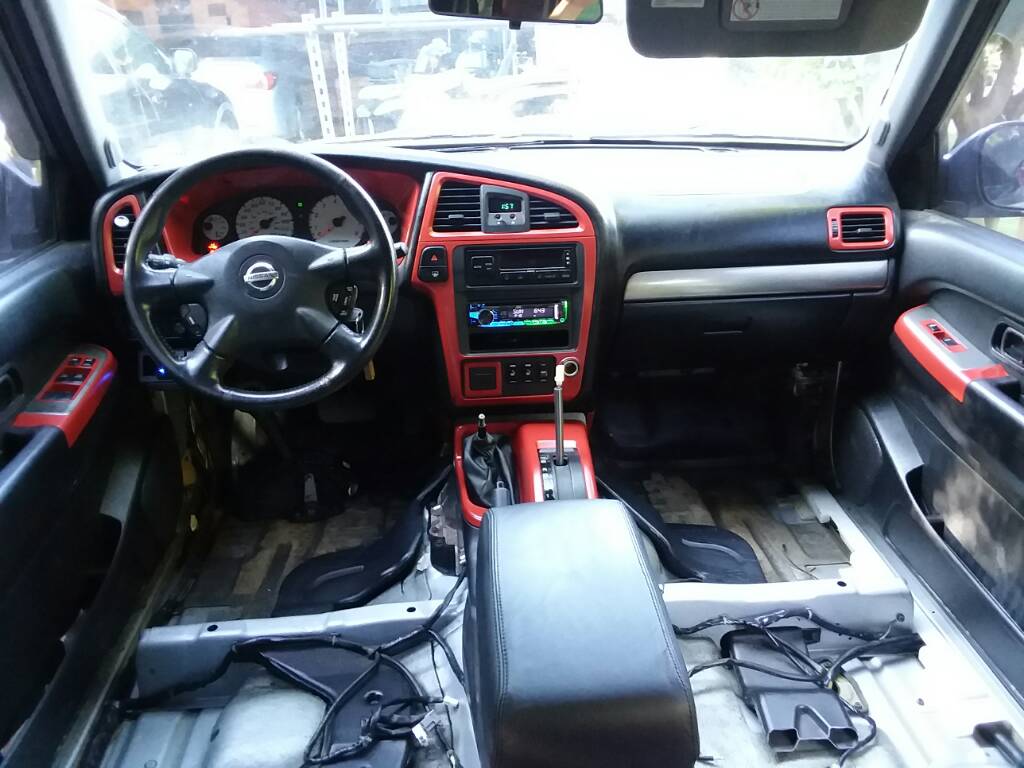
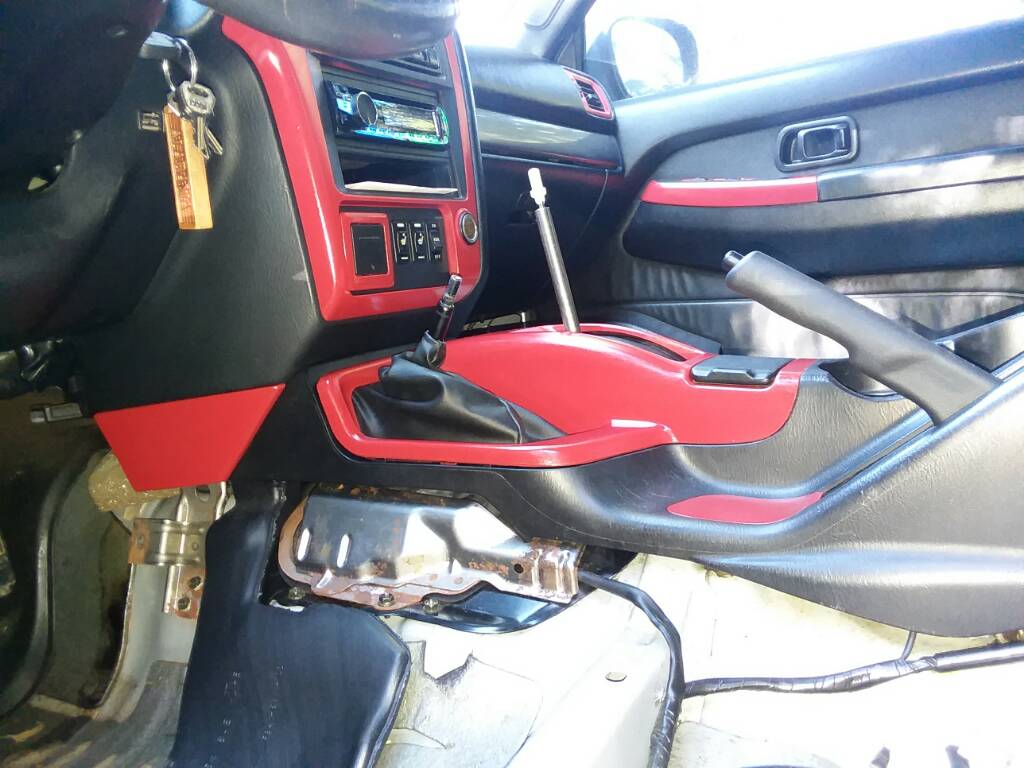
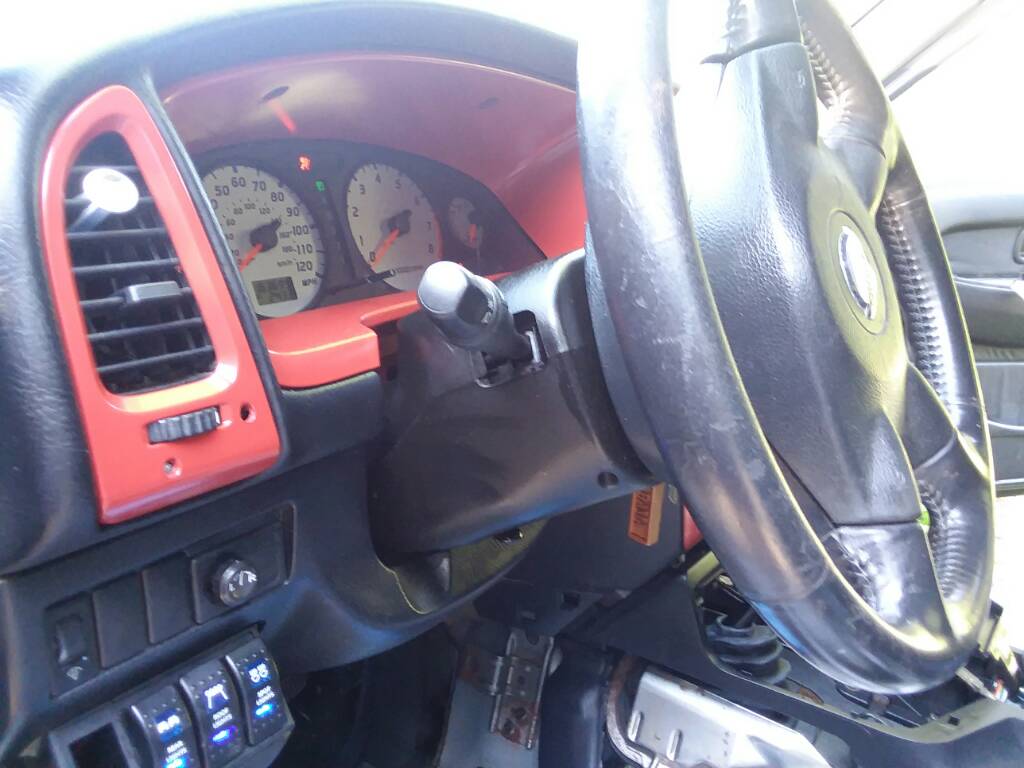
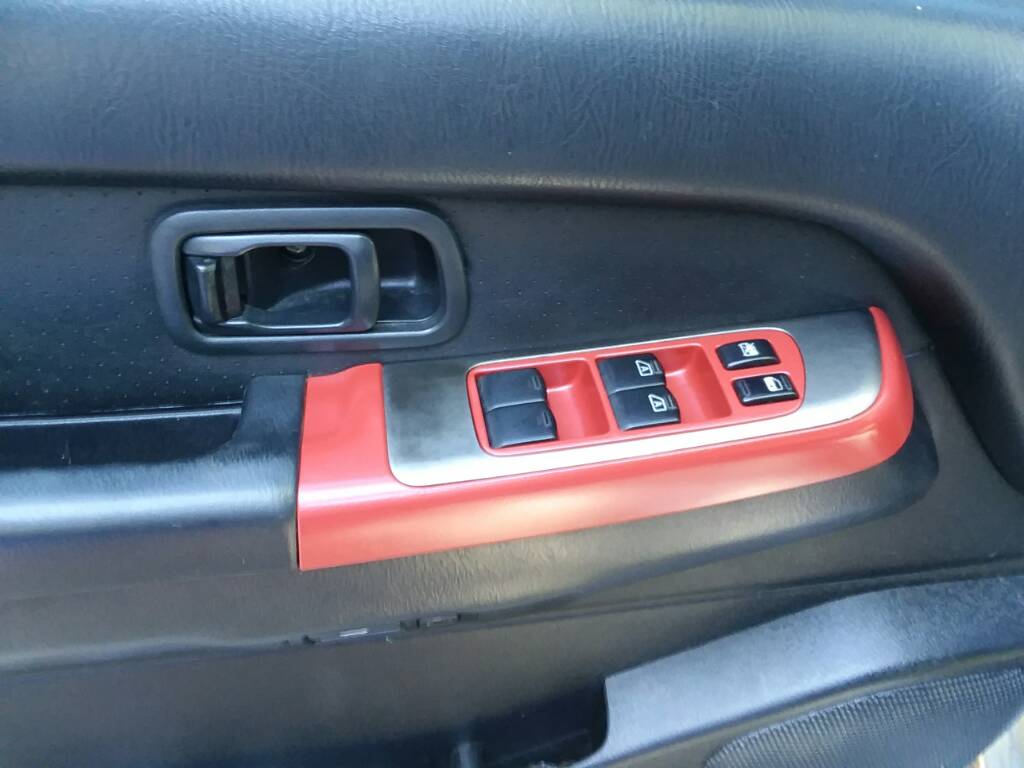
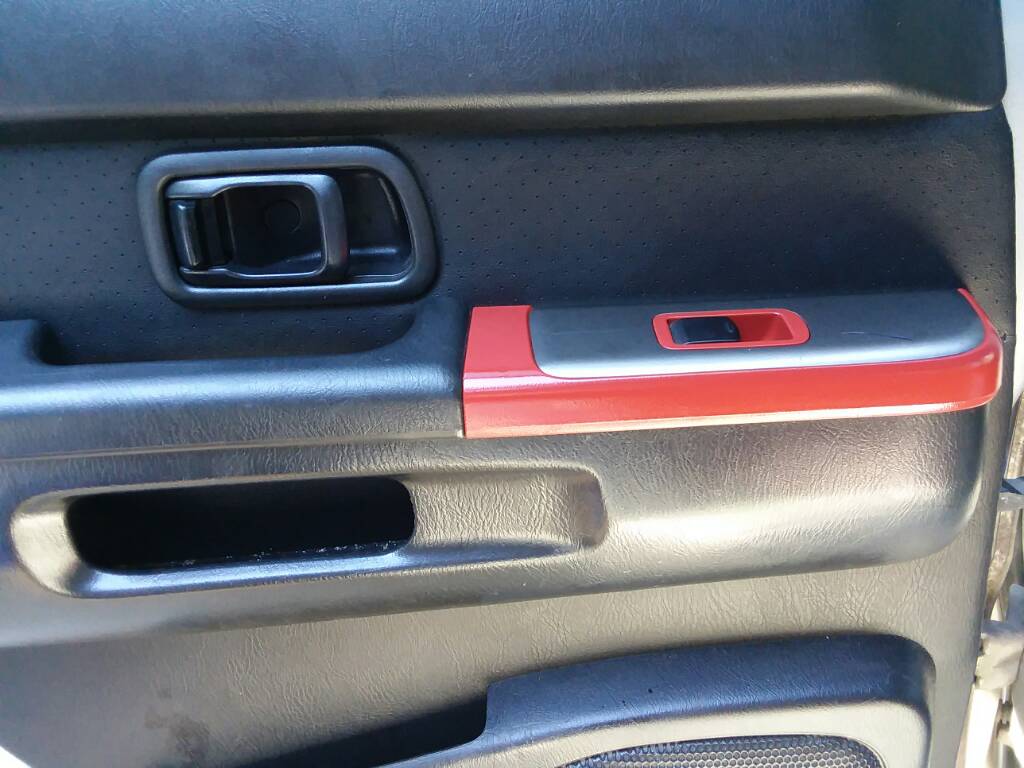
Update: got the painted pieces installed this afternoon after work. I welcome your thoughts/feedback. Sent from my SM-J327P using Tapatalk
 1 point
 -
Forgot i was welding thin sheetmetal after switching from 1/4 in. Oops. Sent from my SAMSUNG-SM-N920A using Tapatalk1 point
-
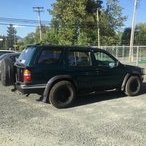
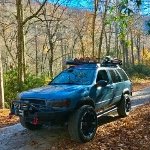
FINALLY bought and mounted these rims.1 point
-
Sent from my iPhone using Tapatalk1 point
-
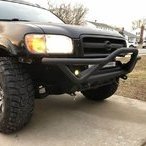
I pulled all the metal part from the truck for painting/bedlining (the parts, not the truck). Everything weighs over 460 lbs! No wonder my MPG has been crap for years... Also have my new Kia Telluride and the project FJ80 creeping in the background. Carnage from the sliders. Will likely modify them to avoid further damage. And finally got some lights mocked up on the bumper before removing it.1 point
-
Its your truck, who cares. I used Mopar 'Panther Pink' and generic appliance white on WhiteOwl (and used White Out as touch up). Heck, I painted my S10 with house paint...1 point
-
finally relocated that knock sensor. used one with a harness from 2001 altima. you have to break the plastic off the altima’s jack but the prongs fit just the same. no more knock sensor code now. i used one of the coolant line bolt holes and just used a longer flanged bolt. Sent from my iPhone using Tapatalk1 point
-
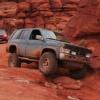
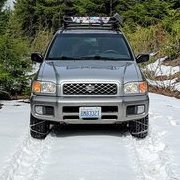
Just out in the woods playin. Sent from my iPhone using Tapatalk1 point
-
Time for an update! Another month gone by... It's been busy the last several weeks, as usual. We've since acquired all the steel and hardware we need to do the first batch of kits. We've done a limited run of parts to validate our anticipated production processes, and things are currently in @TowndawgR50's hands to complete the first finished kits. For now, this first pass only includes a complete 3" and 4" kit (and technically the 1.75" spacer, thanks to the modular design), as well as two panhard drop bracket options: a short bracket that gives a simple 3.5" drop, and a long bracket for 3.5", 4.5", or 5.5" drops. We also intend to offer extended rear sway bar end links. Expect some teaser pics soon. We are planning to install the first 3" kit in less than 2 weeks (!!), so we're both excited and stressed. Soon after, The Gambler will get outfitted with the 4" kit. If everything goes to plan, we'll start cranking out the remaining kits for the initial group we've been working with. Also, we want to make a clarification about the camber-correction function of the strut spacers: while the two-piece strut spacers allow for camber adjustments, we are still advocating the use of camber bolts. The adjustment feature is primarily to make large camber adjustments during the installation process. You'll be able to eyeball the camber during installation, and get it dialed in relatively well, but our secondary objective is to simply make sure the truck is alignable—and for many people (including myself), this means taking the truck to a professional shop. The use of camber bolts gives alignment shops the ability to accurately dial things in, using a part/process that they are very familiar with. While we like our strut spacer approach, it will be very foreign to many shops, who may refuse to adjust them. Keep in mind that R50s didn't have camber or caster adjustability to begin with, so there's already the initial challenge of informing the shop that you've added camber adjustability. Feel free to ask any questions, otherwise more updates to follow soon!1 point
-
I'd replace the rear main seal on the motor if you're able. Get a nissan part if possible, though.1 point
-
Replaced inner/outer tie rods, Idler arm, and center link. Upper/lower ball joints and strut rod bushings tomorrow.1 point
-
Man that looks really nice1 point
-
Went to the pull a part.Found OE fog lights. Pulled a trans cooler off an explorer(although not sure of the size/rating).However it's measured. Also an original tool kit.Ran out of daylight but I'll install the lights and cooler tomorrow.1 point
-
Finished bleeding the breaks after replacing front calipers, 3rd times a charm. I think I just had to slowly work all the air out, but now they're working good as new! LSV was a bit of a pain to reach, but not the hardest thing I've ever done.1 point